3D Print Post-Processing: Techniques for a Flawless Finish
Ever looked at a fresh 3D print and thought, 'it needs a little something extra?'
Post-processing your 3D print is an essential step, that takes your creation from fresh off the printer to a polished masterpiece. Whether you're working with PLA or PETG or more specialized 3D printing materials like ASA, there are tons of ways to smooth, paint, and enhance your prints.
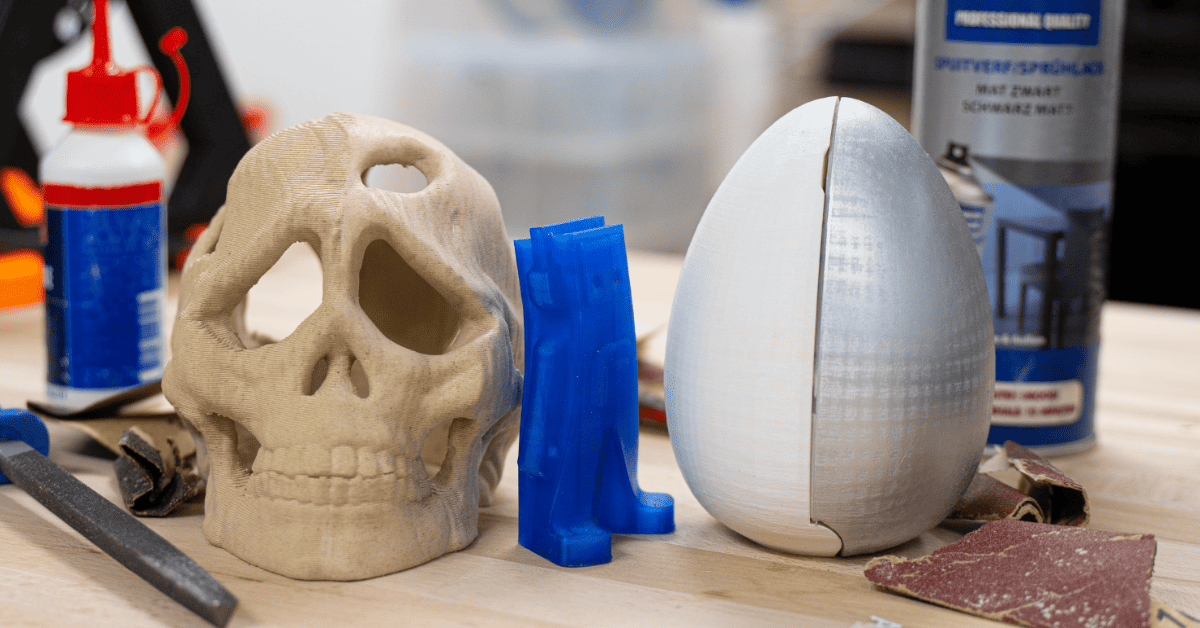
Sanding
Sanding, is an effective 3D print post-processing technique for both used to smooth the surface of an item, making it an extremely useful tool for people working with FDM prints. This Technique is considered to be significantly easier and less messy than other techniques, making it handy for anyone looking for a matte finish.
After printing, a part may have a few blobs on its surface or some unpleasant markings left after you've removed the supports. The best approach to erase such flaws is with sandpaper. It’s always best to start with low-grit sandpaper (150-400) and move towards higher-grit sandpaper (up to 2,000) in a few stages of sanding.
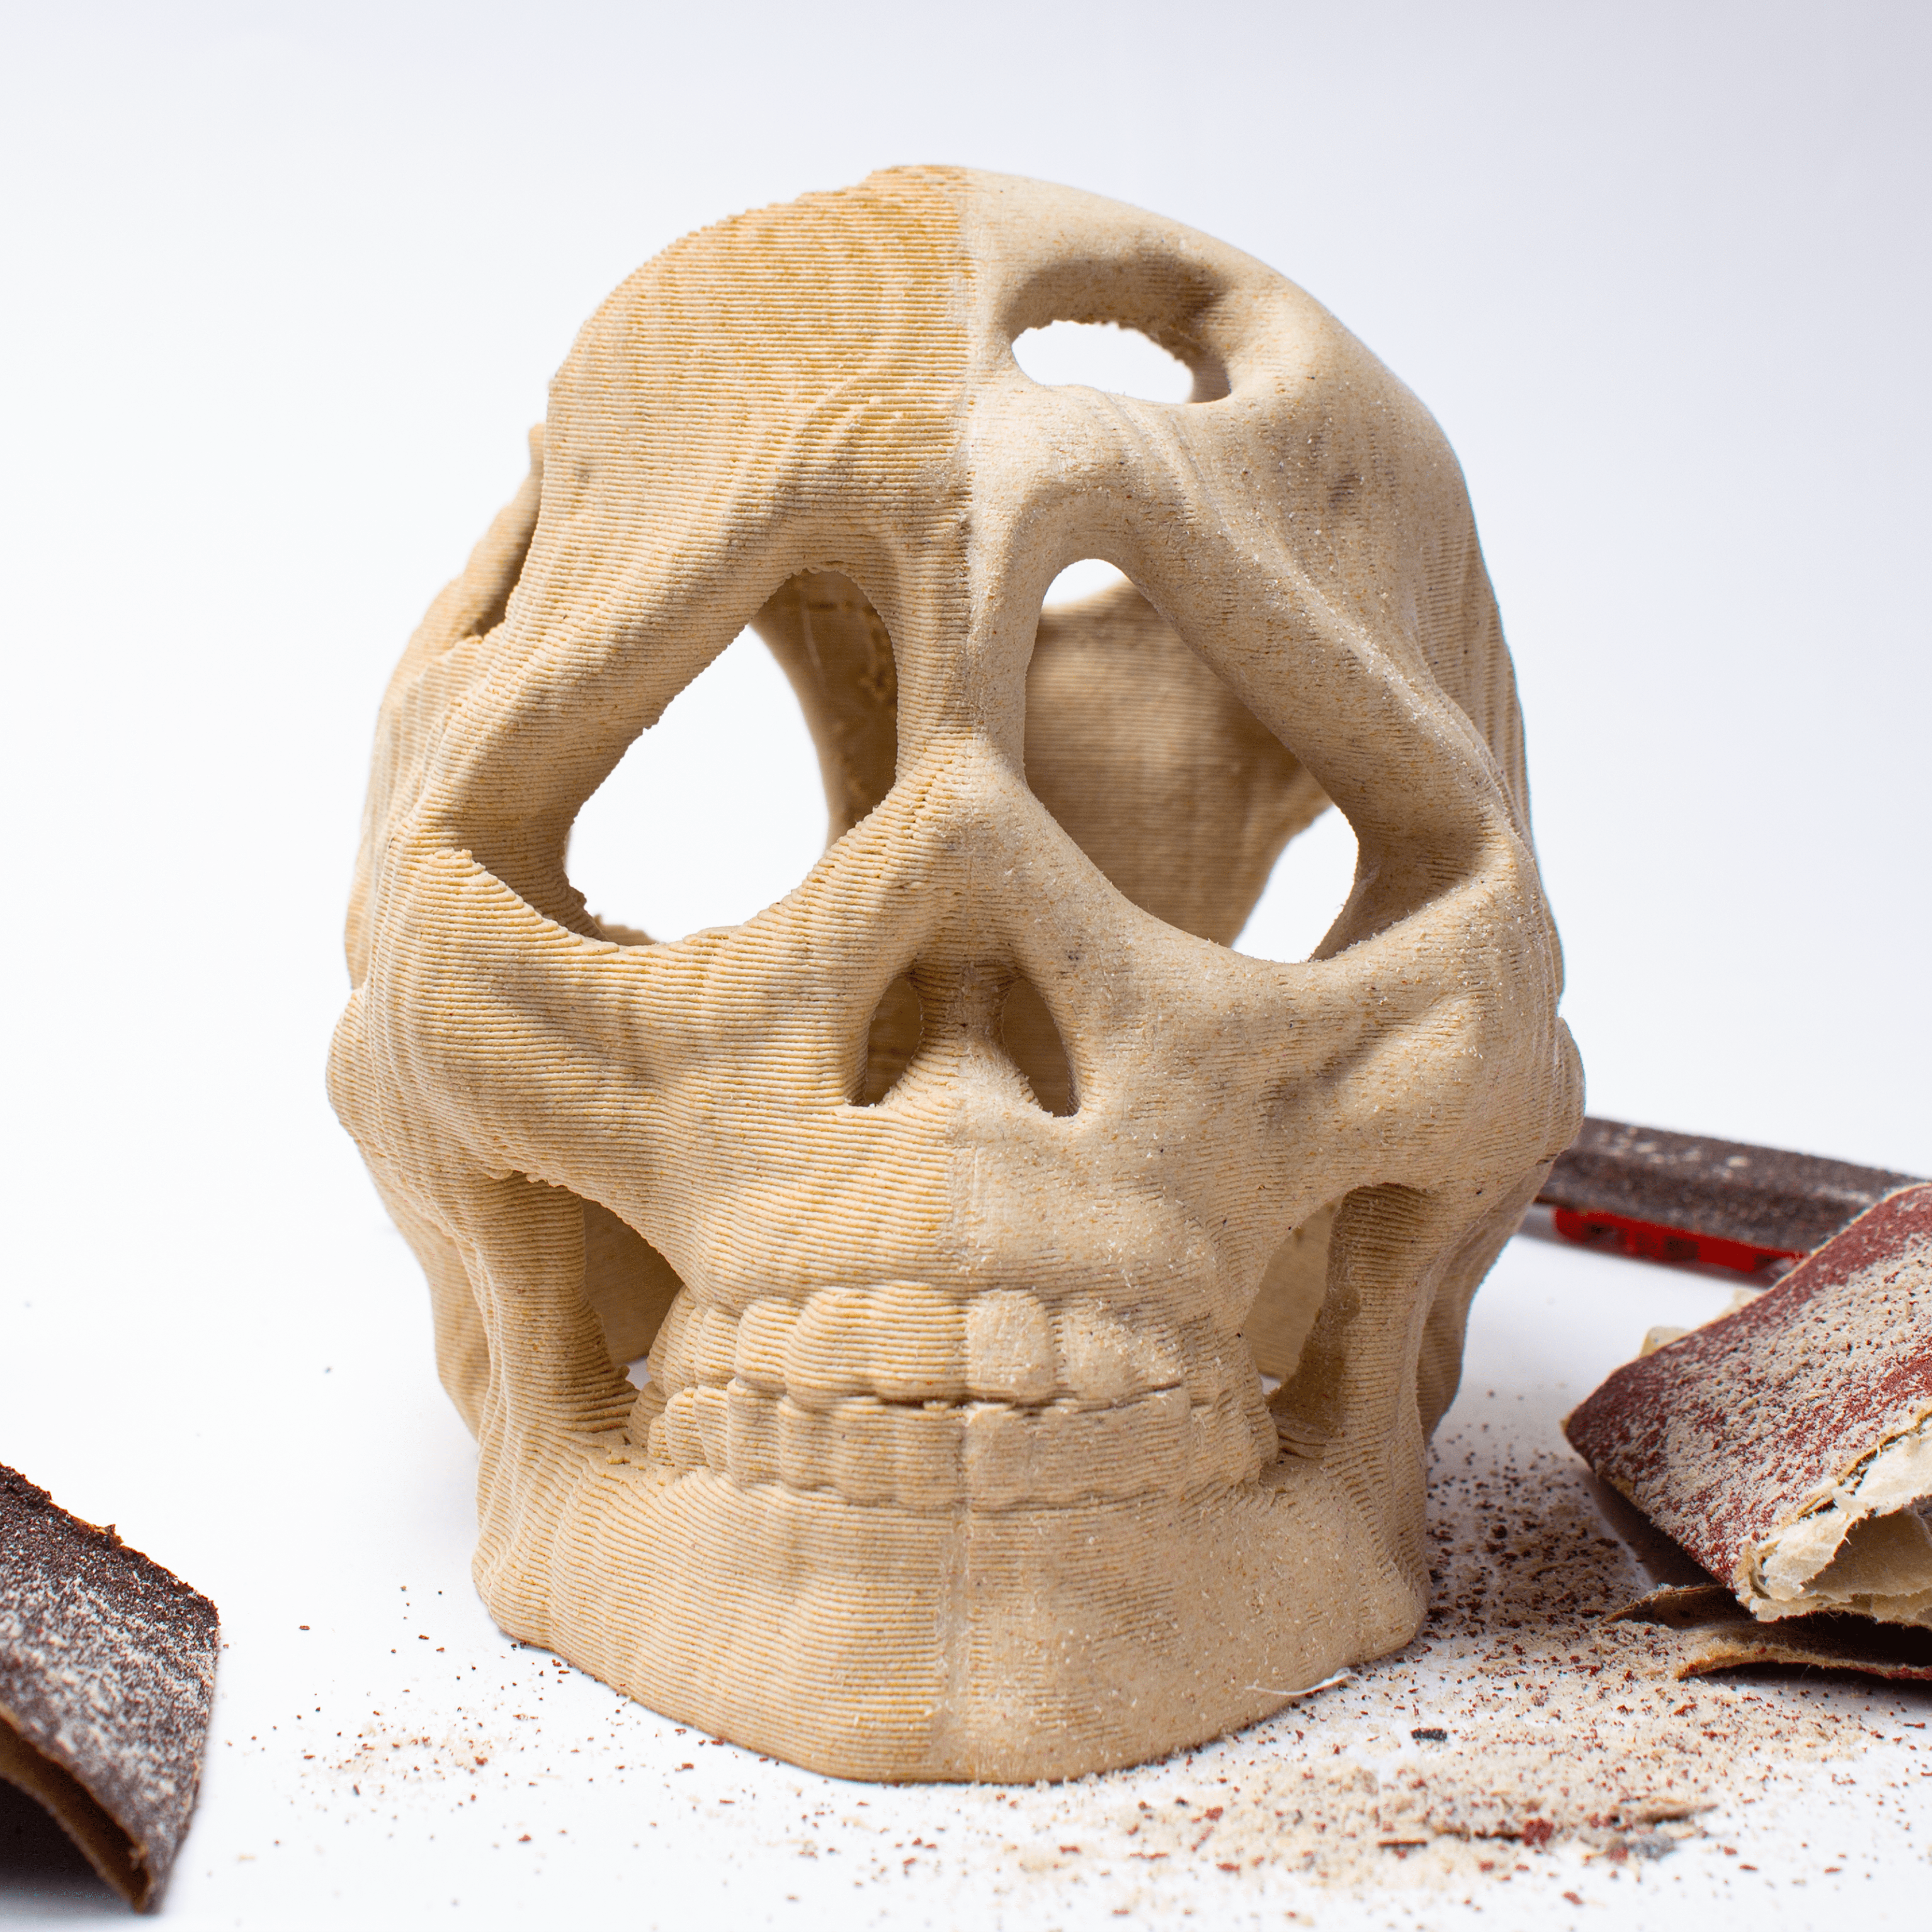
There are two techniques you may employ to smoothen the sanding process: adding water or oil and moving in circles. As you’re sanding the part, friction between the sandpaper and the surface generates heat, which could harm the fine features of the print, especially with heat-sensitive filaments like PLA. To avoid this, simply wet your part before sanding to absorb any excess heat.
Sanding the pieces in a circular motion is critical, especially with FDM parts where layers are visible. The components' visual appeal could be ruined if you sand them perpendicularly or parallel to the layers.
Acetone
Smoothing with acetone is a popular 3D print post-processing technique, especially for ABS prints. Acetone can melt ABS and therefore smooth away the layer lines visible on a part’s surface.
The simplest 3D Print Post-Processing Techniques is to pour acetone into a large container (which can be plastic, but glass is recommended), then place your prints on a platform above the acetone, avoiding direct contact.
Close the container lid for 10–20 minutes so that the vapour can melt the outer layer of the parts. You want the vapour to be able to escape the container rather than build up, though. So if the lid seals tightly, consider drilling a few holes beforehand. If you don’t have an appropriate container, you can apply small amounts of acetone with a brush onto the surface of your 3D prints.
Please keep in mind that safety precautions are a must for acetone, as it’s highly flammable and can explode. Even the fumes can be harmful if inhaled, causing irritation and other negative effects. Always work in a well-ventilated area, and be sure to wear gloves and a mask.
As for PLA, smoothing can’t be done with acetone as it doesn’t melt it, and it could even destroy the entire print by making it “gummy”. PLA can be smoothed with other chemicals, but the results won’t be as nice as acetone-smoothed ABS.
Priming and Painting
Priming is a post-processing technique that prepares a surface for painting. It simply means coating the part with either primer paint or primer spray, which acts as a base layer for the paint you will apply later.
Before applying the primer, it’s best to sand your part with low- and then medium-grit sandpaper. This removes layer lines and smooths the surface. After sanding the part, apply two coats of primer, allowing it to dry between coats.
Once everything is dry, you can start painting your 3D print using a brush or spray. If you want to achieve sharp color intersections, use masking tape.
Apply masking tape to create crisp color intersections. The best places to prime and paint are outside or in areas with good ventilation. Always wear a mask to avoid breathing in unwanted fumes.
3D prints primed and ready to be painted - Photo by Fluire Atelab
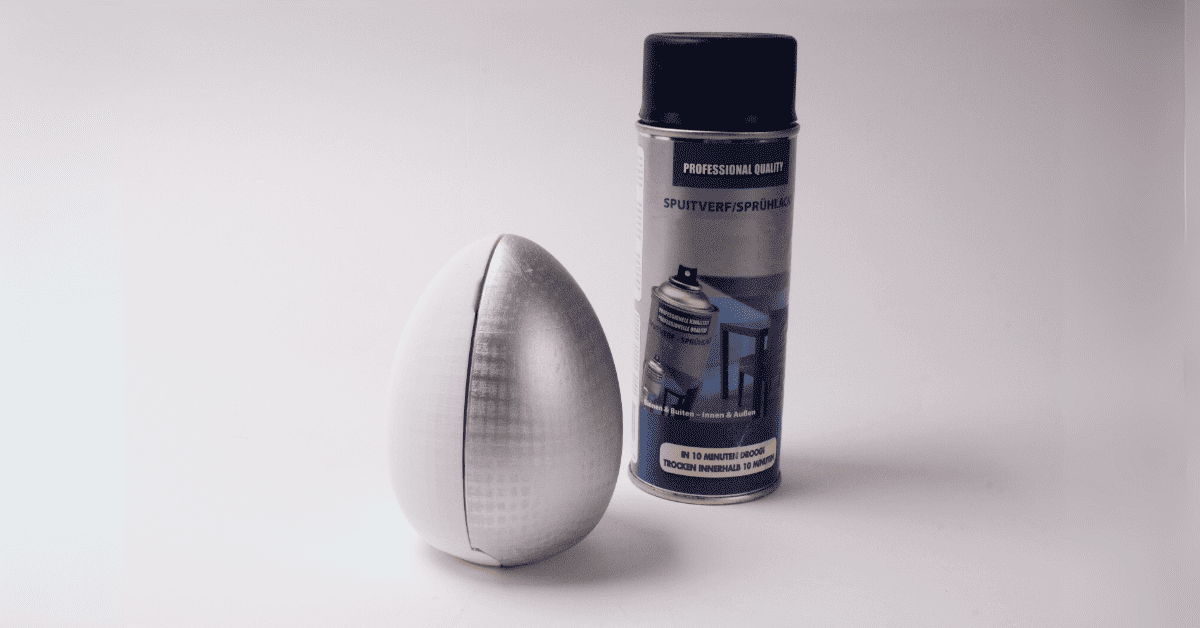
3D printed egg, half the egg has been painted silver
Hydro painting
Hydro painting is a more advanced 3D Print Post-Processing Technique and typically used on a large scale for industrial products. You can easily apply small-scale hydro dipping to 3D printed parts for a great look. Also known as water transfer printing or water transfer imaging, hydro dipping is the process of applying printed graphic designs to solid objects using special water transfer paper. The paper has one side made from PVA, onto which graphics are printed with an inkjet printer.
Once that’s done, find a large container that can accommodate your part and fill it with hot water. Take off the paper's backing so that the only thing left is the printed graphic on clear PVA. Place it gently into the water and watch for the PVA to evaporate, allowing your graphic to float by itself.
Next, carefully insert the component at a 45-degree angle into the image. To operate from a distance, you can either hold it in one hand or fasten a stick. After the component is completely submerged, give it a few shakes before removing the completed portion from the container.
Hydro dipping is only used to enhance an object’s aesthetics and does not change the feel or dimensional properties. However, the possibilities are infinite with the graphics you can add to a part, so this is one of the best ways to make your 3D prints eye-catching.
3D prints being hydro painted
Electroplating
The method of adding a metal coating to other metals or components having a conducting surface is called electroplating. It's a fantastic post-processing method that may greatly enhance both beauty and strength. Although it looks complex, the procedure is not as difficult as it first seems. Transferring a metal coating from one metal to another (or a part having a conducting surface) is essentially what electroplating entails. A power source (battery or rectifier) and an electrolyte are the two primary components needed for electroplating, which is made possible by the chemical process known as electrolysis. An acid, water, and a metal salt (of the metal you wish to coat your part with) make up the electrolyte.
The reaction between the cathode, which is connected to the negative pole of the power source, and the anode, which is connected to the positive pole, requires an electric current to start. The component to be plated serves as the cathode, while the anode is formed of the metal you wish to employ as a coating.
The electrolyte is then dipped into both the anode and the cathode. Copper and nickel are the most often utilized metals in this procedure, however other elements including brass, gold, silver, chromium, and more can also be employed.
Since 3D printed parts are plastic and non-conductive, you’ll need to properly sand them and apply conductive paint before attempting electroplating. Some have attempted using conductive filament in place of the conductive paint, but the results have been mixed. So, it’s probably best to stick to the conductive paint.
The Final Touches
Post-processing doesn't stop at smoothing and painting. You can add other elements like functional parts, or incorporate your prints into larger projects. The possibilities are endless!
With these post-processing techniques in your arsenal, you can take your 3D prints from basic to breathtaking. So unleash your creativity, experiment, and transform your creations into unique and stunning works of art!