
Introduction
The quality of your filament plays a crucial role in determining the success of your 3D prints. One of the often-overlooked aspects of filament care is ensuring it stays dry. Moisture can seep into the filament over time, leading to poor print quality, weakened structural integrity, and a frustrating printing experience.
If you’ve ever encountered issues like bubbling, stringing, or inconsistent extrusion, there’s a good chance that moisture in your filament is the culprit. Drying your filament before use can make a world of difference, ensuring smoother prints, better layer adhesion, and overall higher-quality results.
In this guide, we’ll explore why drying filament is essential, the various methods to do it effectively, and some best practices to maintain your filament in optimal condition. Whether you’re a seasoned 3D printing enthusiast or just starting out, this guide will equip you with the knowledge you need to keep your filament dry and your prints flawless.
Why Drying Filament is Crucial
Impact of Moisture on Filament
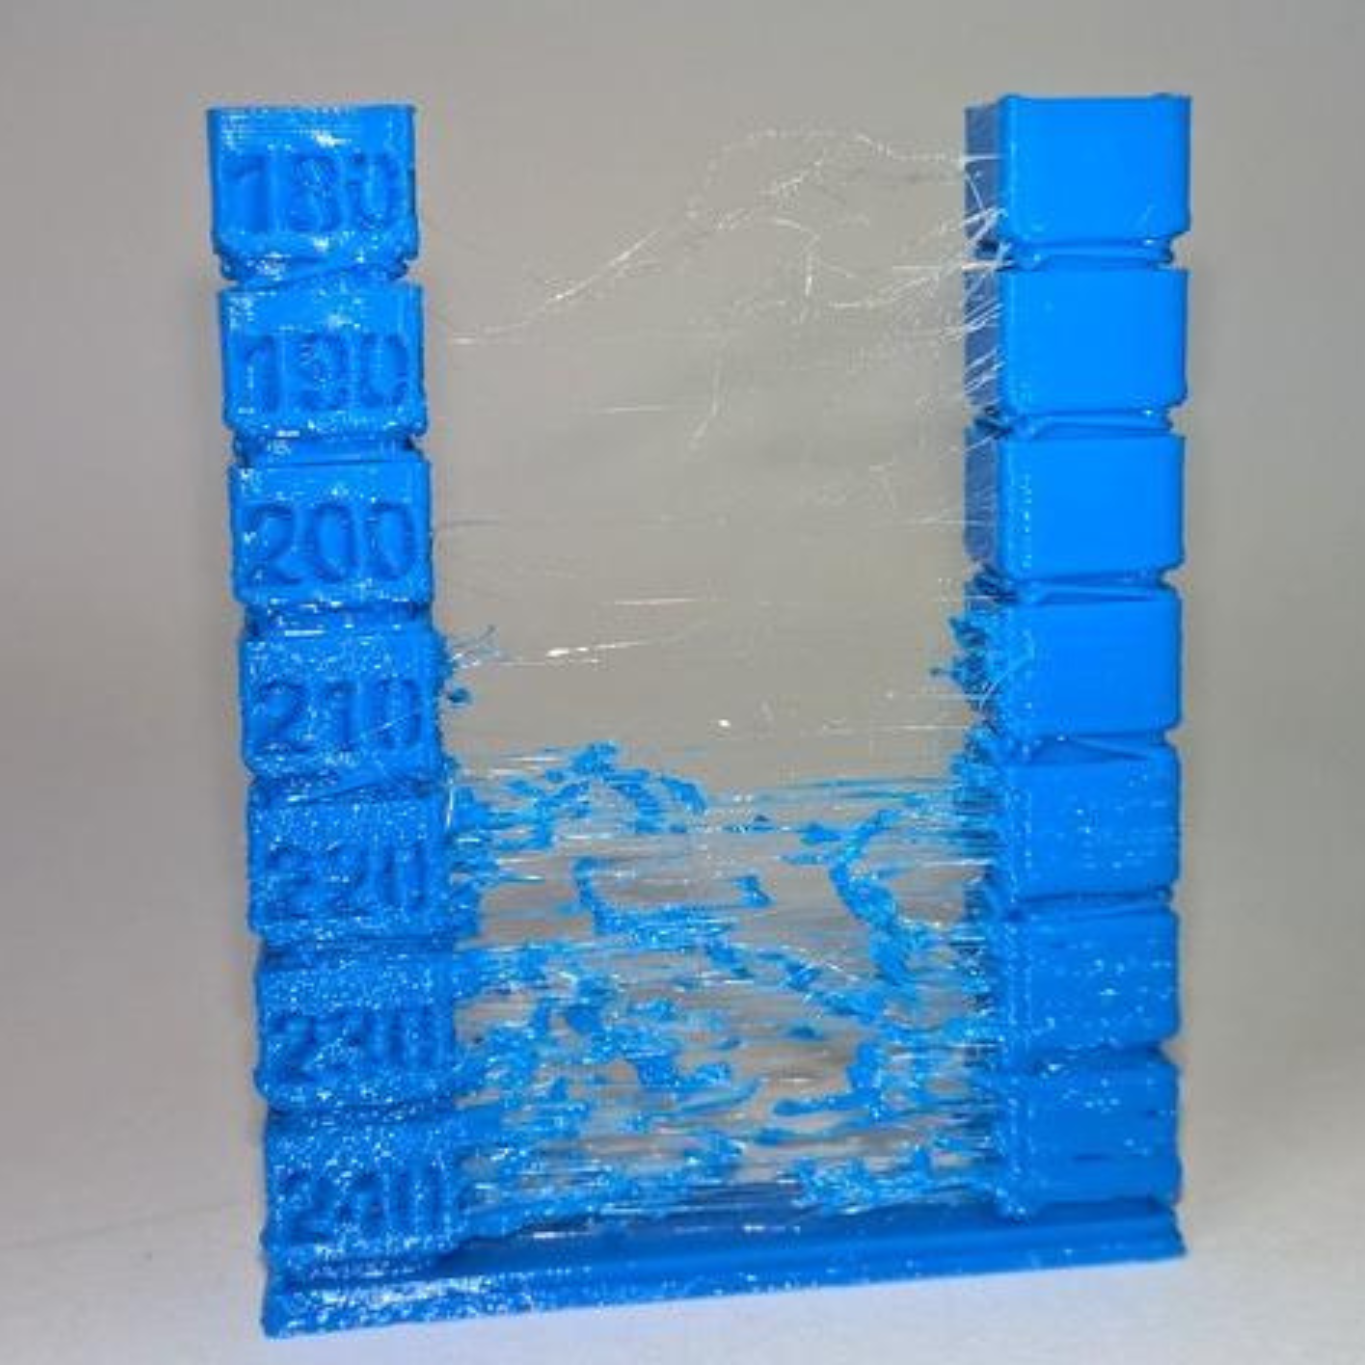
3D printing filaments are highly sensitive to moisture, as most are made from hygroscopic materials, meaning they absorb water from the air. When a filament absorbs moisture, the water molecules disrupt the extrusion process. As the wet filament passes through the heated nozzle, the water turns into steam, causing a range of problems, from bubbles and popping sounds to inconsistent extrusion and poor layer adhesion.
The presence of moisture can severely degrade print quality, leading to visible defects like surface roughness, stringing, or even complete print failures. Additionally, moisture-affected filament can result in weaker, more brittle parts, compromising the mechanical properties of your printed objects.
Common Signs of Wet Filament
Identifying wet filament before starting a print can save you time and frustration. Some common indicators that your filament has absorbed moisture include:
- Popping or Hissing Sounds: As the filament is extruded, you might hear popping or hissing noises caused by steam escaping.
- Stringing and Oozing: Excessive stringing, where fine strands of filament appear between parts of the print, is a typical sign of moisture.
- Poor Surface Finish: Wet filament often results in rough, uneven surfaces on your prints.
- Inconsistent Extrusion: The presence of moisture can cause uneven flow, leading to gaps or thin layers in your print.
Types of Filaments Affected
While all 3D printing filaments can absorb moisture, some are more susceptible than others:
- PLA (Polylactic Acid): Although PLA is relatively less hygroscopic than other filaments, it can still absorb enough moisture to affect print quality.
- ABS (Acrylonitrile Butadiene Styrene): ABS is more sensitive to moisture, which can lead to warping and weakened parts.
- Nylon: One of the most hygroscopic filaments, Nylon absorbs moisture quickly and requires careful handling to avoid print defects.
- PETG (Polyethylene Terephthalate Glycol): PETG is moderately hygroscopic and can show issues like stringing and bubbles if not dried properly.
- TPU (Thermoplastic Polyurethane): This flexible filament also absorbs moisture, leading to issues with layer adhesion and print consistency.

Understanding how moisture affects different types of filament is key to preventing common printing problems. Drying your filament ensures it remains in optimal condition, ready to produce high-quality prints every time.
Methods to Dry Filament
There are several effective methods to dry your filament, each with its own advantages and drawbacks. Whether you choose a specialized filament dryer or a DIY approach, the goal is to remove moisture without damaging the filament. Here are some of the most popular methods:
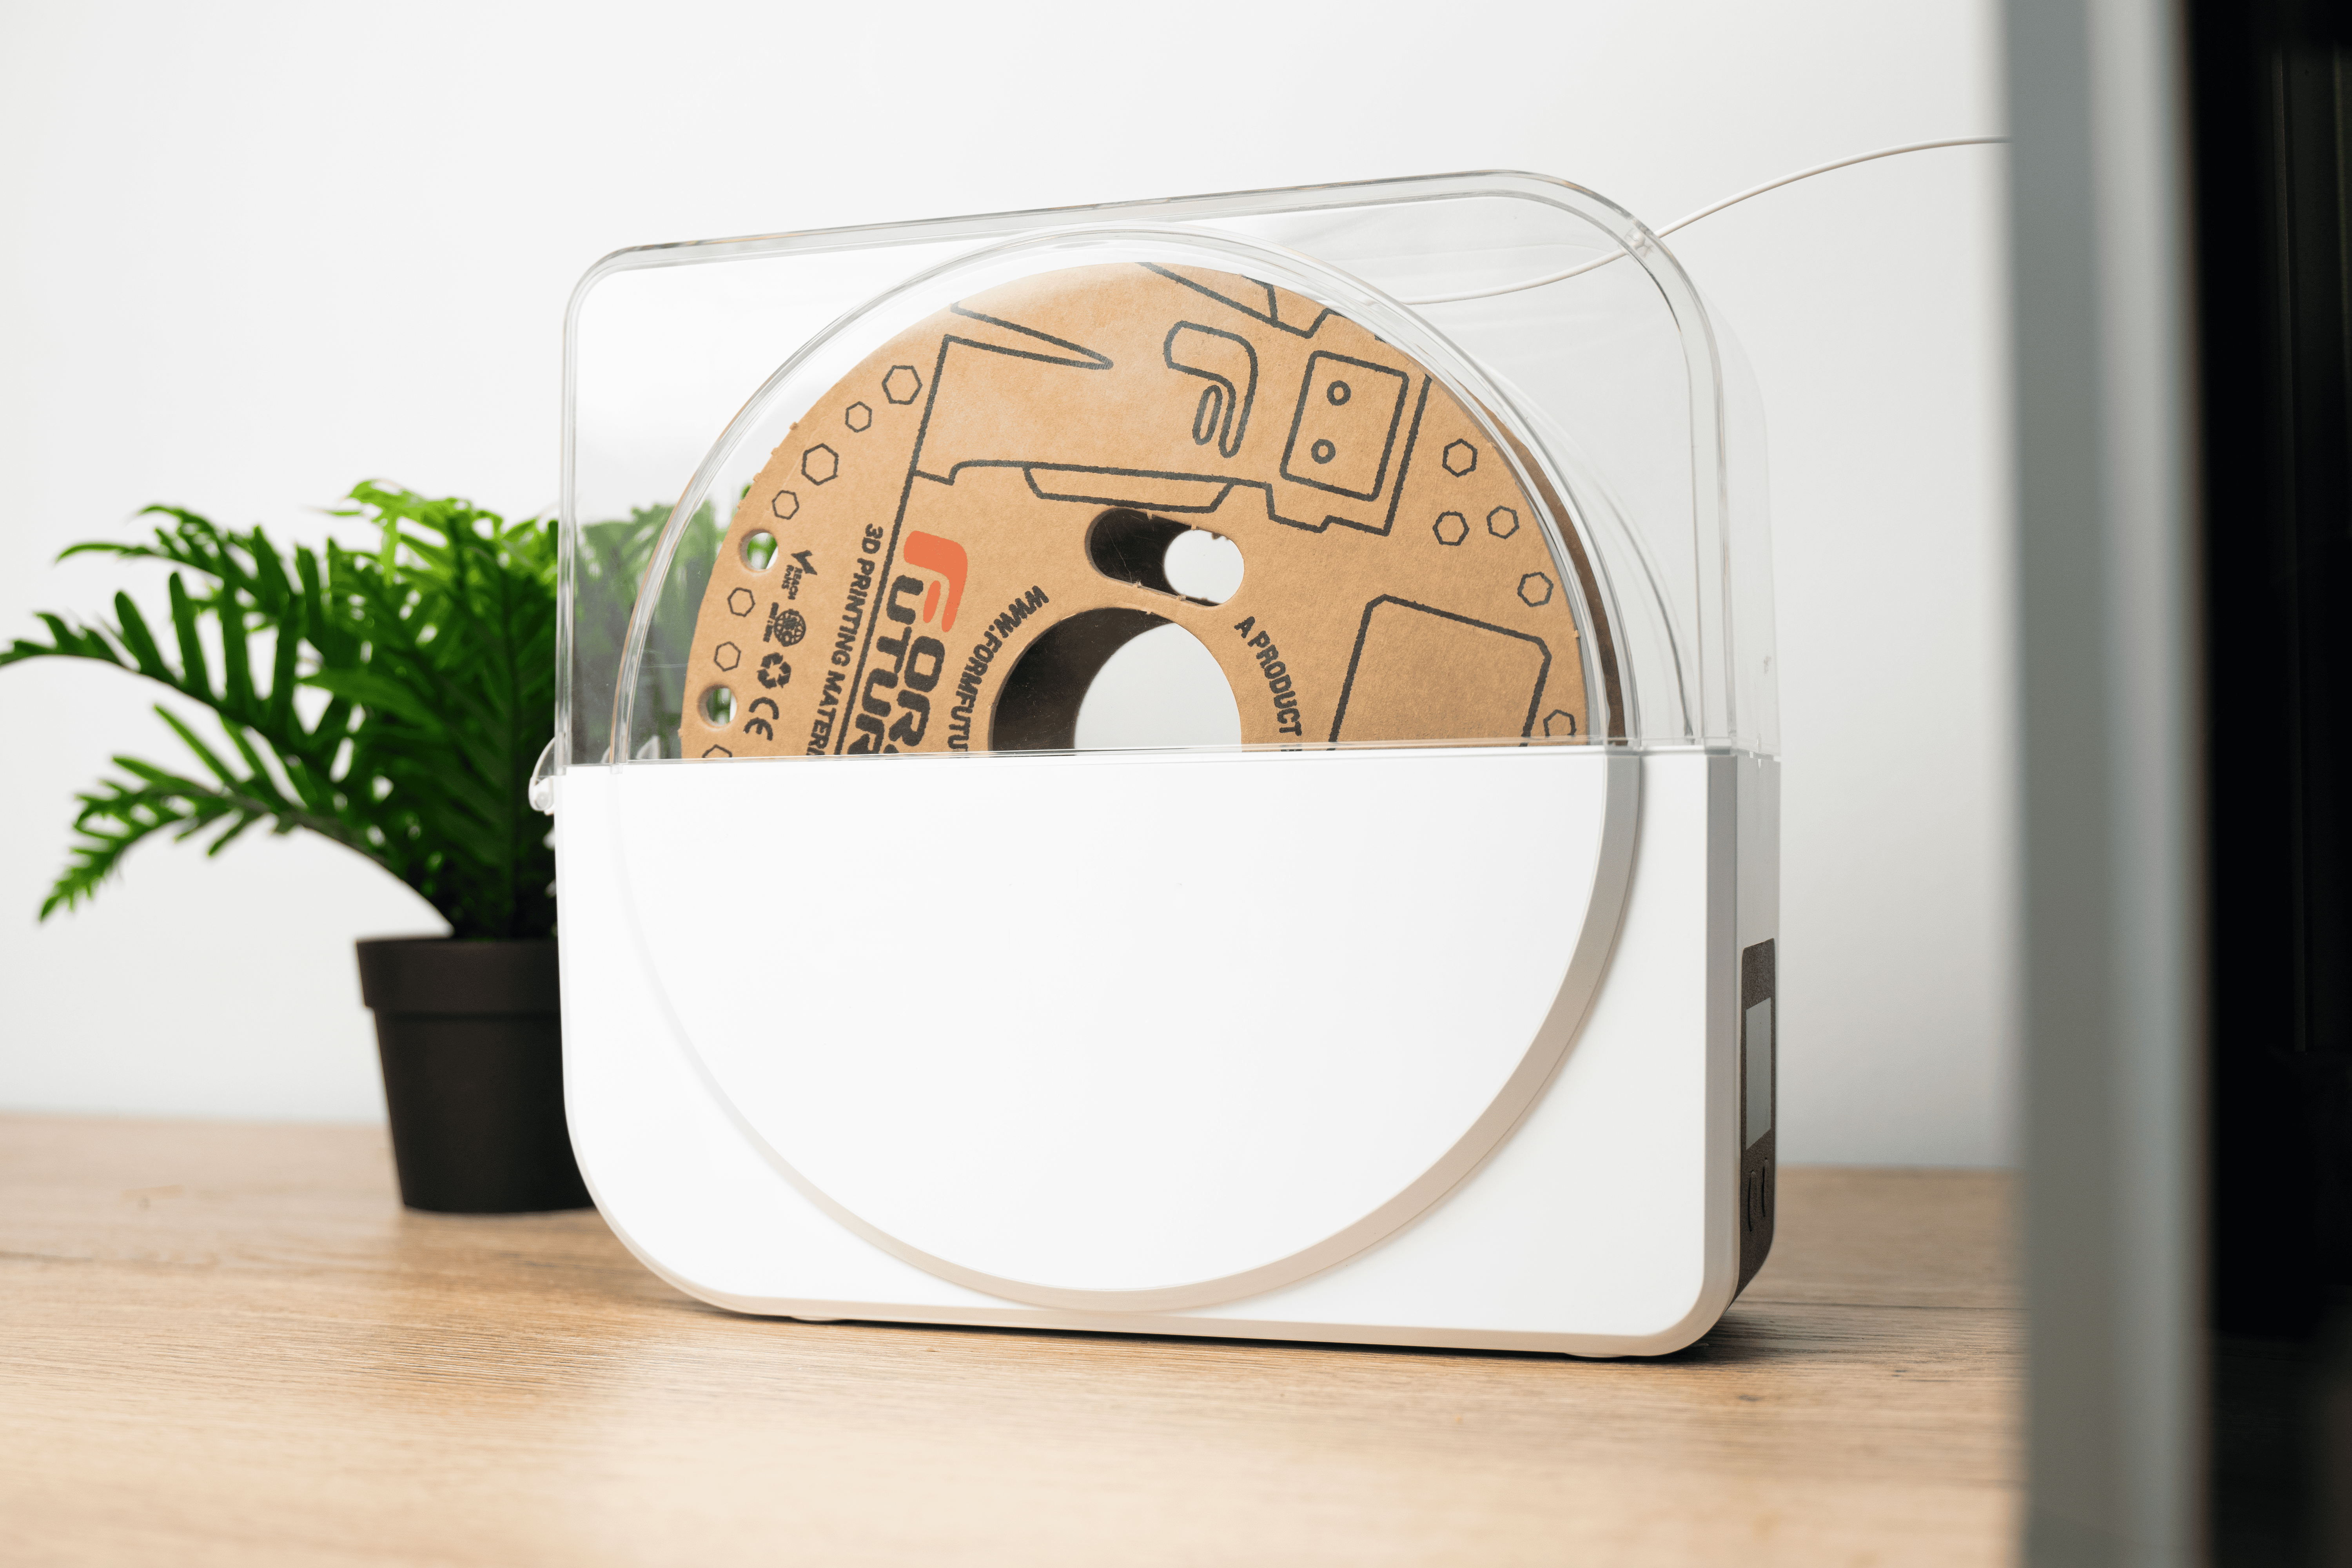
Using a Filament Dryer
A filament dryer is a device specifically designed to remove moisture from 3D printing filaments. It operates by gently heating the filament spool while circulating dry air, ensuring that moisture is effectively evaporated.
Pros:
- Ease of Use: Set it and forget it; filament dryers are user-friendly and efficient.
- Consistent Results: They provide a controlled environment, ensuring consistent drying.
- Built-in Storage: Some models allow you to store filament in the dryer, keeping it dry until you’re ready to print.
Cons:
- Cost: Filament dryers can be expensive, especially for beginners.
- Space: They require dedicated space in your workspace.
Using an Oven
Process:
A conventional oven can be a practical and effective tool for drying filament, but it requires careful attention to temperature. Here’s a step-by-step guide:
- Preheat the Oven: Set your oven to the lowest possible temperature, ideally around 40°C to 50°C (104°F to 122°F). Avoid using ovens that don’t allow precise temperature control.
- Place the Filament: Remove the filament spool from its packaging and place it on a baking tray lined with parchment paper.
3. Dry the Filament: Allow the filament to dry in the oven for 4 to 6 hours, depending on the filament type and moisture content.
4. Monitor Temperature: Use an oven thermometer to ensure the temperature remains stable, avoiding any risk of overheating.
Precautions:
- Temperature Control: Never exceed 60°C (140°F) as higher temperatures can cause the filament to soften, warp, or even fuse together.
- Ventilation: Ensure your oven is well-ventilated, as some filaments may release fumes when heated.
DIY Methods
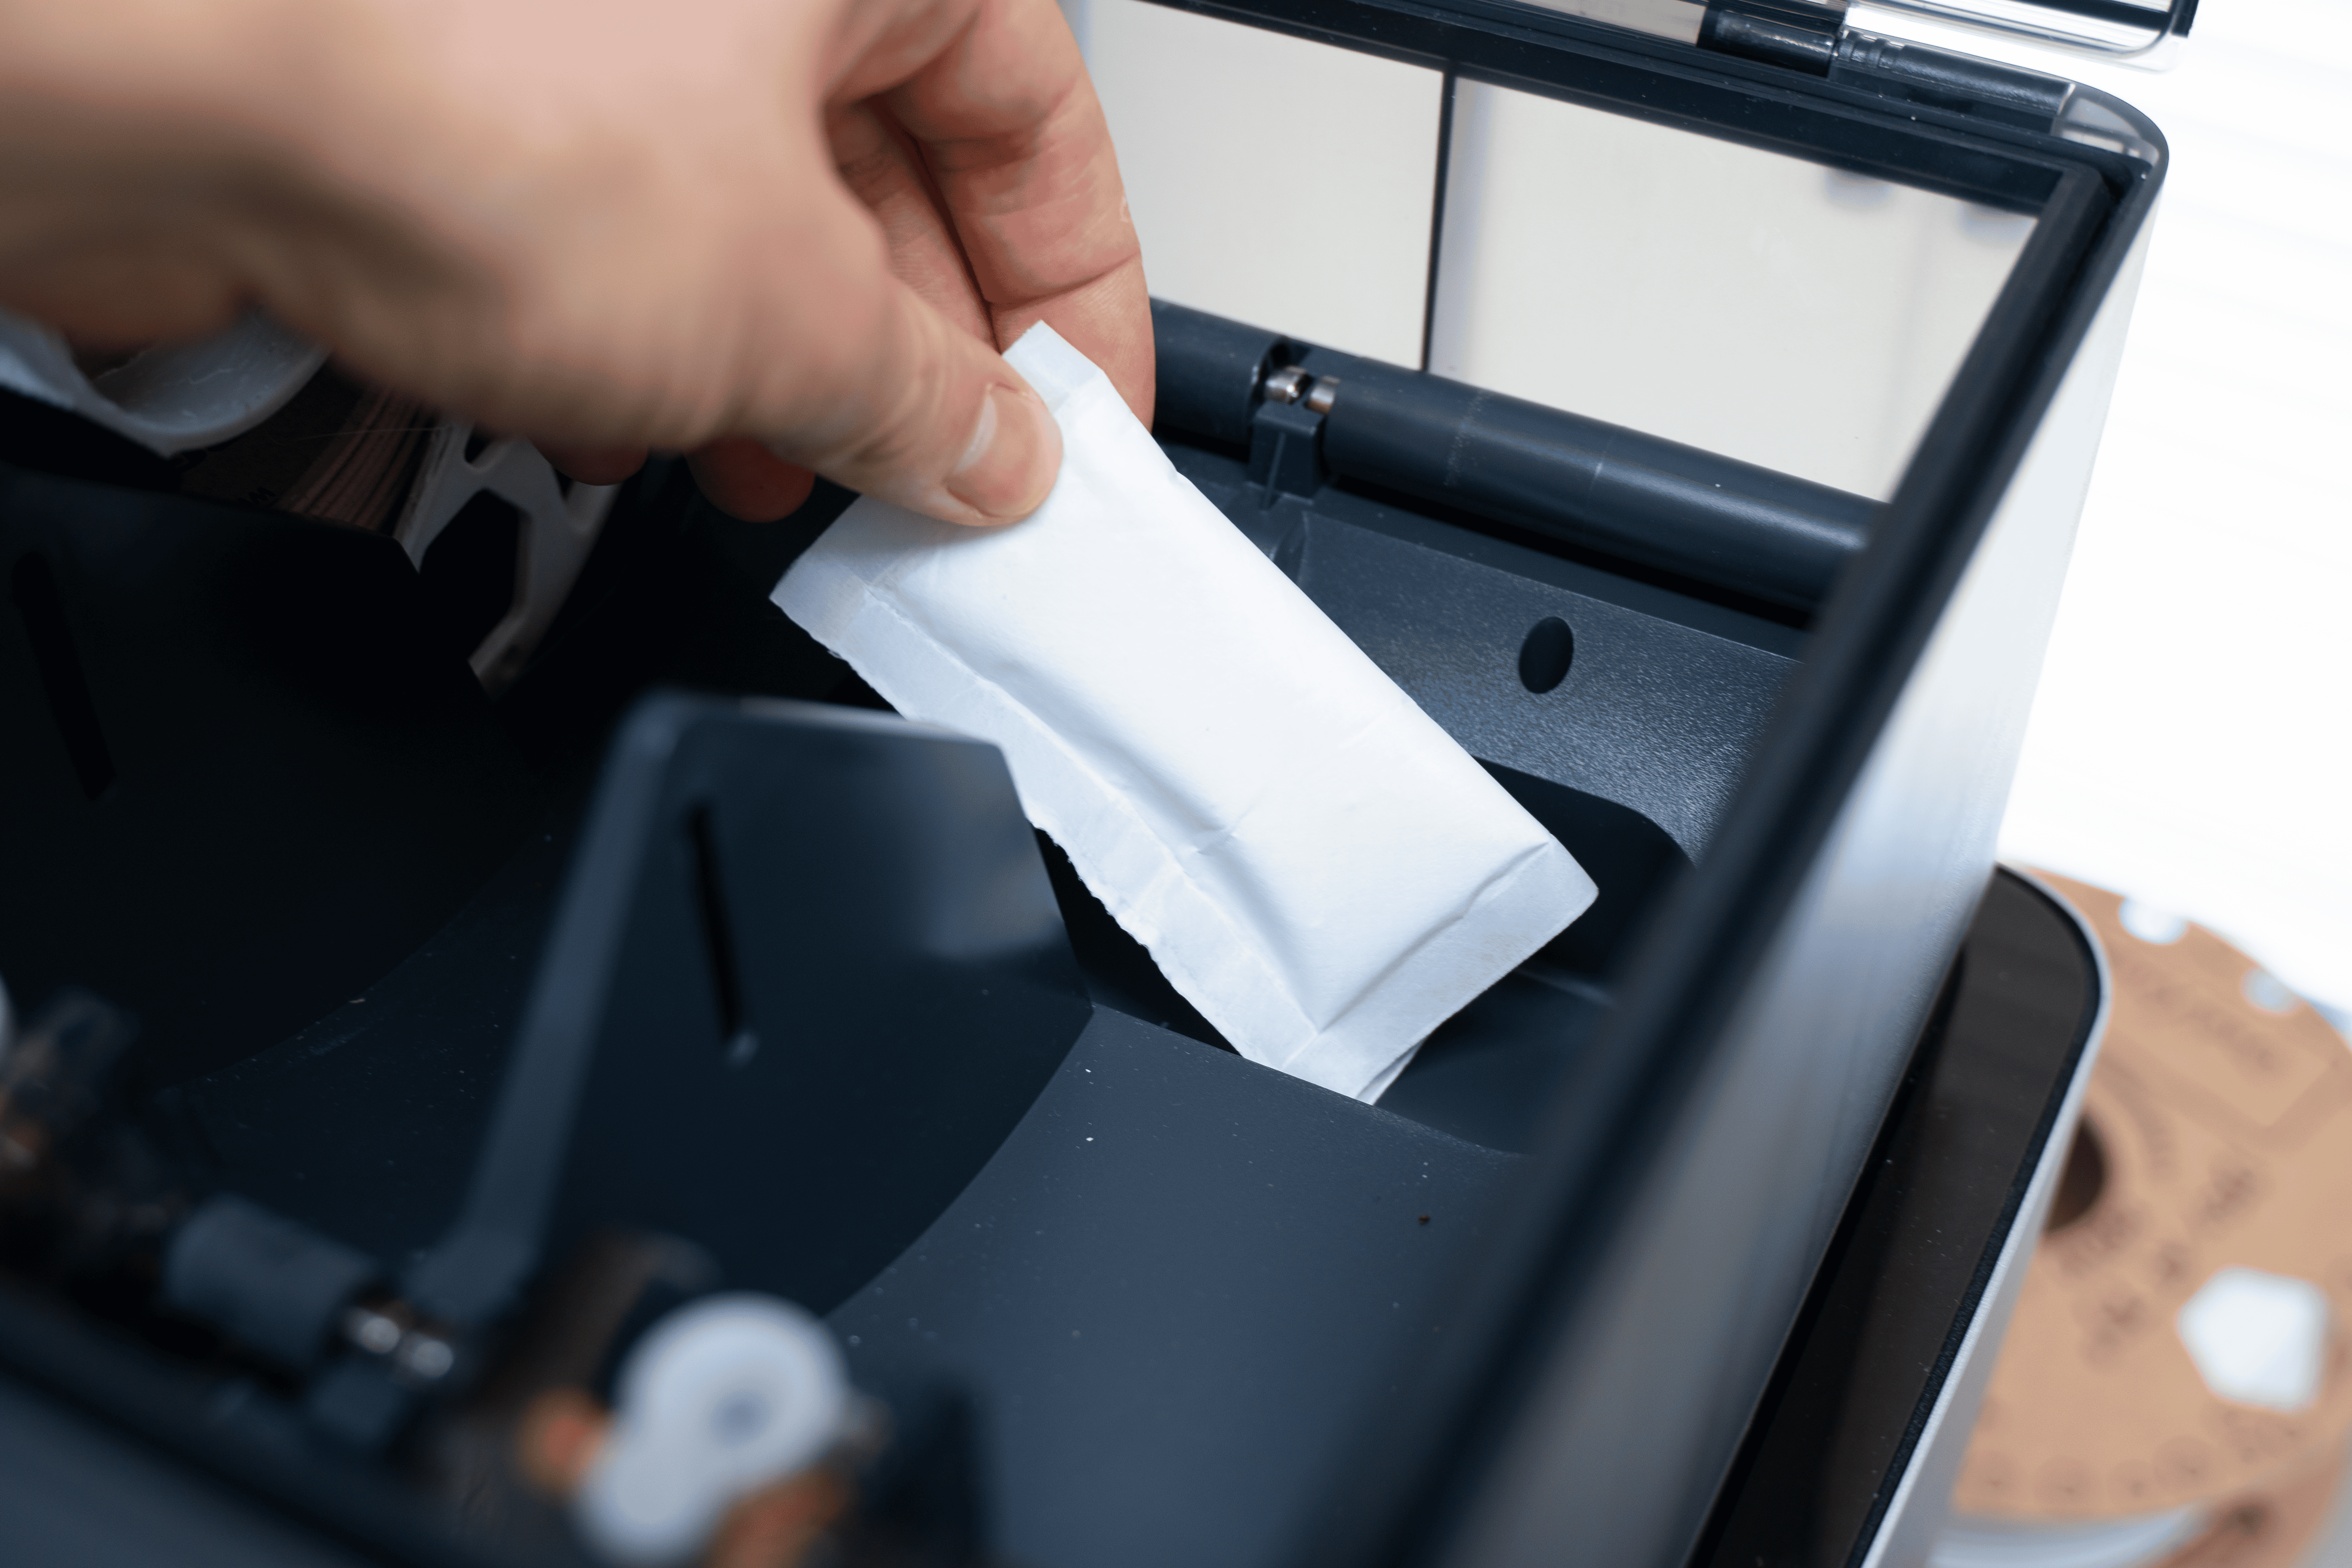
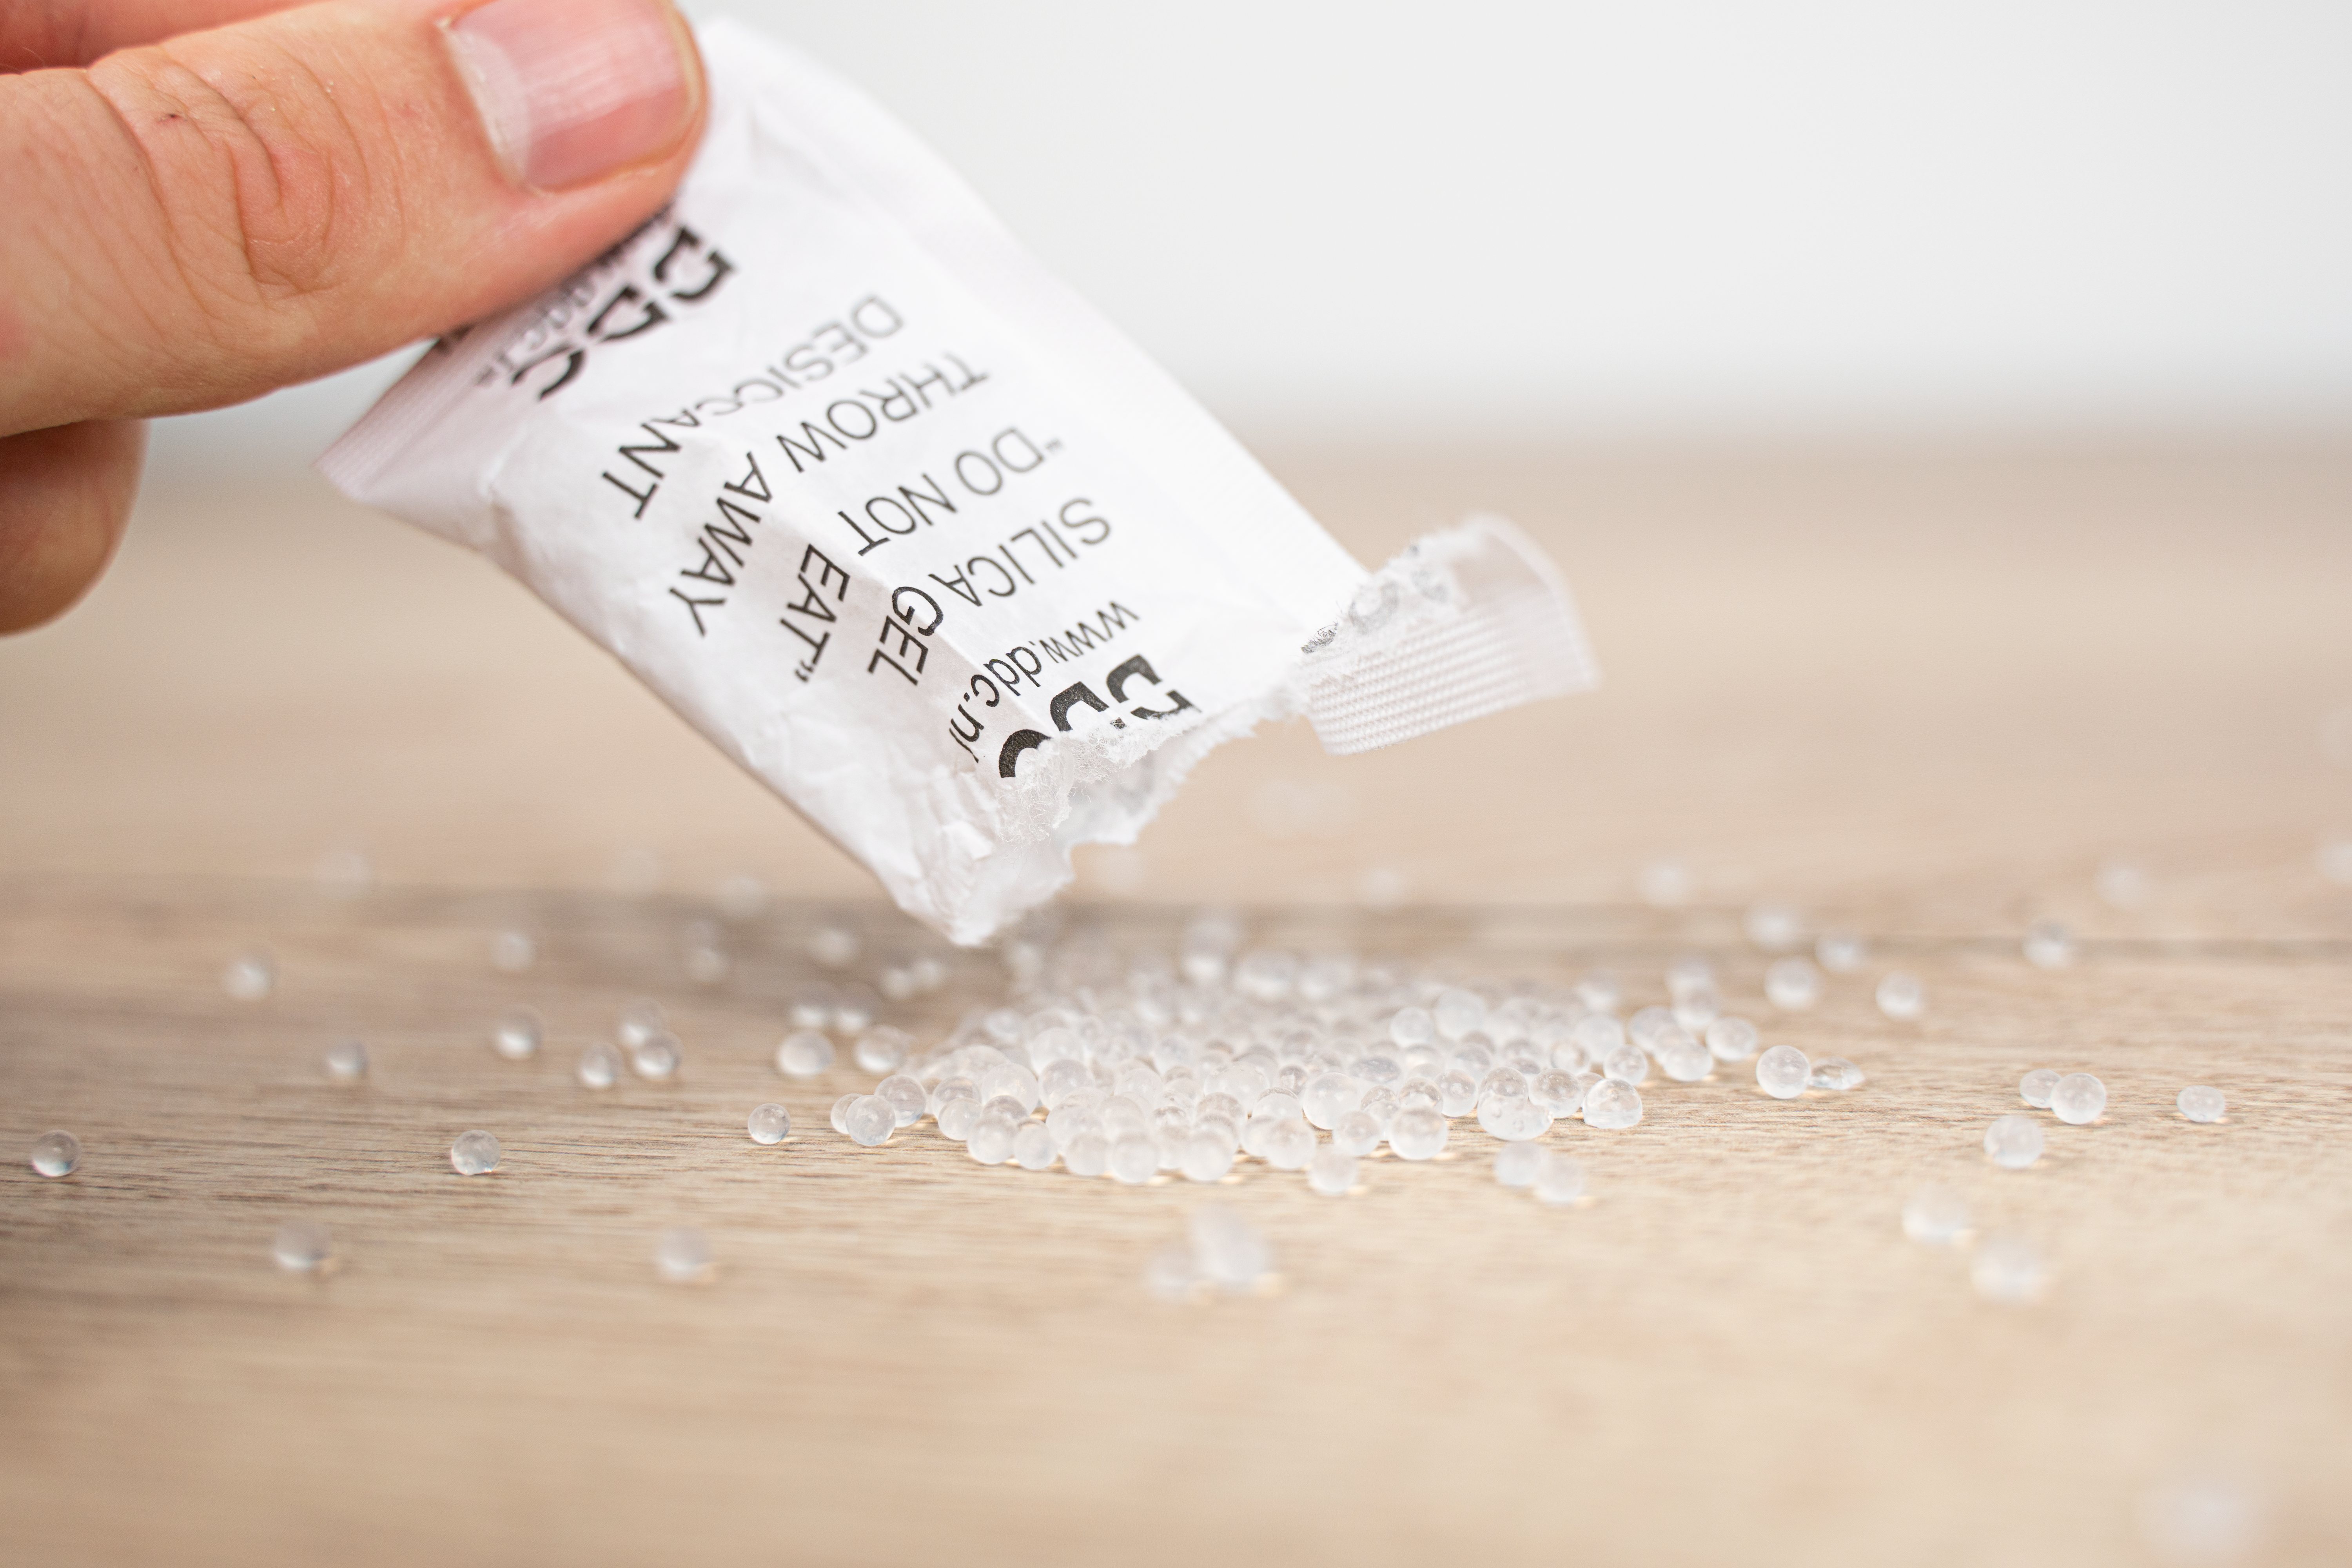
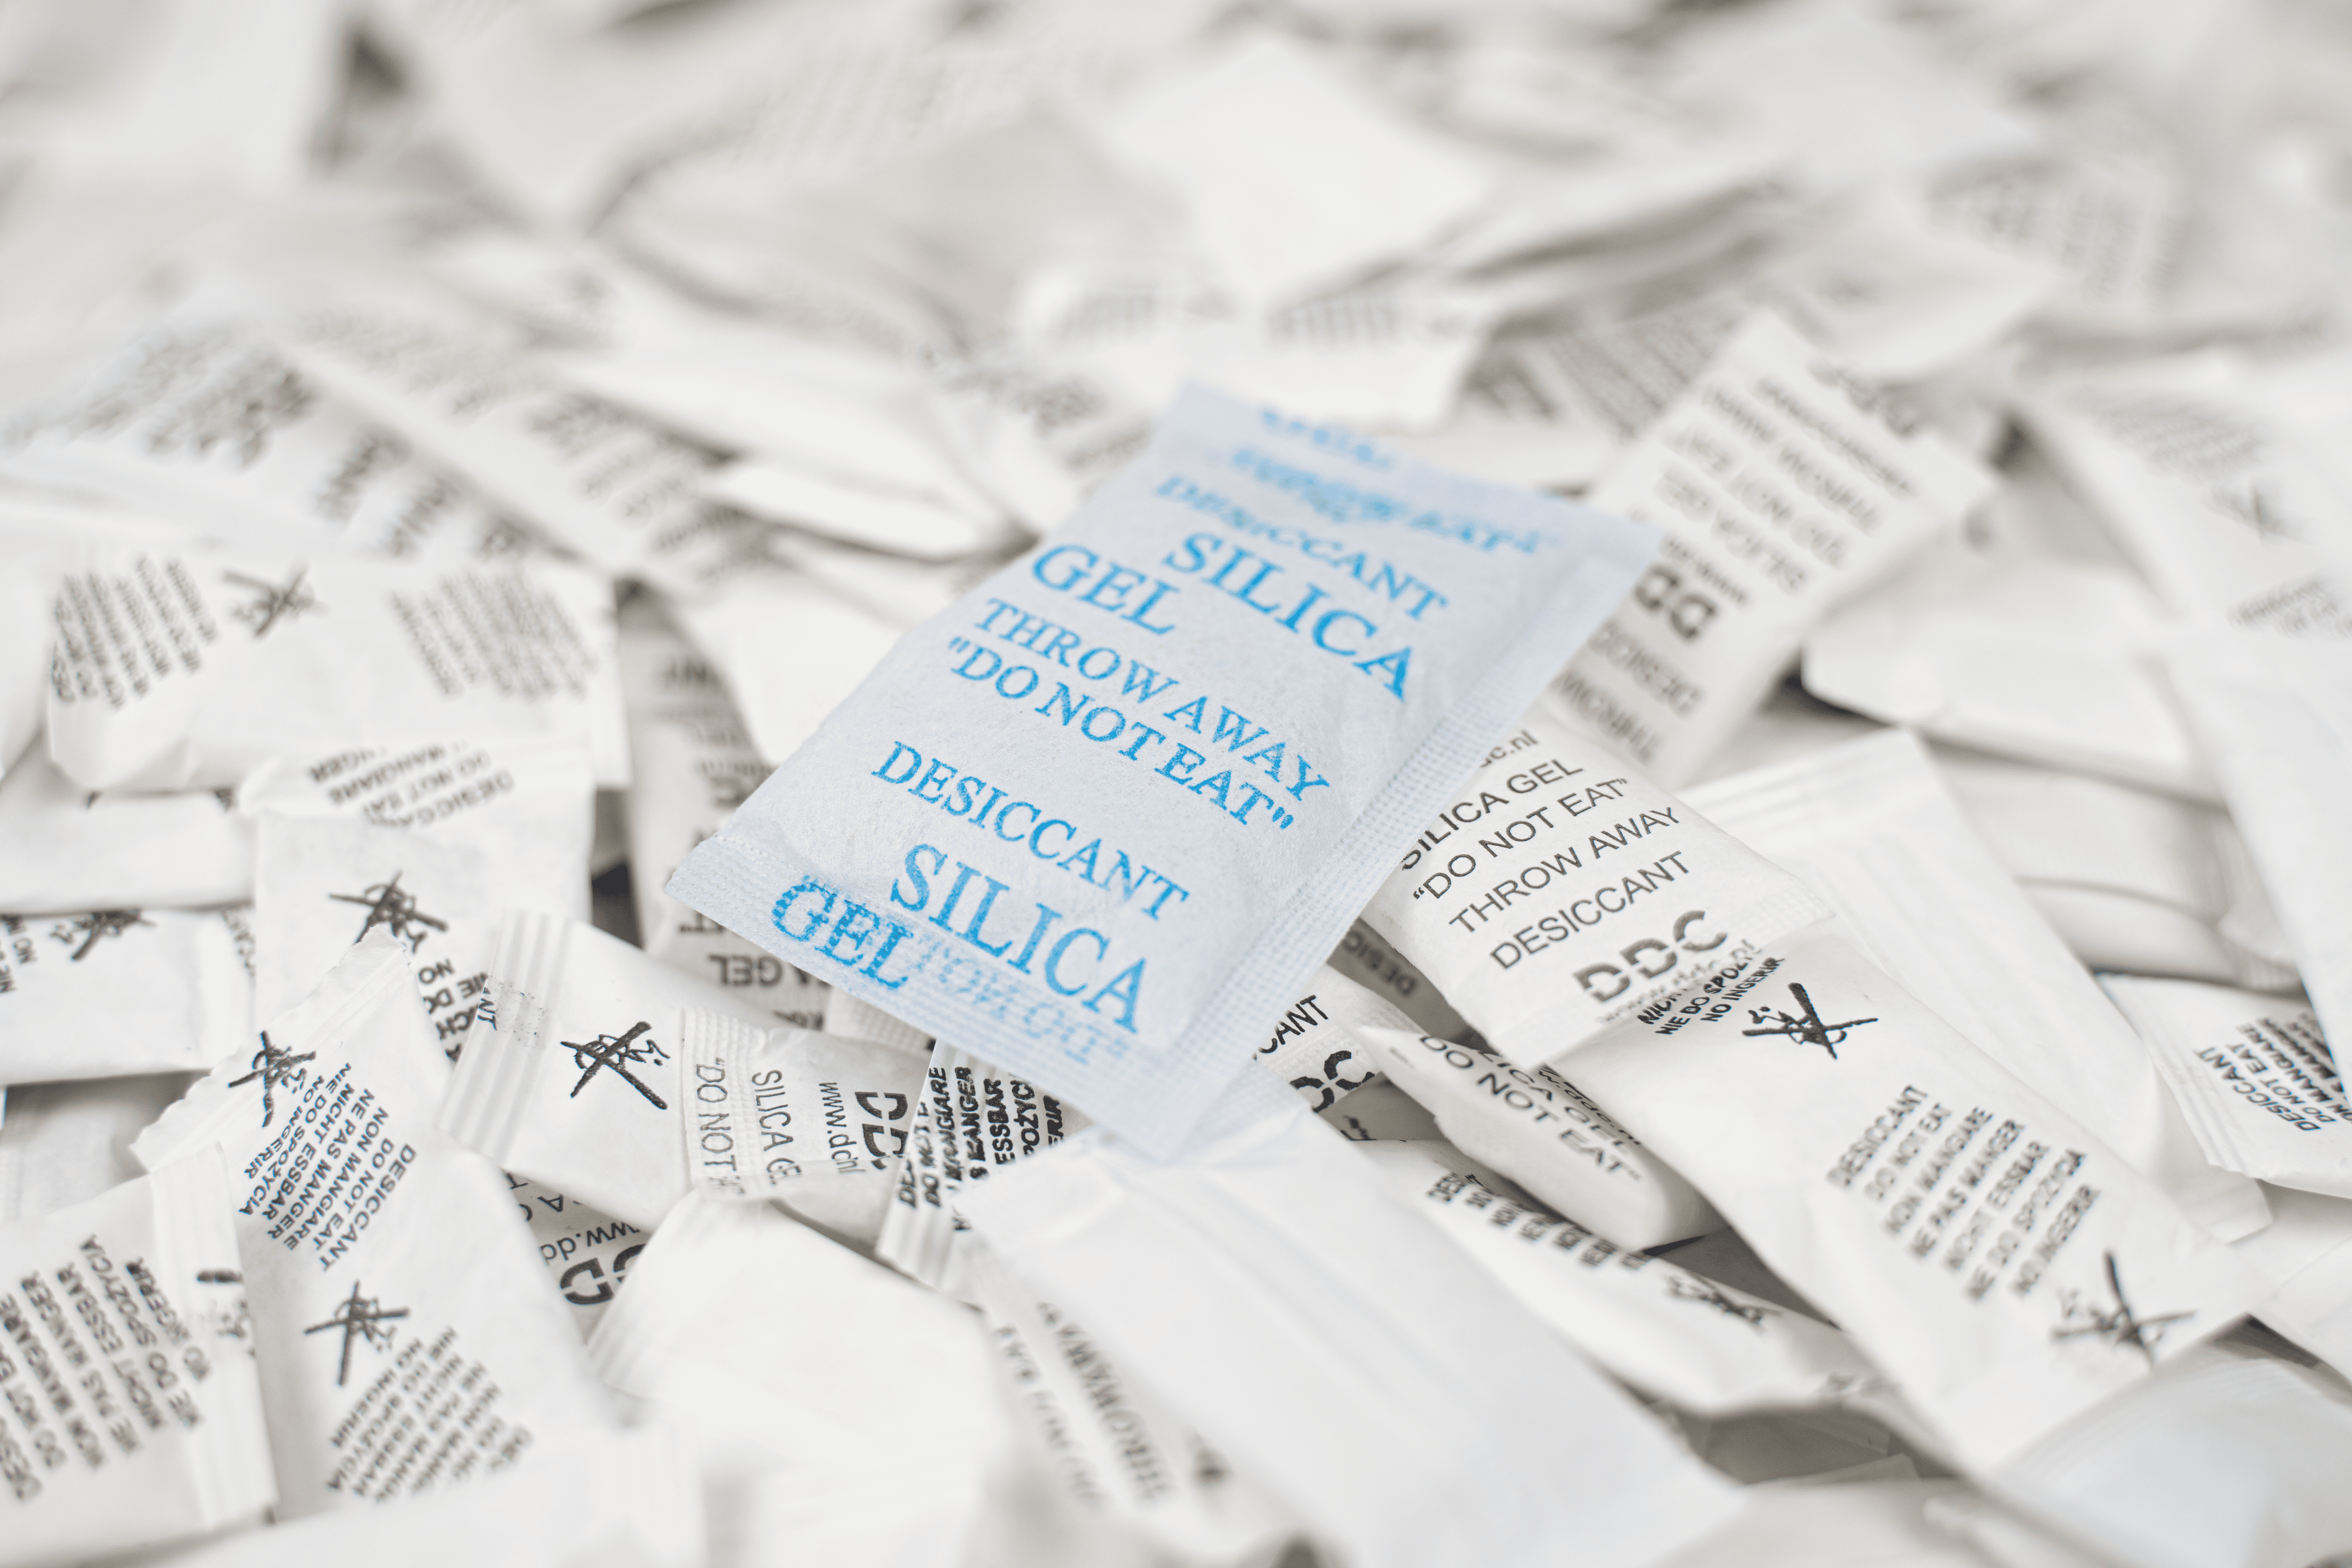
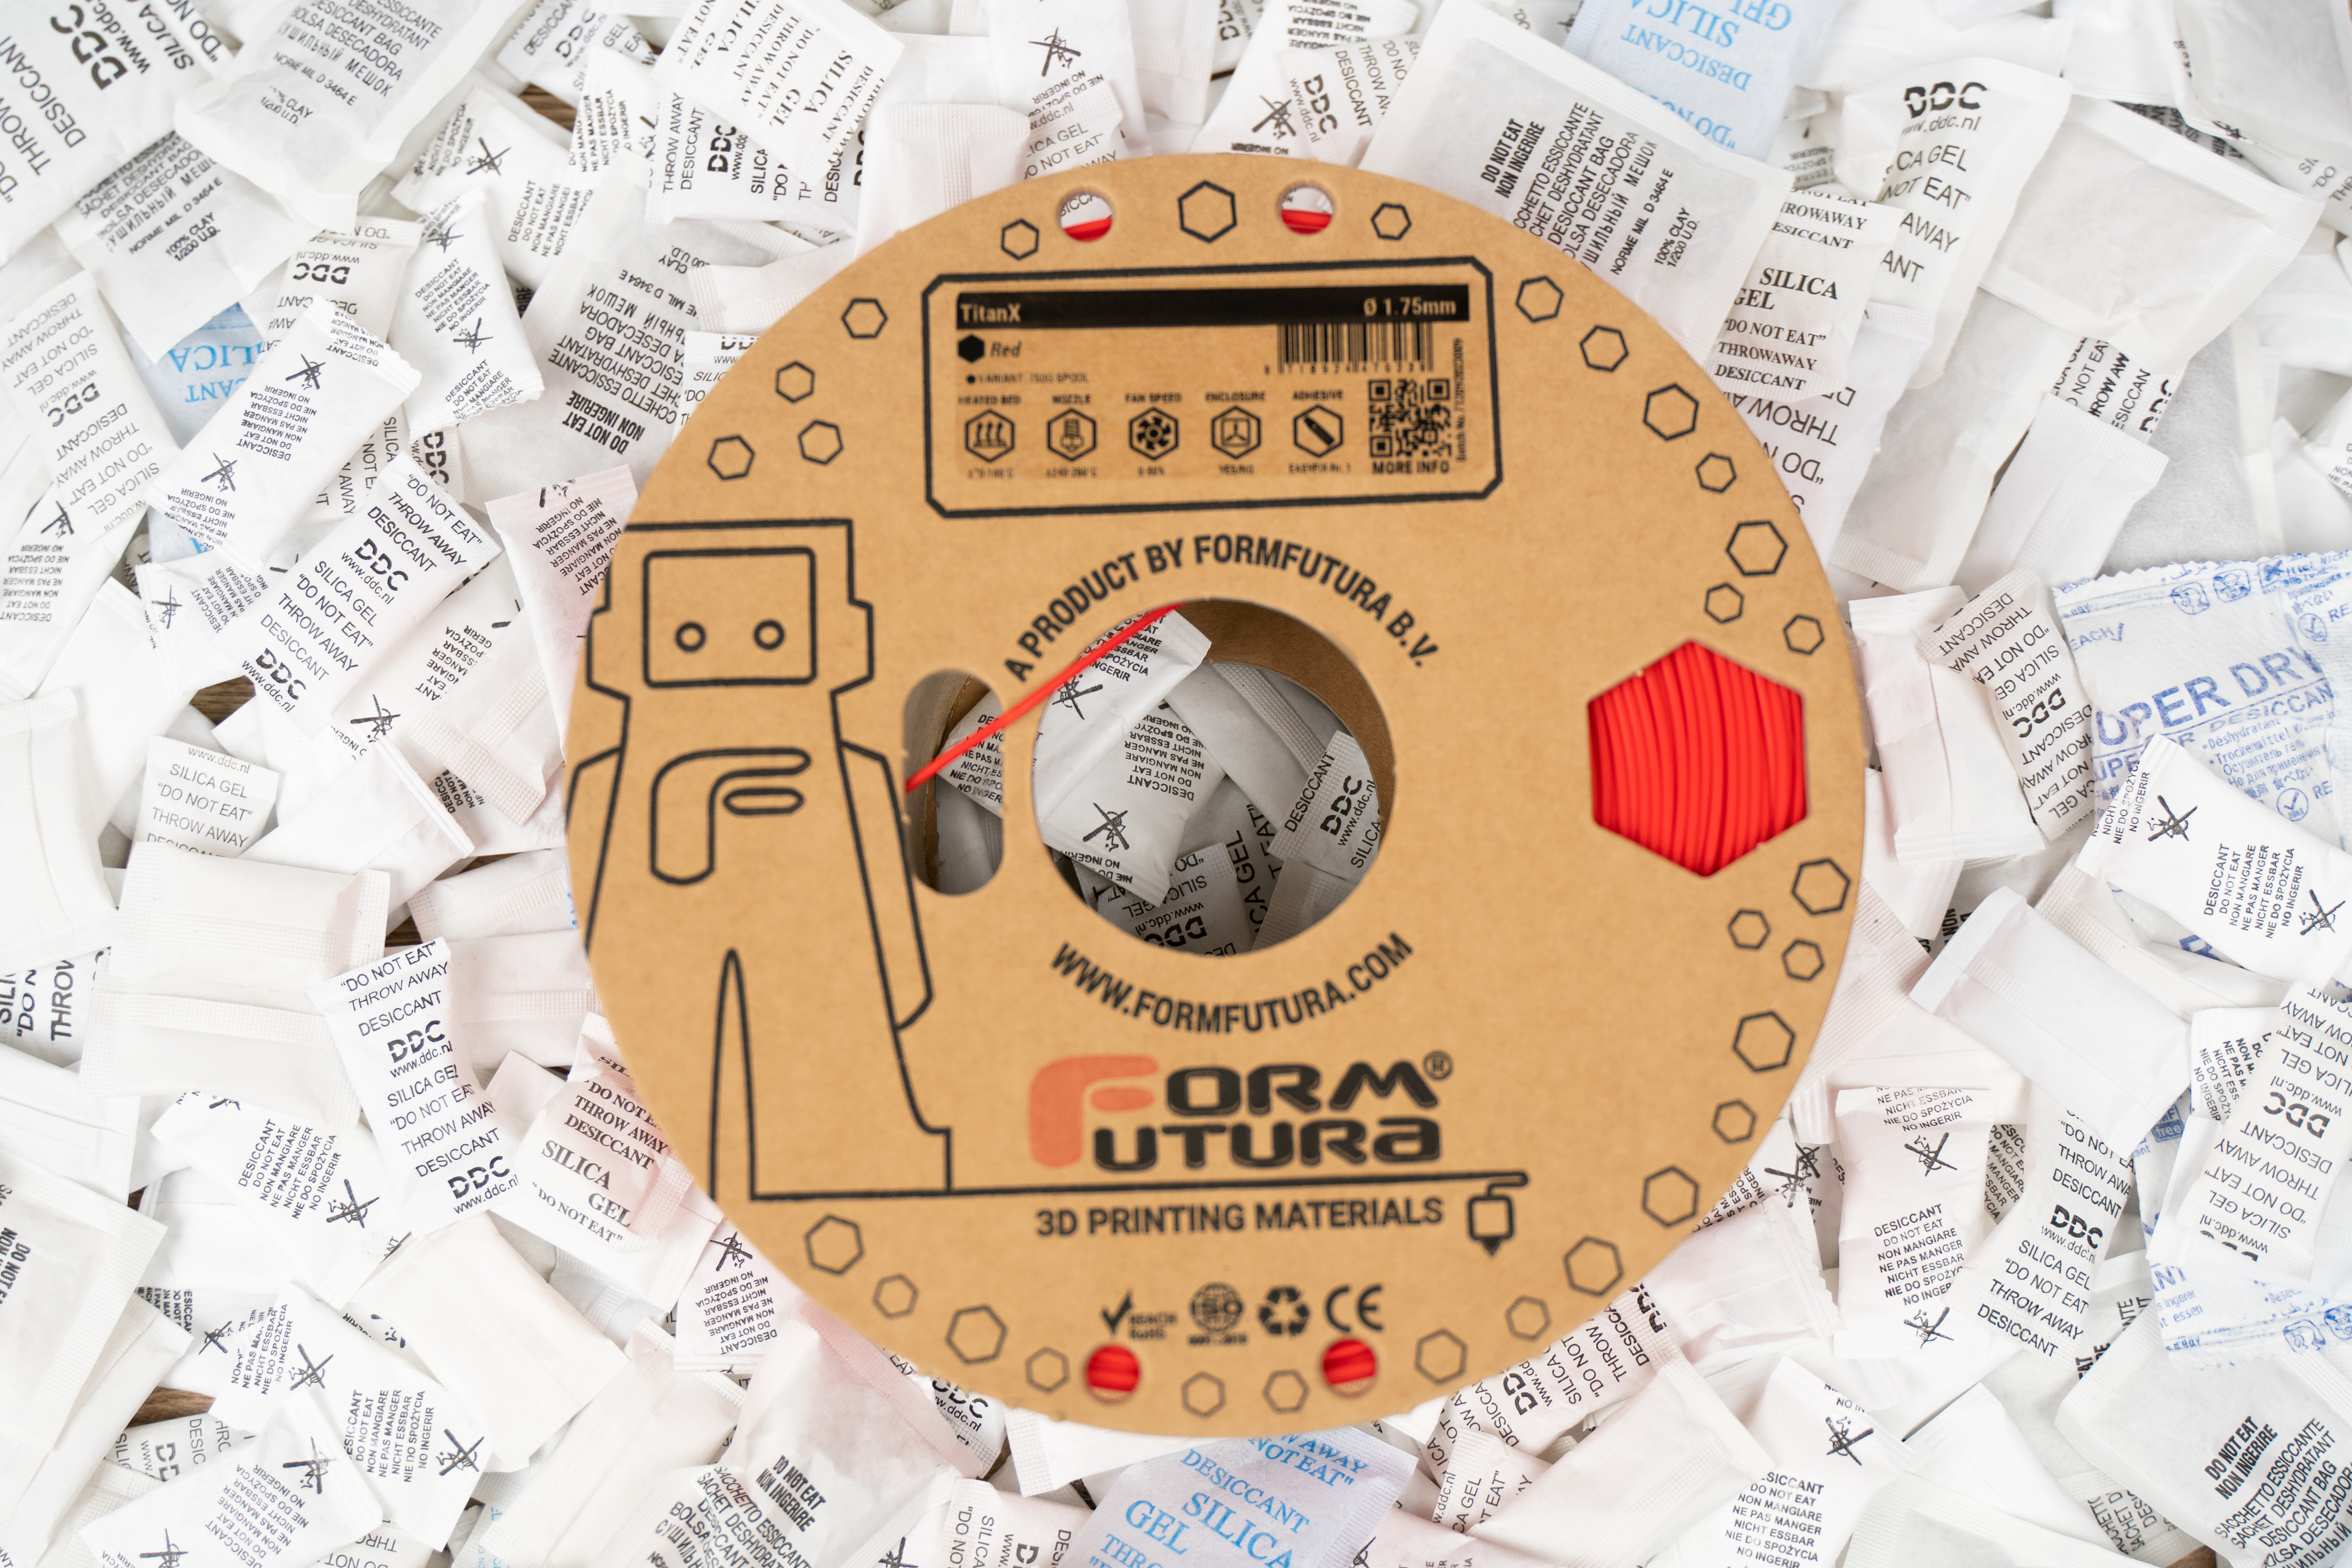
Desiccant Bags
Desiccant bags, such as silica gel packets, are an easy and cost-effective way to keep your filament dry. Place the filament spool in an airtight container with several desiccant packets. This method is more about preventing moisture absorption rather than actively drying wet filament.
Dehydrators
Food dehydrators can double as filament dryers, providing a controlled environment for removing moisture. These devices allow for precise temperature settings and are a great DIY alternative to dedicated filament dryers.
Storage Tips
- Airtight Containers: Store your filament in airtight containers with desiccant bags to prevent moisture absorption.
- Vacuum Sealing: Vacuum-sealing filament spools can protect them from humidity, especially in environments with high moisture levels.
- Temperature Control: Keep your storage area cool and dry to minimize the risk of moisture absorption.
These methods offer flexibility in how you approach drying your filament. Depending on your needs and resources, you can choose the method that best fits your 3D printing setup. Proper drying techniques are essential to ensuring your filament is always ready to produce the best possible prints.
Conclusion
Drying filament is a crucial step in maintaining the quality and reliability of your 3D prints. By removing moisture from your filament, you prevent common issues like bubbling, stringing, and poor layer adhesion, ensuring that your prints are strong, smooth, and accurate. Whether you choose a dedicated filament dryer, an oven, or a DIY method, the key is to follow the correct procedures and avoid common mistakes, such as overheating or inconsistent drying.
Properly dried filament, when stored correctly, can make a significant difference in the success of your 3D printing projects. As you implement these practices, you'll likely notice improvements in print quality and consistency, leading to a more satisfying and efficient 3D printing experience.
Remember, the investment in drying and storing your filament correctly is an investment in the quality of your prints. Keep experimenting with different methods and find what works best for you, and don't hesitate to adjust your approach based on the type of filament and environmental conditions you’re working with.
Frequently Asked Questions (FAQs)
A1: It depends on your environment and how often you print. In humid environments, it’s a good idea to dry your filament before every print session, especially if it has been stored for a while. If you print frequently and store your filament in airtight containers, you may only need to dry it occasionally.
A2: No, microwaving filament is not recommended. The uneven heating and risk of melting the plastic can cause significant damage to the filament and potentially start a fire.
A3: PLA filament should typically be dried at a temperature between 40°C to 50°C (104°F to 122°F). Drying at higher temperatures could cause the PLA to soften or deform.
A4: Signs that your filament needs drying include popping or hissing sounds during extrusion, excessive stringing, rough surface finishes, or inconsistent extrusion. You can also perform a simple test by printing a small object to see if these issues occur.
A5: While many filaments can be dried using similar methods, each type of filament has an optimal drying temperature and time. For example, Nylon requires higher temperatures than PLA or ABS. Always check the manufacturer’s recommendations for the specific filament you’re using.
A6: Yes, over-drying can make some filaments, like PLA, brittle and more prone to breaking. It’s important to follow recommended drying times and temperatures to avoid over-drying.
A7: If your filament becomes brittle after drying, it may have been over-dried. Unfortunately, once a filament becomes brittle, there’s little you can do to restore it. It’s best to avoid over-drying by carefully monitoring the drying process.
A8: Drying times in a food dehydrator vary depending on the filament type and the level of moisture. Generally, it takes about 4 to 6 hours at a temperature of around 50°C to 60°C (122°F to 140°F). However, Nylon and other moisture-sensitive filaments may require longer drying times.