Frequently Asked Questions, and How to Solve Them
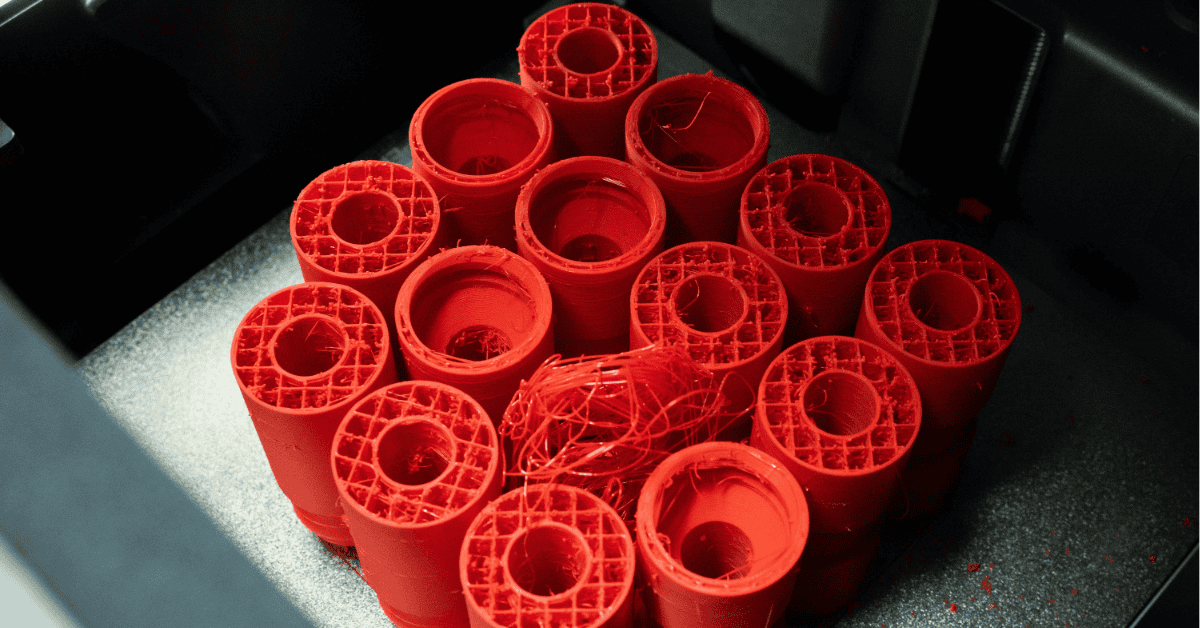
FAQ and How to Solve Them: Common Issues in 3D Printing
3D printing has revolutionized the way we create and prototype objects, but it’s not without its challenges. Below, we’ve compiled a list of frequently asked questions (FAQ) about common 3D printing issues and how to address them effectively.
1. Why is my print not sticking to the build plate?
Problem: Everyone who has tried 3D printing has encountered this problem. The first layer of your print fails to adhere to the bed, causing the print to shift or fail.
A well-adhered first layer is critical for a successful print, as it provides the foundation for the rest of the object. Signs that adhesion may be the issue include the edges of the first layer lifting, uneven extrusion during the initial pass, or the print completely detaching and sliding across the bed.
Possible Solutions:
There are many reasons for your 3D print not sticking to your bed, but these are some of the most solutions:
Level the bed: Ensure your print bed is perfectly leveled. Use a piece of paper to calibrate the nozzle height.
Clean the build plate: Remove dust, grease, or residue with isopropyl alcohol. In case you're using our adhesions spays, just water and soap will do fine.
Use an adhesion: Apply a glue stick, painter’s tape, or a specialized adhesive spray to improve print bed adhesion. We recommend looking at our EasyFix Atomizer for an easy to use Adhesive spray!
Adjust bed temperature: For materials like PLA or ABS, a heated bed can significantly improve adhesion.
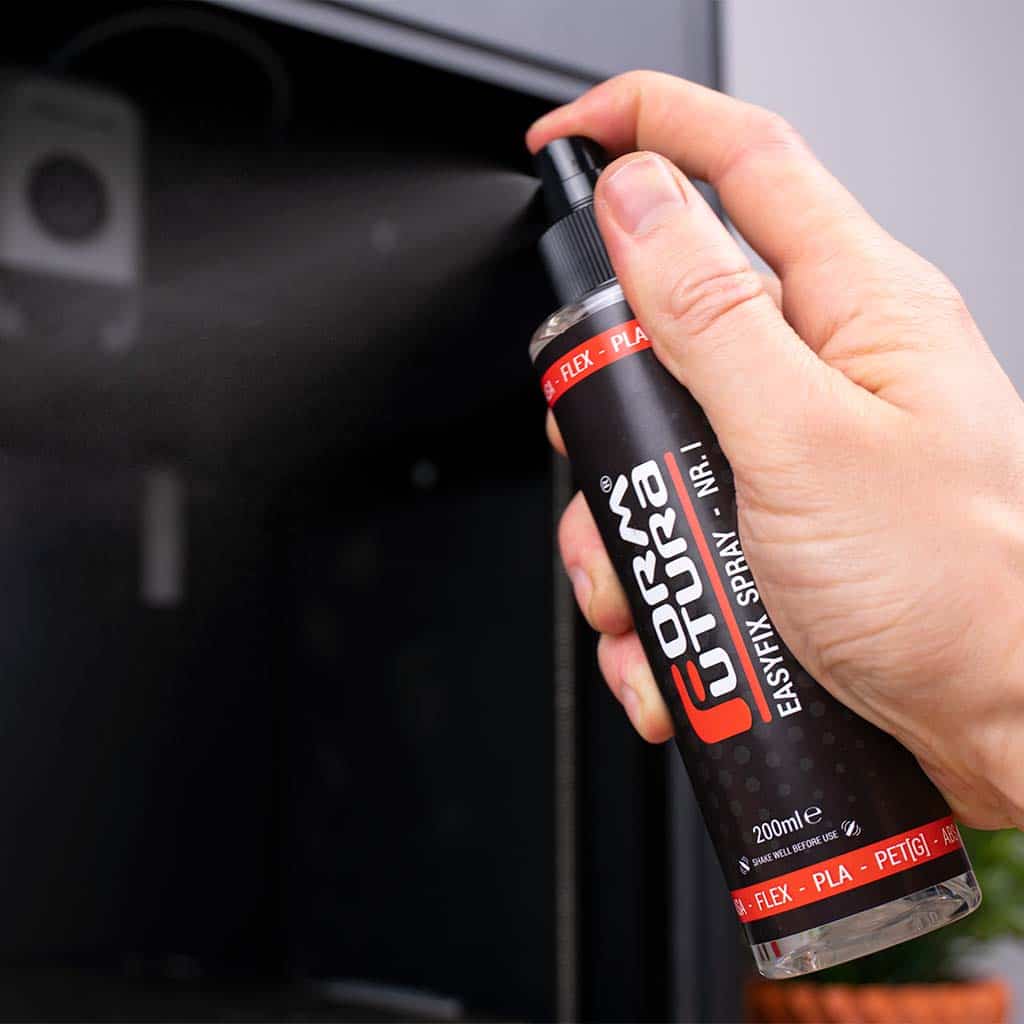
When working with specific filament types like PETG or ABS, the first layer adhesion becomes even more critical. Be sure to experiment with different bed materials, such as glass or PEI sheets, which offer excellent adhesion and are easy to clean. For stubborn adhesion problems, consider using a bit of hairspray or a specialized bed adhesive before your print.
2. Why are there gaps or missing layers in my print?
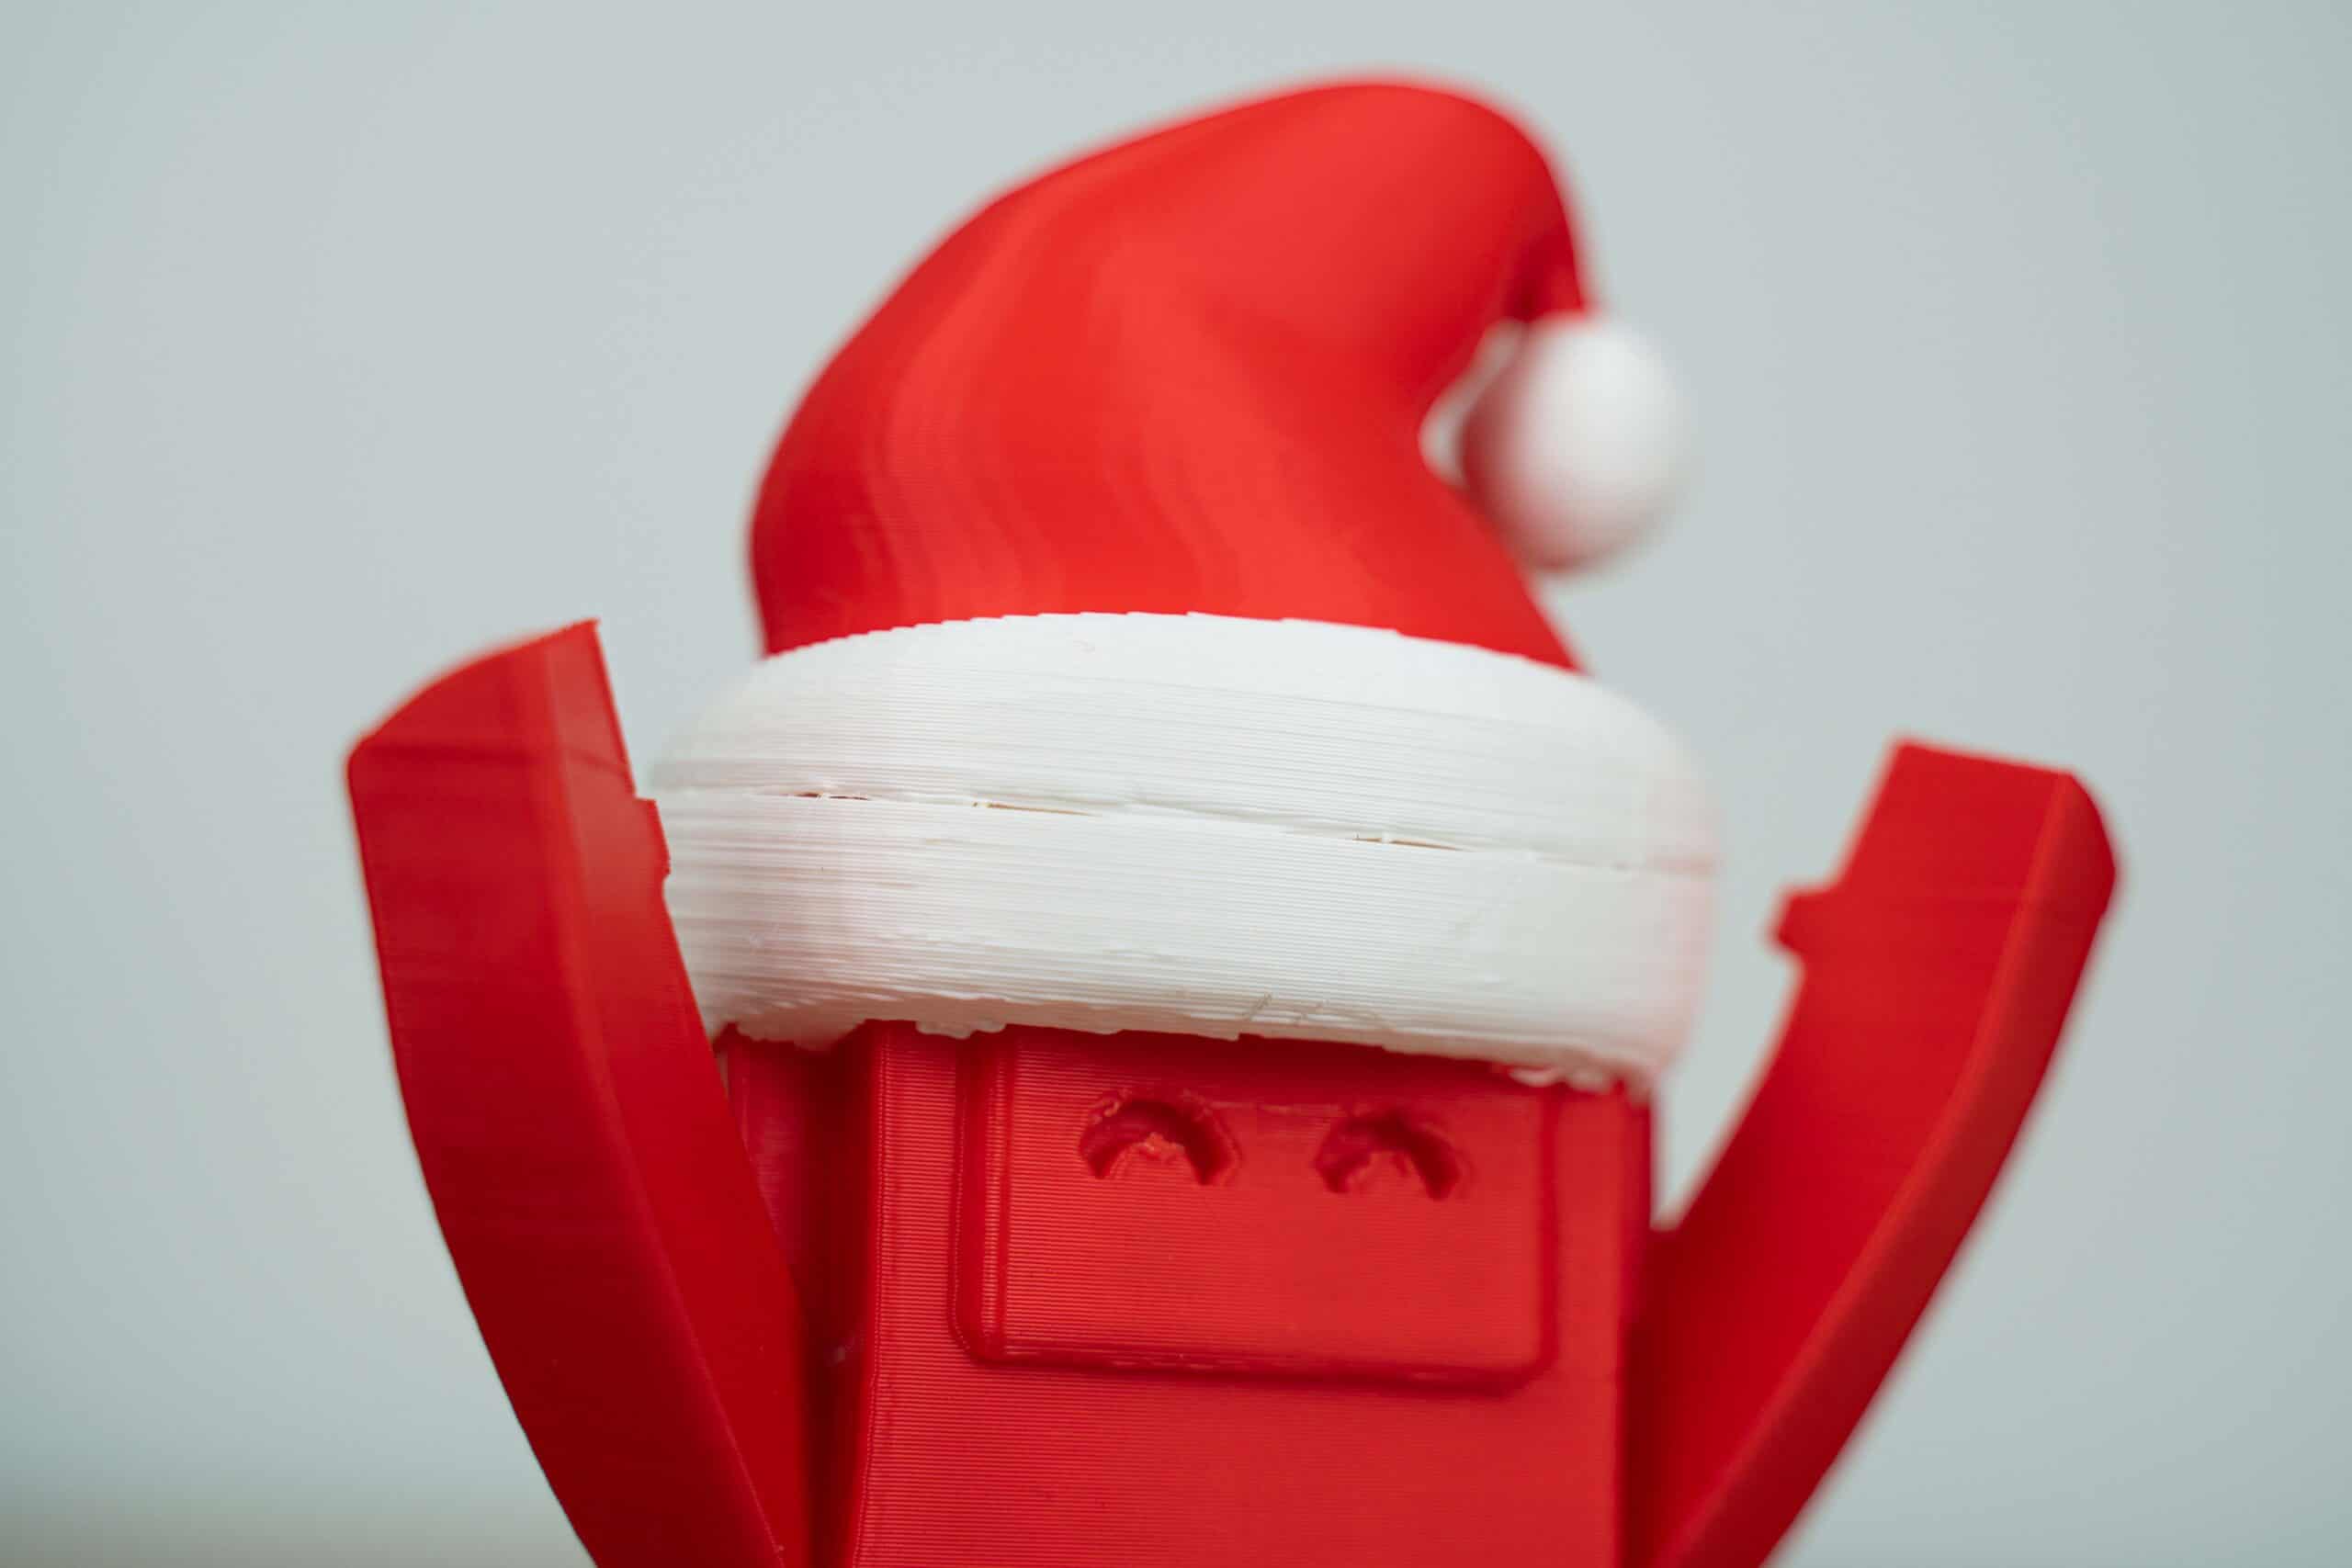
Problem: Your print may have visible gaps, weak spots, or incomplete layers. This often happens when your printer isn’t extruding enough material.
Gaps and missing layers weaken the structure of your print and ruin its appearance. You may notice fragile walls, inconsistent layers, or empty sections where material should be.
Solution:
Check filament quality: Ensure the filament is dry and free of tangles.
Increase extrusion multiplier: Adjust slicer settings to extrude slightly more material.
Inspect the nozzle: A partially clogged nozzle can disrupt filament flow. Clean or replace it if needed.
Regularly check for any inconsistencies in filament diameter, as even minor variations can cause extrusion issues. Additionally, ensure that your slicer settings are matched to the specific filament you’re using, as each material may require different extrusion profiles for optimal results.
3. What causes stringing or oozing between parts of the print?
Problem: Thin strands of filament appear between different sections of the print.
Stringing happens when the nozzle drips filament during travel moves. Look for thin, hair-like strands connecting areas of your model.
Solution:
Adjust retraction settings: Fine-tune retraction distance and speed in your slicer.
Lower printing temperature: Reduce nozzle temperature to minimize oozing.
Enable “Combing” mode: Keep the nozzle within the printed areas when moving.
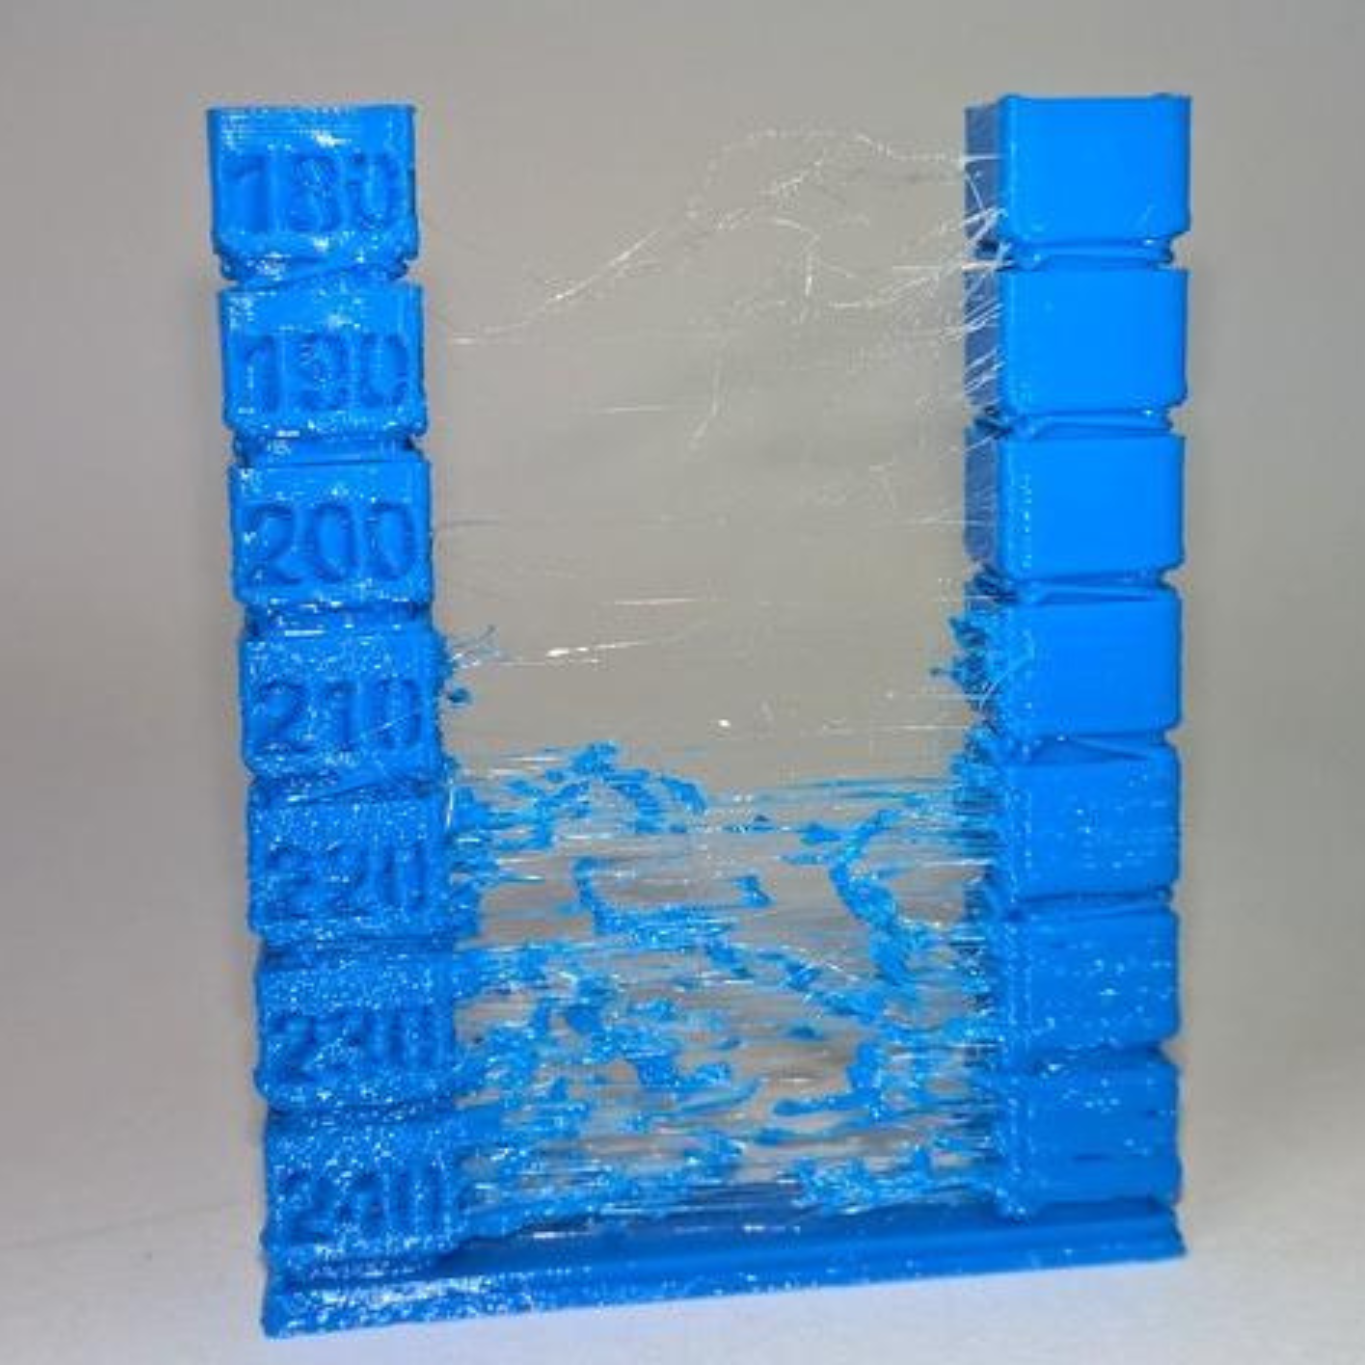
In addition to fine-tuning retraction and print temperature, consider increasing the "Coasting" setting if your slicer supports it. Coasting helps prevent oozing by stopping extrusion slightly before the nozzle reaches the end of a print move, helping to reduce unwanted stringing.
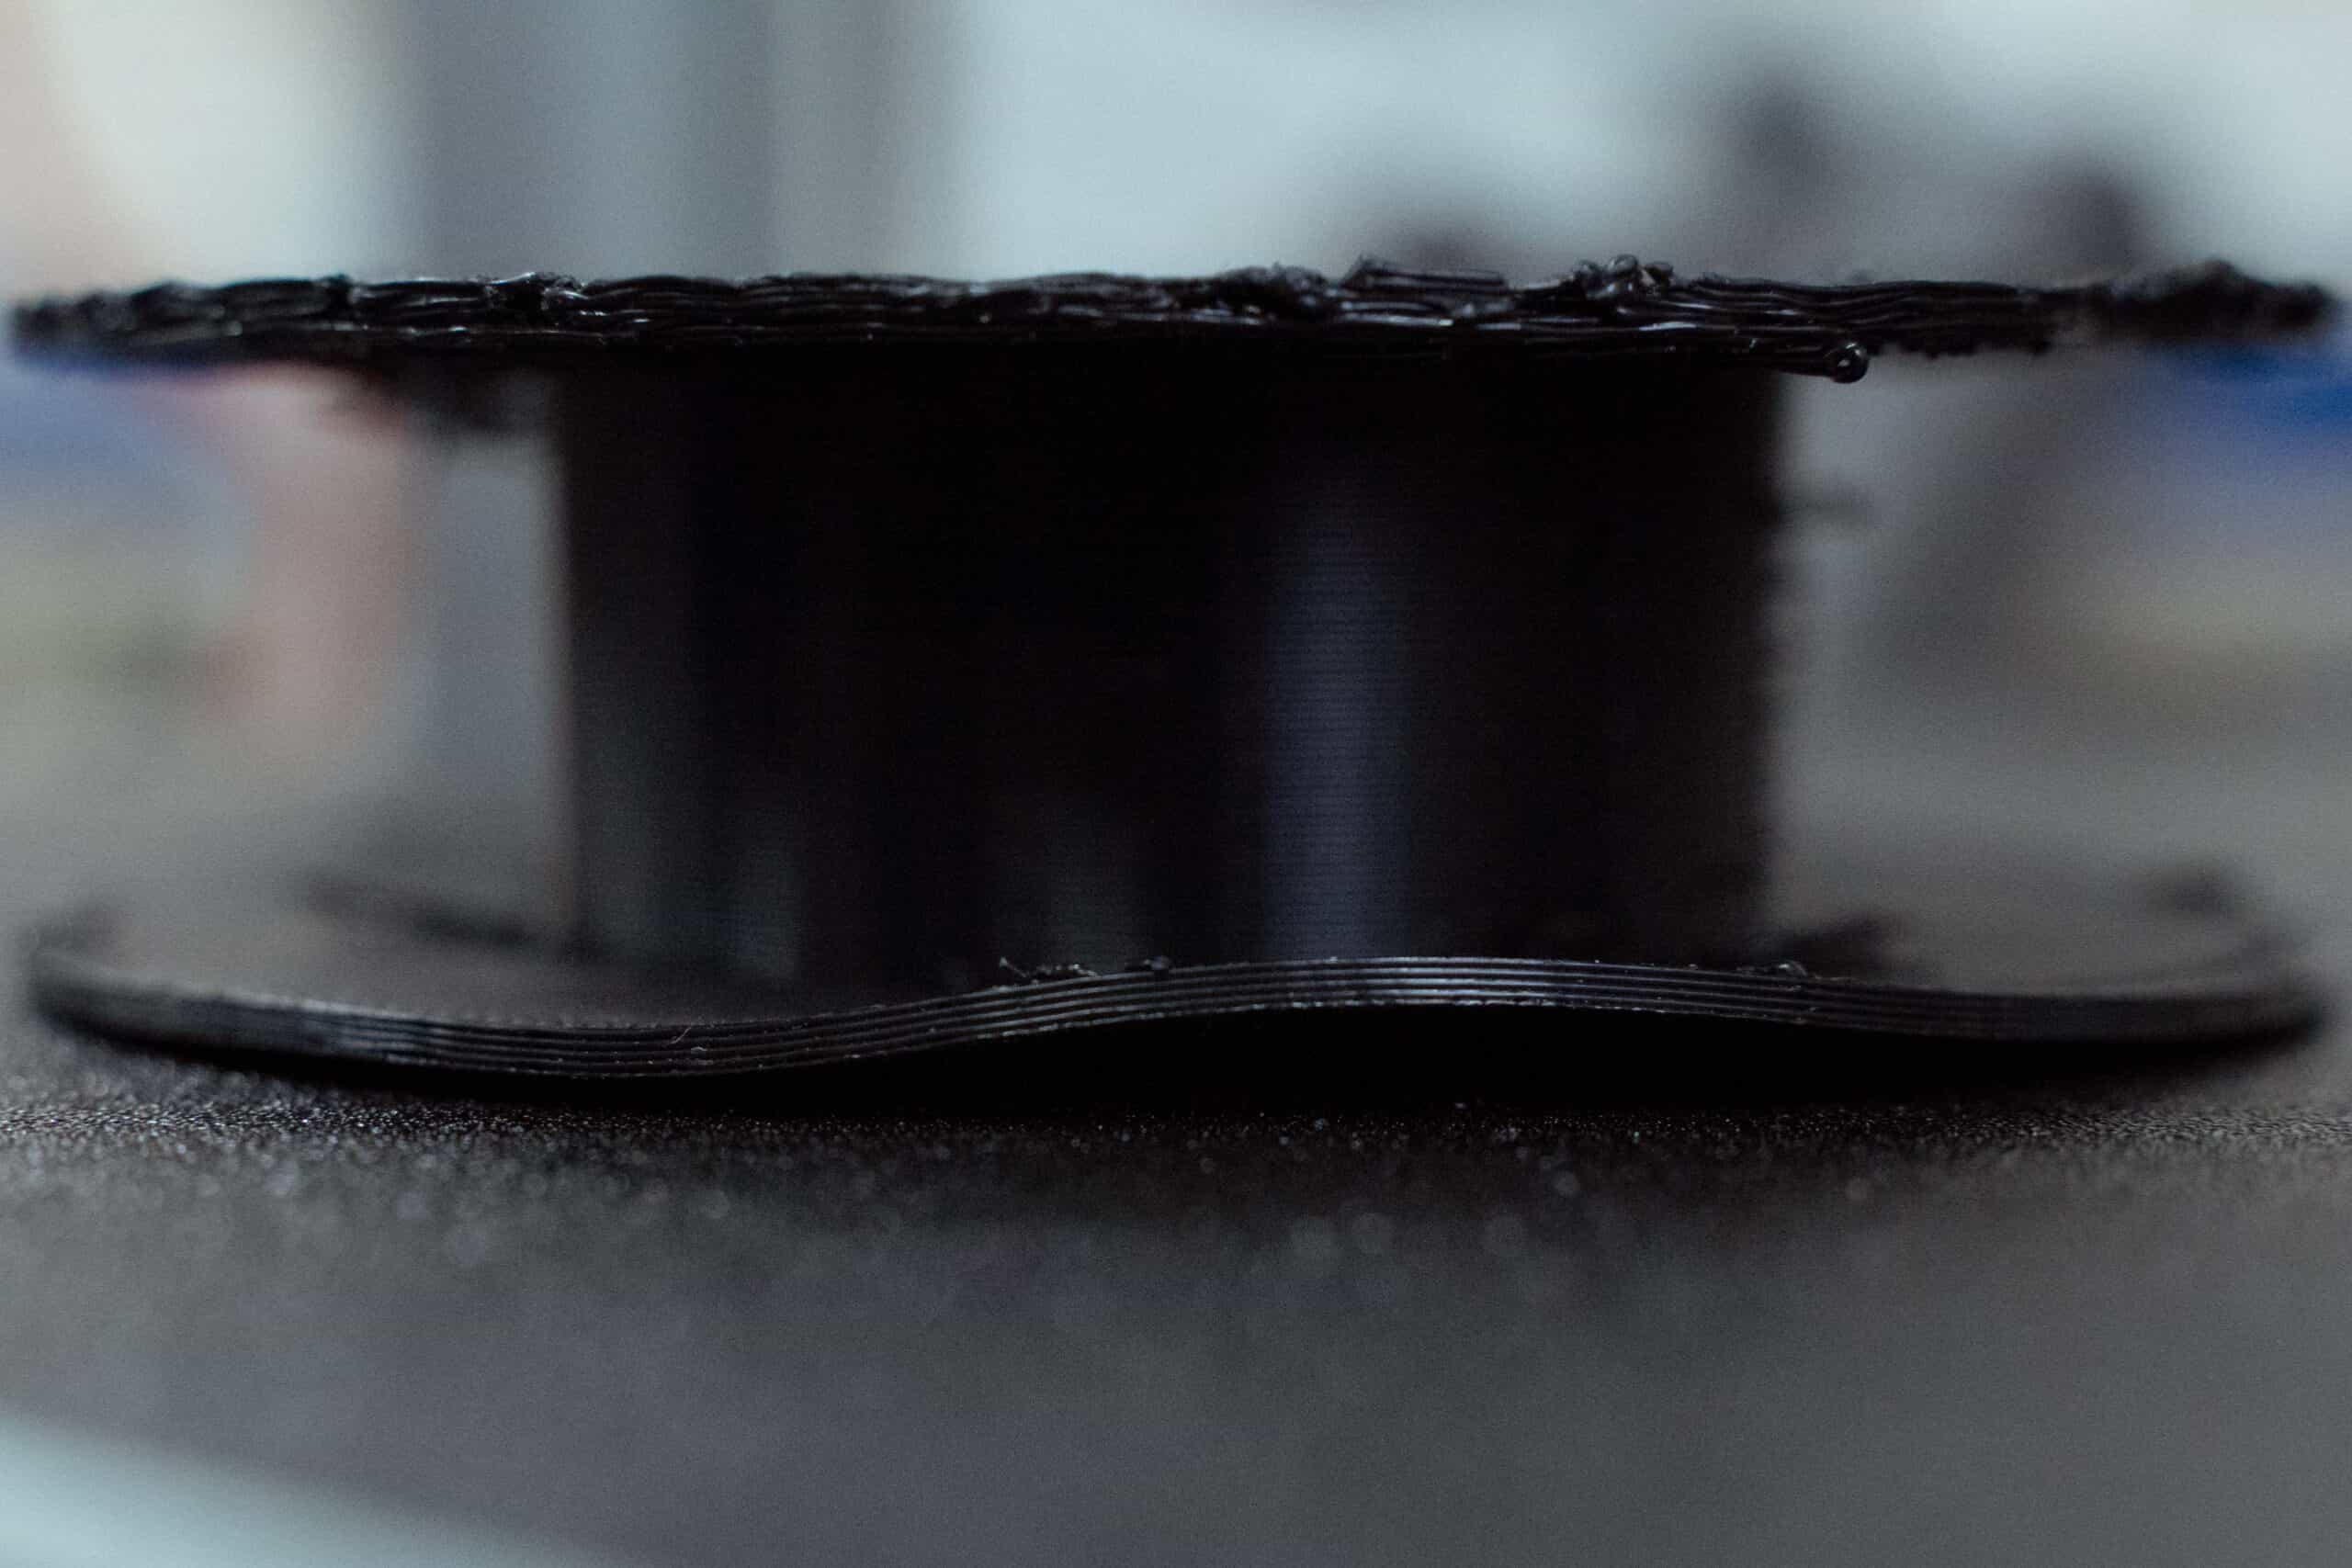
4. Why is my print warping or curling at the edges?
Problem: The edges of your print lift off the bed, distorting the final model.
Warping is often caused by uneven cooling, which leads to shrinkage at the edges. You may notice the corners pulling away from the bed, creating an uneven base.
Solution:
Use a heated bed: Maintain consistent bed temperature to prevent shrinkage.
Add a brim or raft: These structures provide extra adhesion to counteract curling.
Control ambient temperature: Use an enclosure to protect the print from drafts and temperature changes.
When printing larger or more intricate objects, consider using a heated enclosure to maintain a consistent temperature around the print, minimizing the risk of warping. Additionally, adjusting the print speed or switching to a material with less thermal contraction, like PLA, can help prevent this issue.
5. How can I fix under-extrusion problems?
Problem: The printer extrudes too little filament, leading to weak and incomplete prints.
Under-extrusion appears as thin walls, irregular layers, or gaps in the print. It compromises the durability and aesthetics of your object.
Solution:
Check the nozzle: Clear any clogs or debris obstructing the filament.
Inspect the extruder: Ensure the drive gear grips the filament securely.
Adjust slicer settings: Slightly increase the flow rate or extrusion multiplier.
Verify filament diameter: Match slicer settings to your filament’s actual diameter.
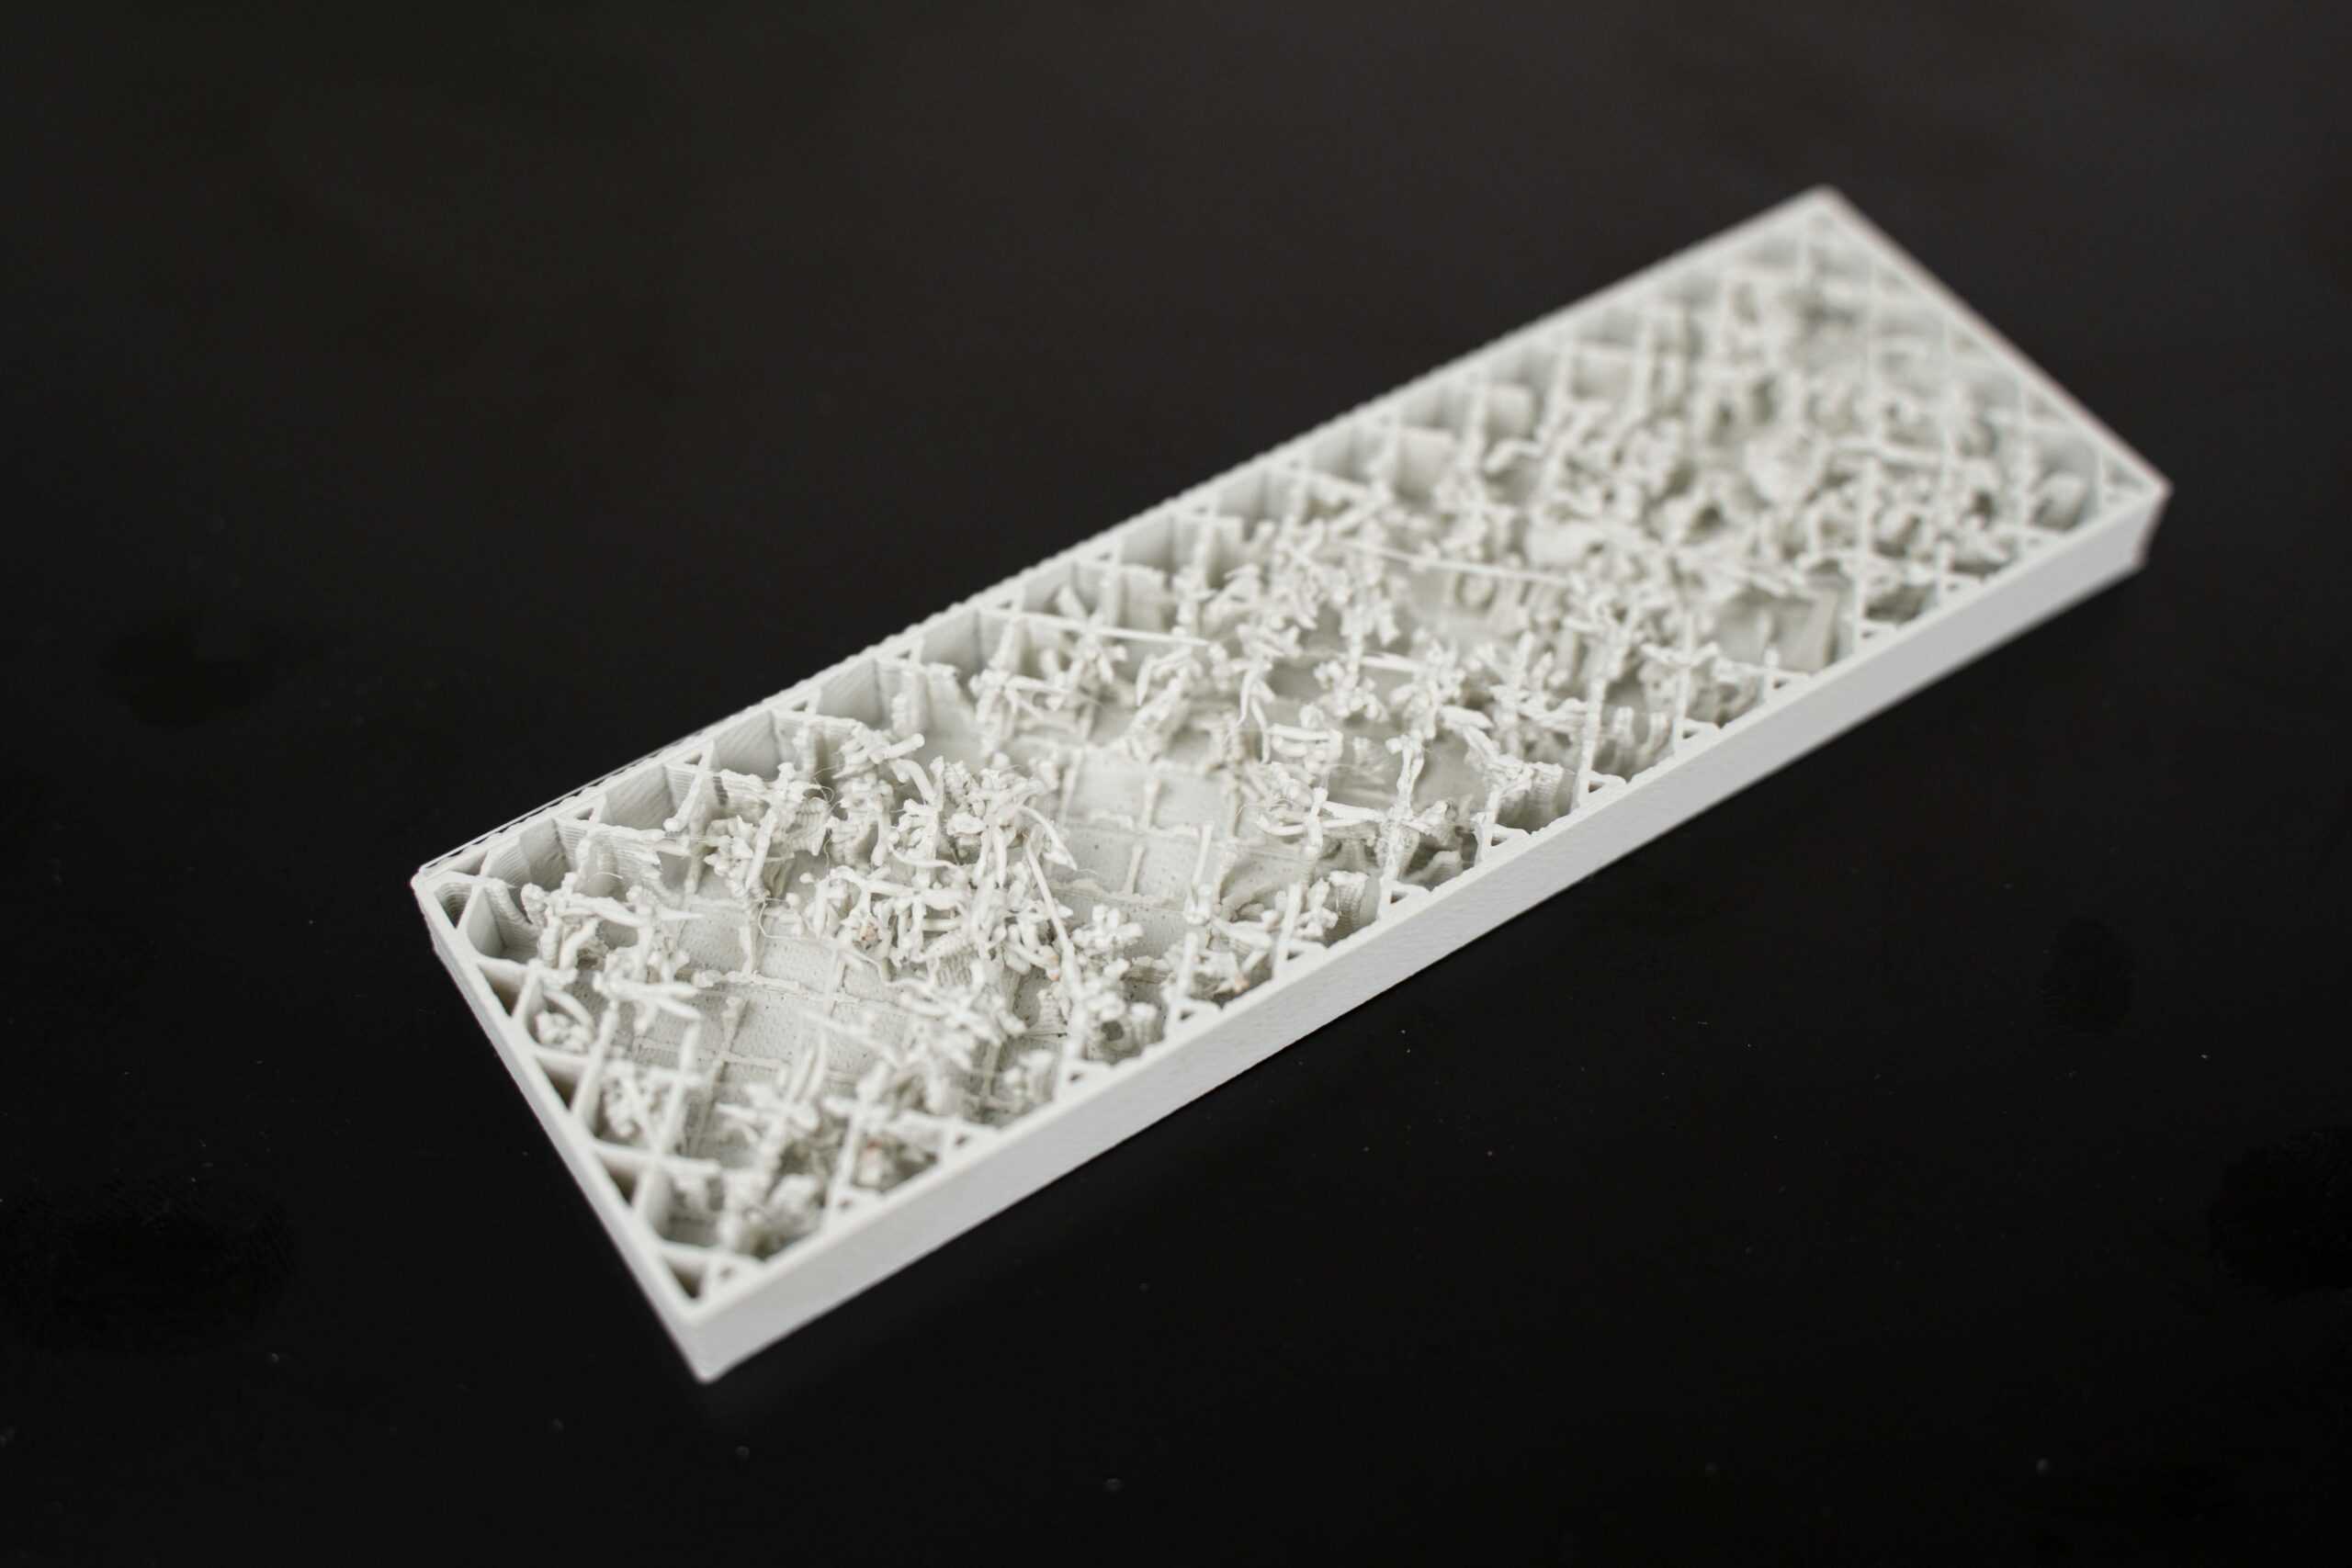
Under-extrusion can often be traced back to improper filament storage. Moisture in filament can cause inconsistent extrusion. Always store your filament in a dry, airtight container or use a filament dryer to prevent this problem from recurring, especially with hygroscopic materials like nylon or PVA.
6. What should I do if my print has layer shifting?
Problem: The layers of your print are misaligned, creating a skewed or wobbly object.
Layer shifting occurs when the printer’s movement is disrupted. This may result in a stepped or staggered appearance in your model.

Solution:
Tighten belts: Ensure X and Y axis belts are taut and secure.
Stabilize the printer: Place the printer on a steady, vibration-free surface.
Check motor drivers: Verify that stepper motors are functioning correctly and not overheating.
If you frequently experience layer shifting, try printing at a lower speed, especially for taller prints or prints with finer details. Slower speeds allow the printer to maintain its position more accurately and reduce the chances of shifting layers.
7. Why do my prints have rough or uneven surfaces?
Problem: The final surface of the print appears rough, bumpy, or inconsistent.
Rough surfaces are usually a result of poor layer adhesion or incorrect slicer settings. This can diminish the appearance and utility of the object.
Solution:
Adjust layer height: Use a finer layer height for a smoother finish.
Optimize speed settings: Slow down print speed for better precision.
Calibrate temperature: Ensure the nozzle temperature is ideal for your filament type.
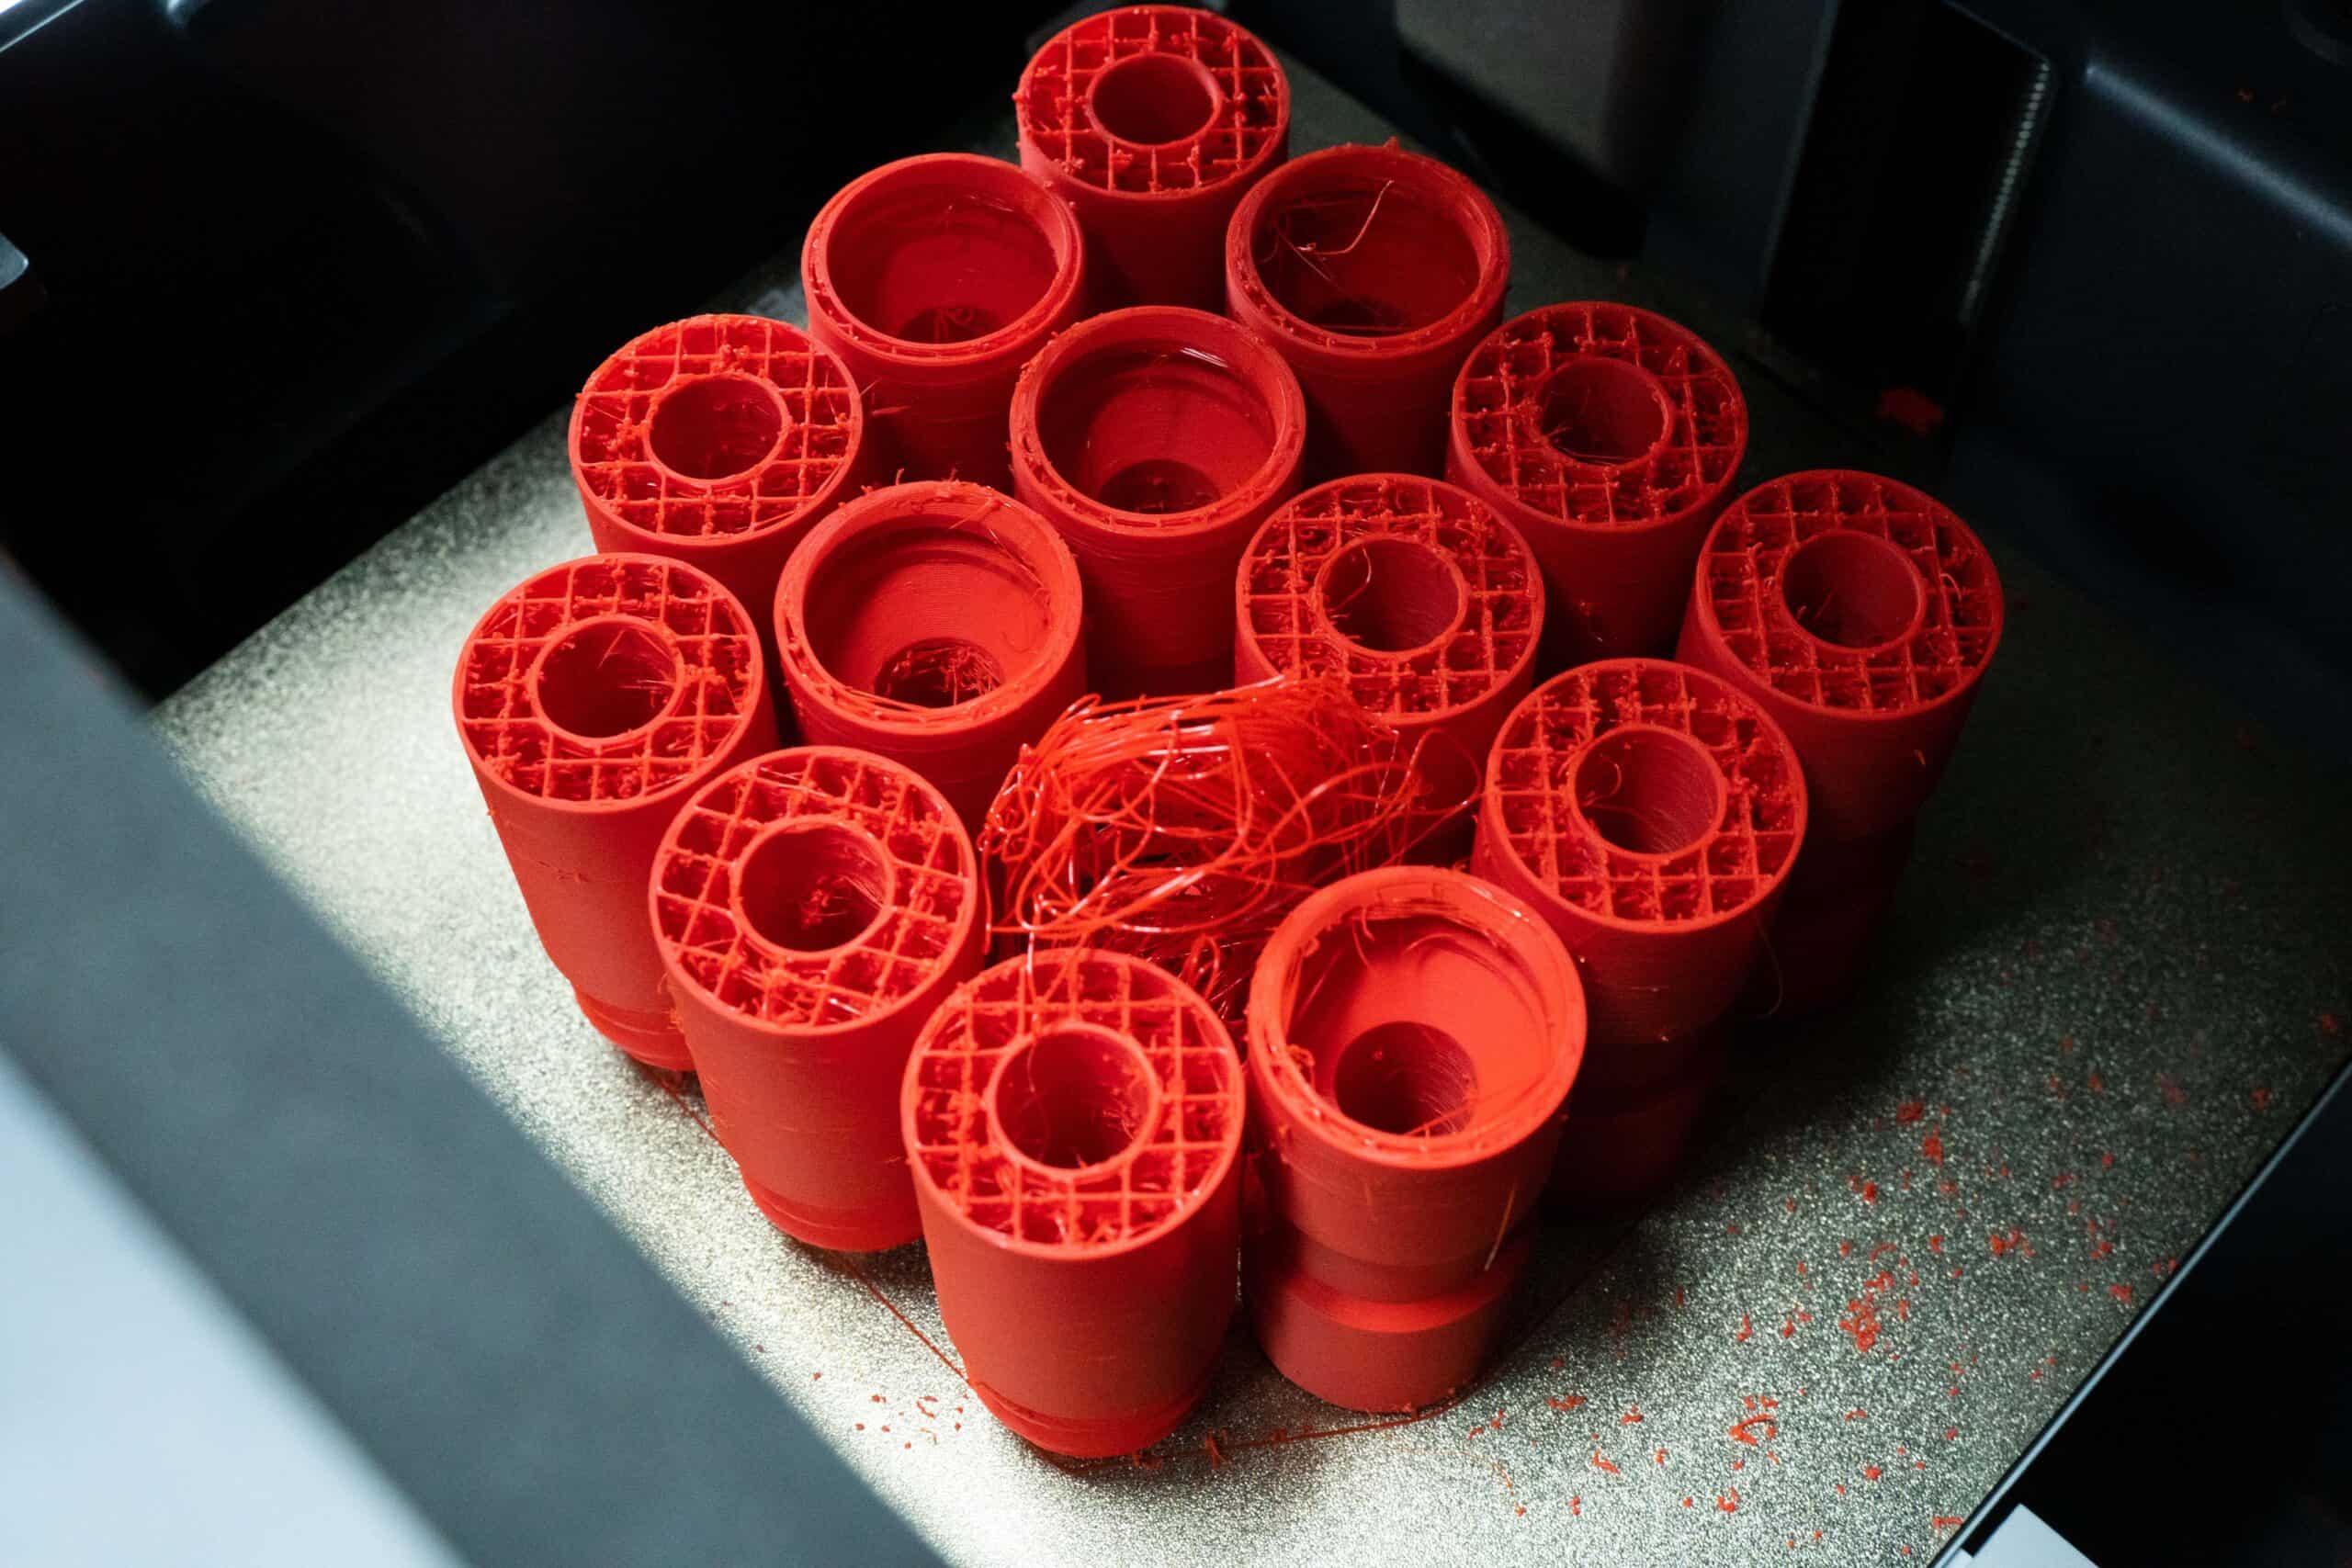
If your printer’s extruder is worn out or the nozzle is partially clogged, it can result in uneven extrusion, leading to rough surfaces. Regular maintenance, such as replacing nozzles and checking the extruder gears for wear, will help maintain print quality and consistency.
Conclusion
3D printing can be a rewarding and creative process, but challenges are inevitable. With these solutions, you’ll be better equipped to troubleshoot common problems and achieve high-quality prints. Remember, each printer and filament type has its quirks, so patience and experimentation are key!
Remember, 3D printing is as much about problem-solving as it is about creativity. By understanding and troubleshooting these common issues, you can avoid frustration and produce higher-quality prints with confidence.
With practice, you'll become adept at fine-tuning your printer settings to suit your specific needs and materials. Happy printing!
