HDglass™ Liquid Filled Printing – By Bart Gaczorek
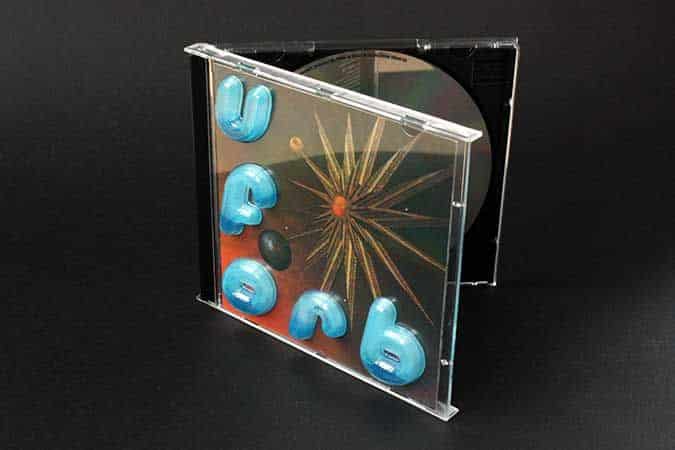
As a music lover and records collector, inspired by liquid filled vinyls I started to wonder how to achieve similar effect using a 3D printer. Transparent, watertight and chemical tolerant at the same time – it seems not to be an easy task and right material choice is more important than ever.
I started searching throughout available materials. As a criteria I chose the highest possible transparency, ease of print (reduced warping) and long-lasting resistance to oils and isoprophyl alcohol. Thanks to Formfutura I had the possibility to give their co-polyester HDglass™ a try.
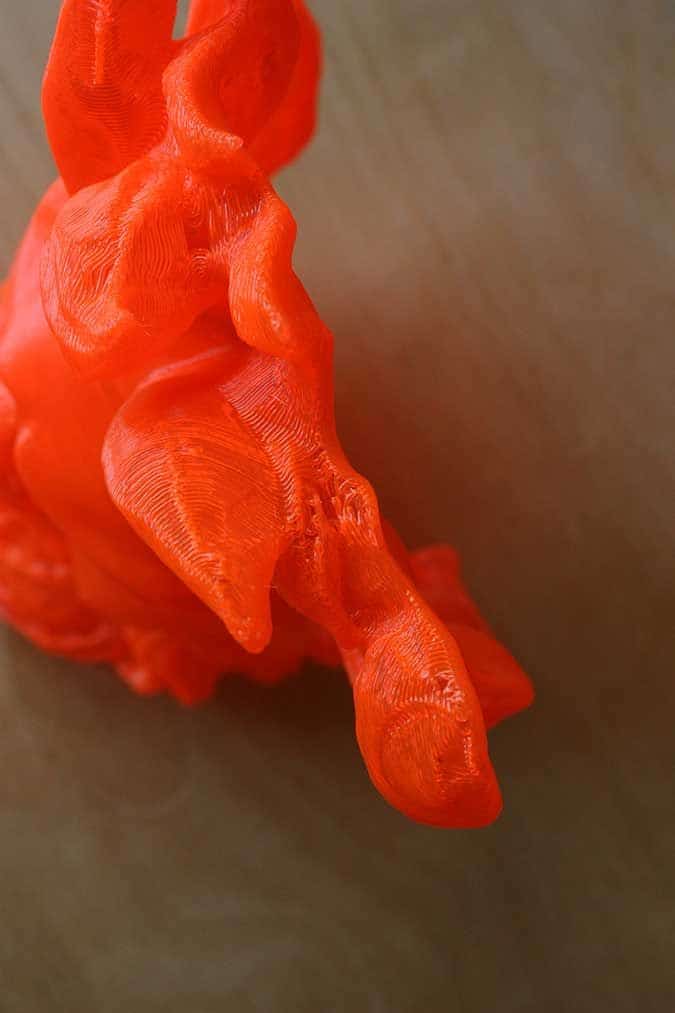
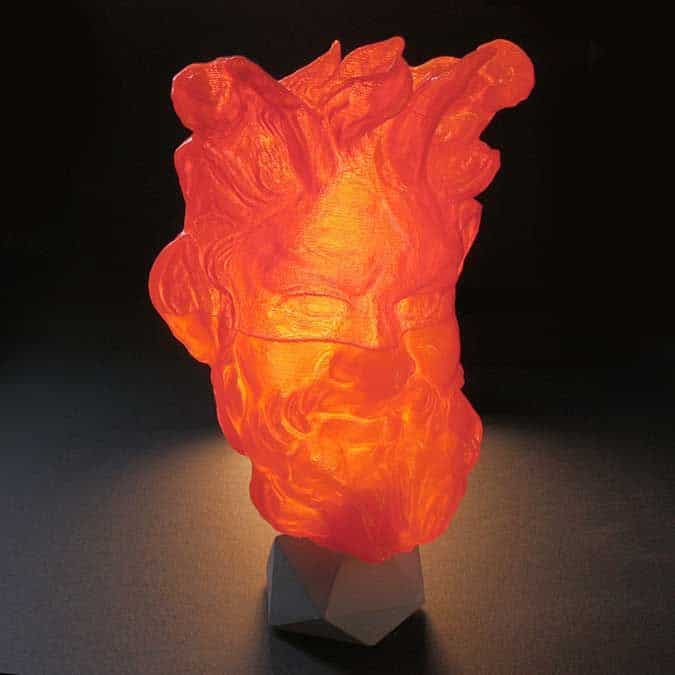
I really wish I could print vinyls (and lots of crazy ideas came to my mind including 3D records) but by far capabilities of our machines are too restricted to cope with those tiny grooves. Instead I decided to work out four fancy designs: a mask, a portable amplifier cover, a virtual reality headset and a custom record case. And of course all of them filled with colorful liquids.
At the beginning I went to general chemical resistance chart to check the material suitability. HDglass™ is a co-polyester and I expected similar properties to PET. To prove the theory I printed a tiny vase and left it with alcohol overnight. The print didn’t unveil any signs of degradation and was completely watertight. But it was trivial vase and I was going to print rather more complex shapes. Did my “watertight setup” stand the challenge?
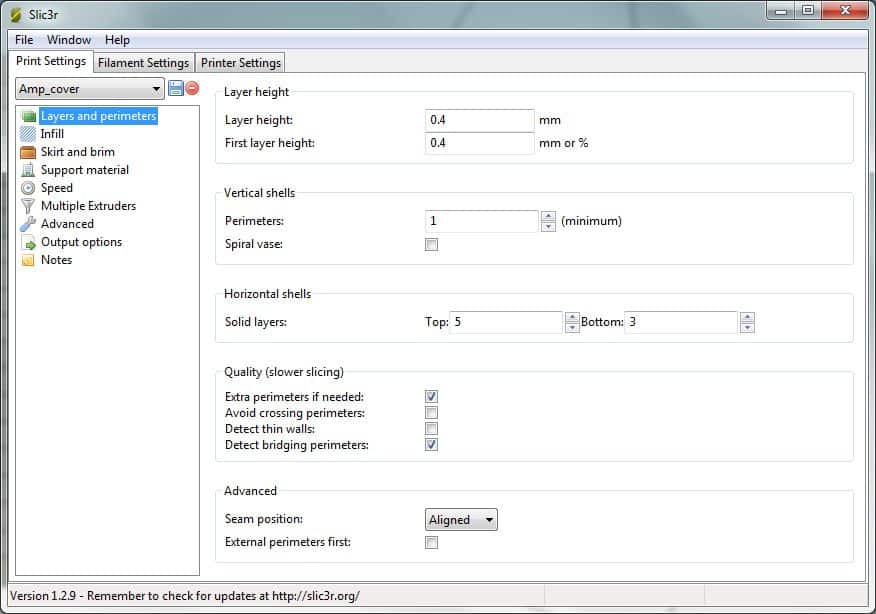
First of all I’ve learned that if perfect tightness is desired spiral/vase mode is the first option to turn on. Most of leaks appears on layer change, it could be fought by increasing number of perimeters, but on the expense of transparency. Spiral mode really does the job except one small issue: a model can’t be forked. If model is roughly U-shaped or even worse with holes it can’t be build from single extrusion – slicing software automatically turns spiral/vase mode off and turns back into layer mode. It happened in case of a Faun mask but still way better with than without.
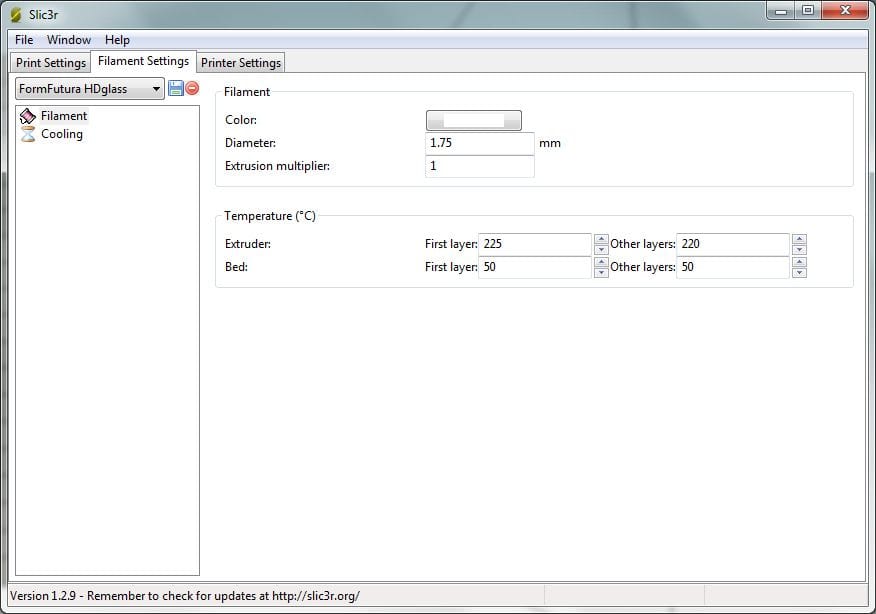
Another parameter to tweak is extrusion multiplier that should be increased a little compared to “normal” prints without liquid carrying purpose. I do it manually during print on first three layers and on steep slopes. Surprisingly overhangs came out better than inclines. On my machine can be printed (watertight) 35° overhangs and only 45° inclines. Extrusion should be thick, I used 0.9 to 1mm perimeter thickness and 0.3 to 0.4 layer height. Higher heights increase print transparency. The settings I used are available for download on the bottom of the page.
For better print-to-bed adhesion I used large 10mm brim, sometimes on PVA glue coat, sometimes on plain Keptan tape. I must admit I failed on printing CD case in one piece. Despite well handled HDglass™ shrinkage the model shape was too difficult – long parallel passes made the print wavy. That’s why I decided to print only letters and glue them to standard jewel case.
None of the prints came out truly watertight. I used to print watertight containers and vases before but now I had to deal with more demanding geometries. With today slicing software it is extremely tricky to print watertight shells on angle greater then 45° and literally impossible to enclose bridges and domes. Minor leaks could be easily sealed with epoxy coat but what with those nasty holes on more horizontal walls? I laminated small scraps of fiberglass in epoxy, if properly done it should be invisible.
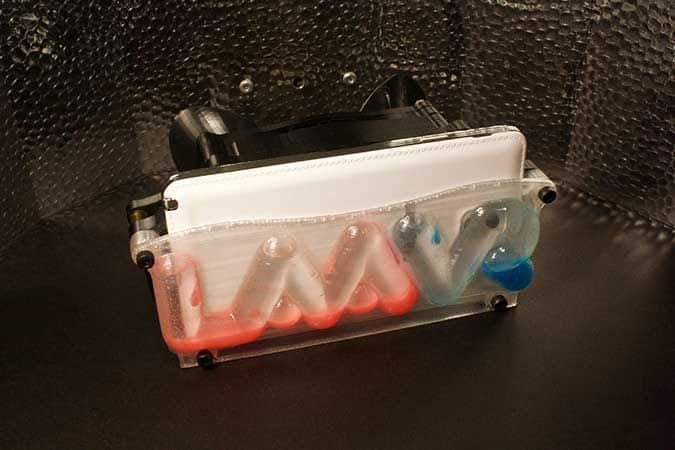
Lets move to the liquids. What exactly is inside the vinyls is a secret, but I watched some nice tutorials about DIY lava lamps and fluorescent liquids. At first I wanted to fill all the prints with two fractions (colors) that beautifully swirl one within the other… reality shows that paraffin I choose as second fraction is too viscous and moves too slowly for good effect and I ended up with only one print tanked this way: Altergaze VR headset custom front plate. It was the only method to achieve “lava effect” and it’s called LAVA goggles! Speeding up the liquids movement is another activity for coming long winter evenings.
All in all I used water, isopropyl alcohol and paraffin. Their densities look like this:
WATER > PARAFFIN > ISOPROPYL ALCOHOL
Which means that paraffin floats on water but sink in alcohol, and hangs somewhere between when water and alcohol are mixed together with right proportions.
LAVA goggle
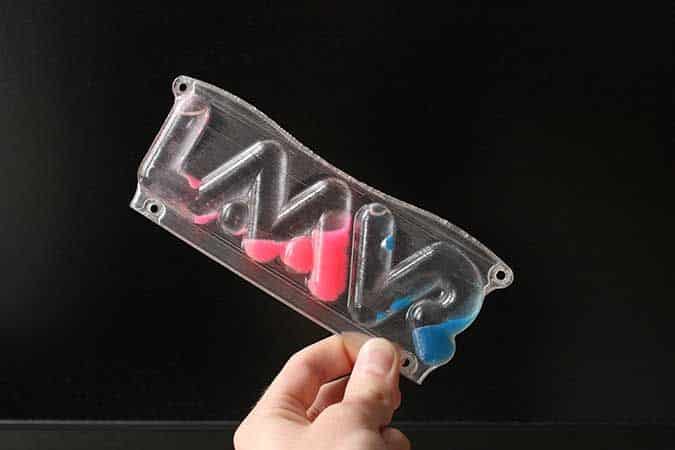
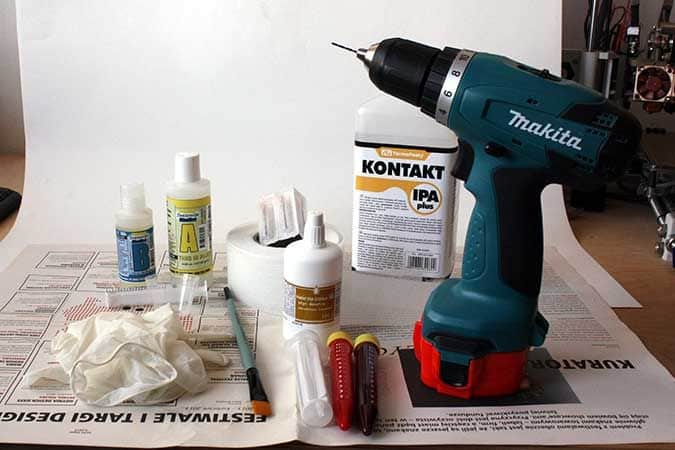
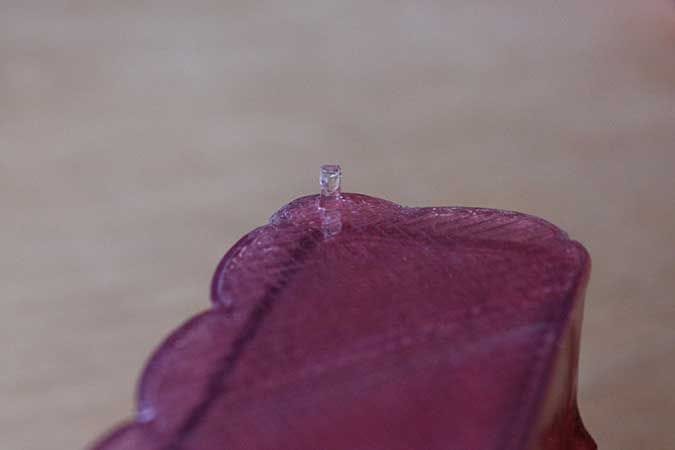
I infilled the prints through drilled hole with help of syringe. Then I plugged the hole with small piece of 1,75 filament, cut extend and painted in epoxy what results in watertight print with fluorescent liquid immured inside.
Liquid filled AMPcase
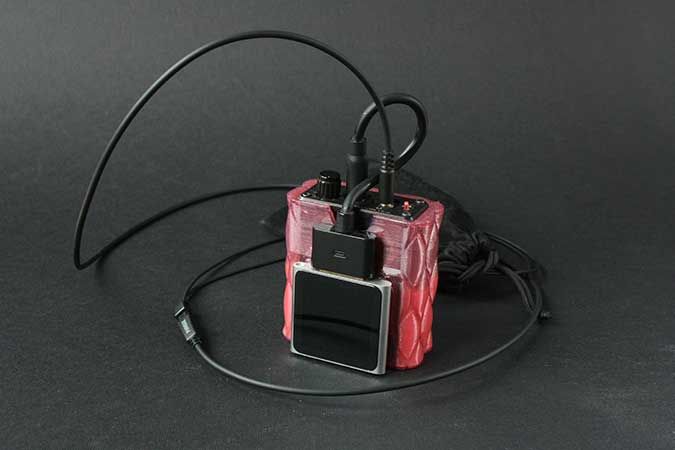
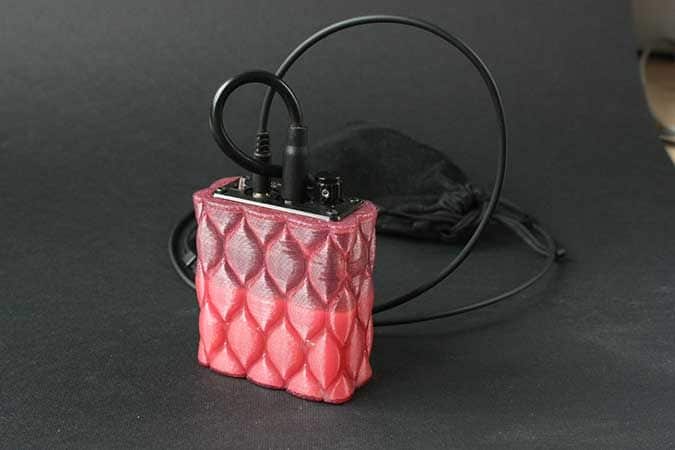
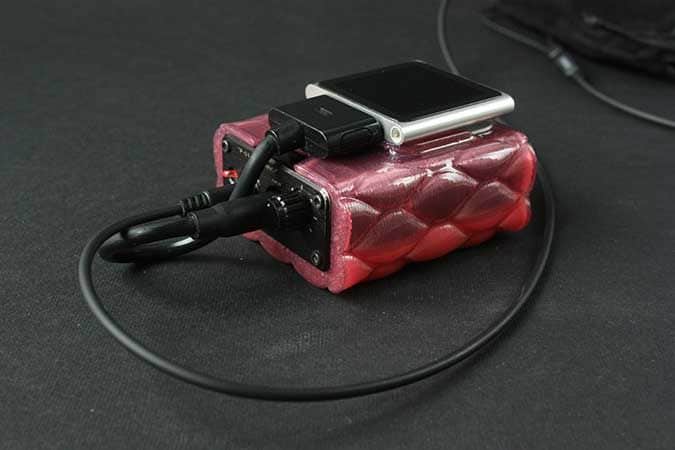
All of the above are series of experiments that I am still working on, but I am happy to share my progress with you. It’s not hard to imagine more practical applications of presented method. I share the designs and provide proven setups for Slic3r and Cura.
Cura profile HDglass vase mode
Screenshots of the Slic3r settings (click to enlarge):
Thanks for reading and if you have any questions please feel free to write us a comment below!
Credits:
Original Dancing Faun of Pompeii model by CosmoWenman
Original Altergaze headset by Altergaze
Original U.F.Orb artwork by The Designers Republic
About the author:
Bart Gaczorek – Polish constructor/designer working at PLM Solutions interested in bounds checking of 3D printing in free time.
