Common Issues Printing PETG and PLA
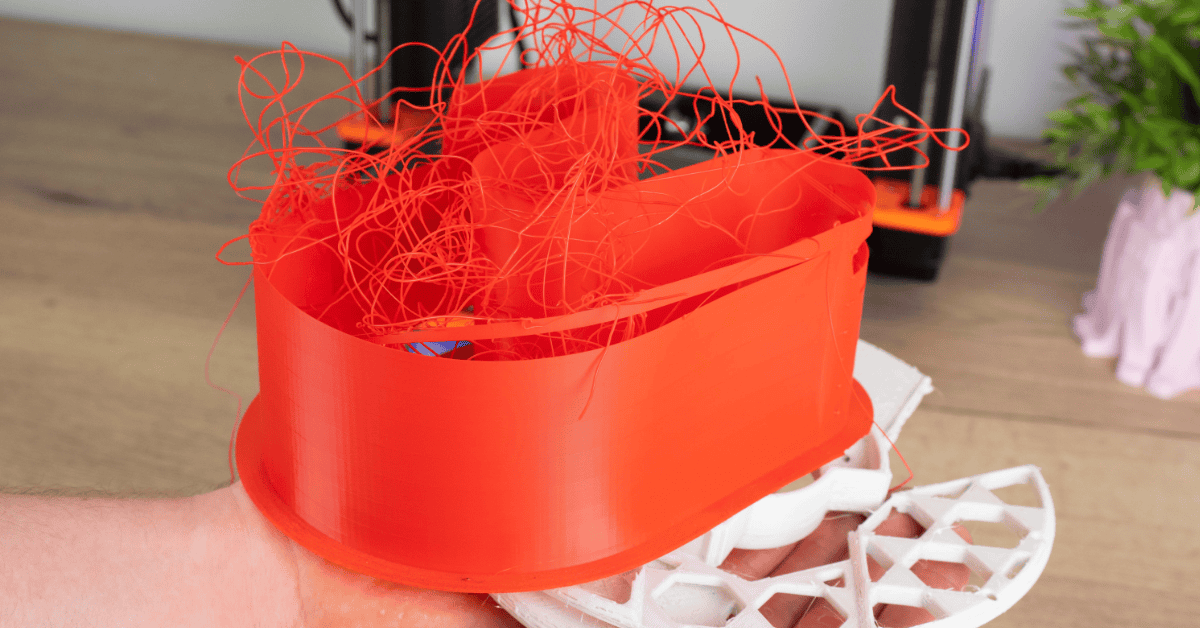
Stringing and oozing, bed adhesion and warping, layer adhesion and strength—everyone who has tried to 3D print with PETG vs PLA has encountered these problems before. 3D printing enthusiasts often choose PETG vs PLA due to their accessibility and excellent properties for various projects. However, each filament type comes with its own set of challenges.
In this guide, we'll dive into the top five common issues you might encounter when printing with PETG vs PLA and provide practical solutions to help you achieve flawless prints. Whether you’re a beginner or an experienced 3D printing enthusiast, this guide is designed to enhance your printing experience and improve your results.
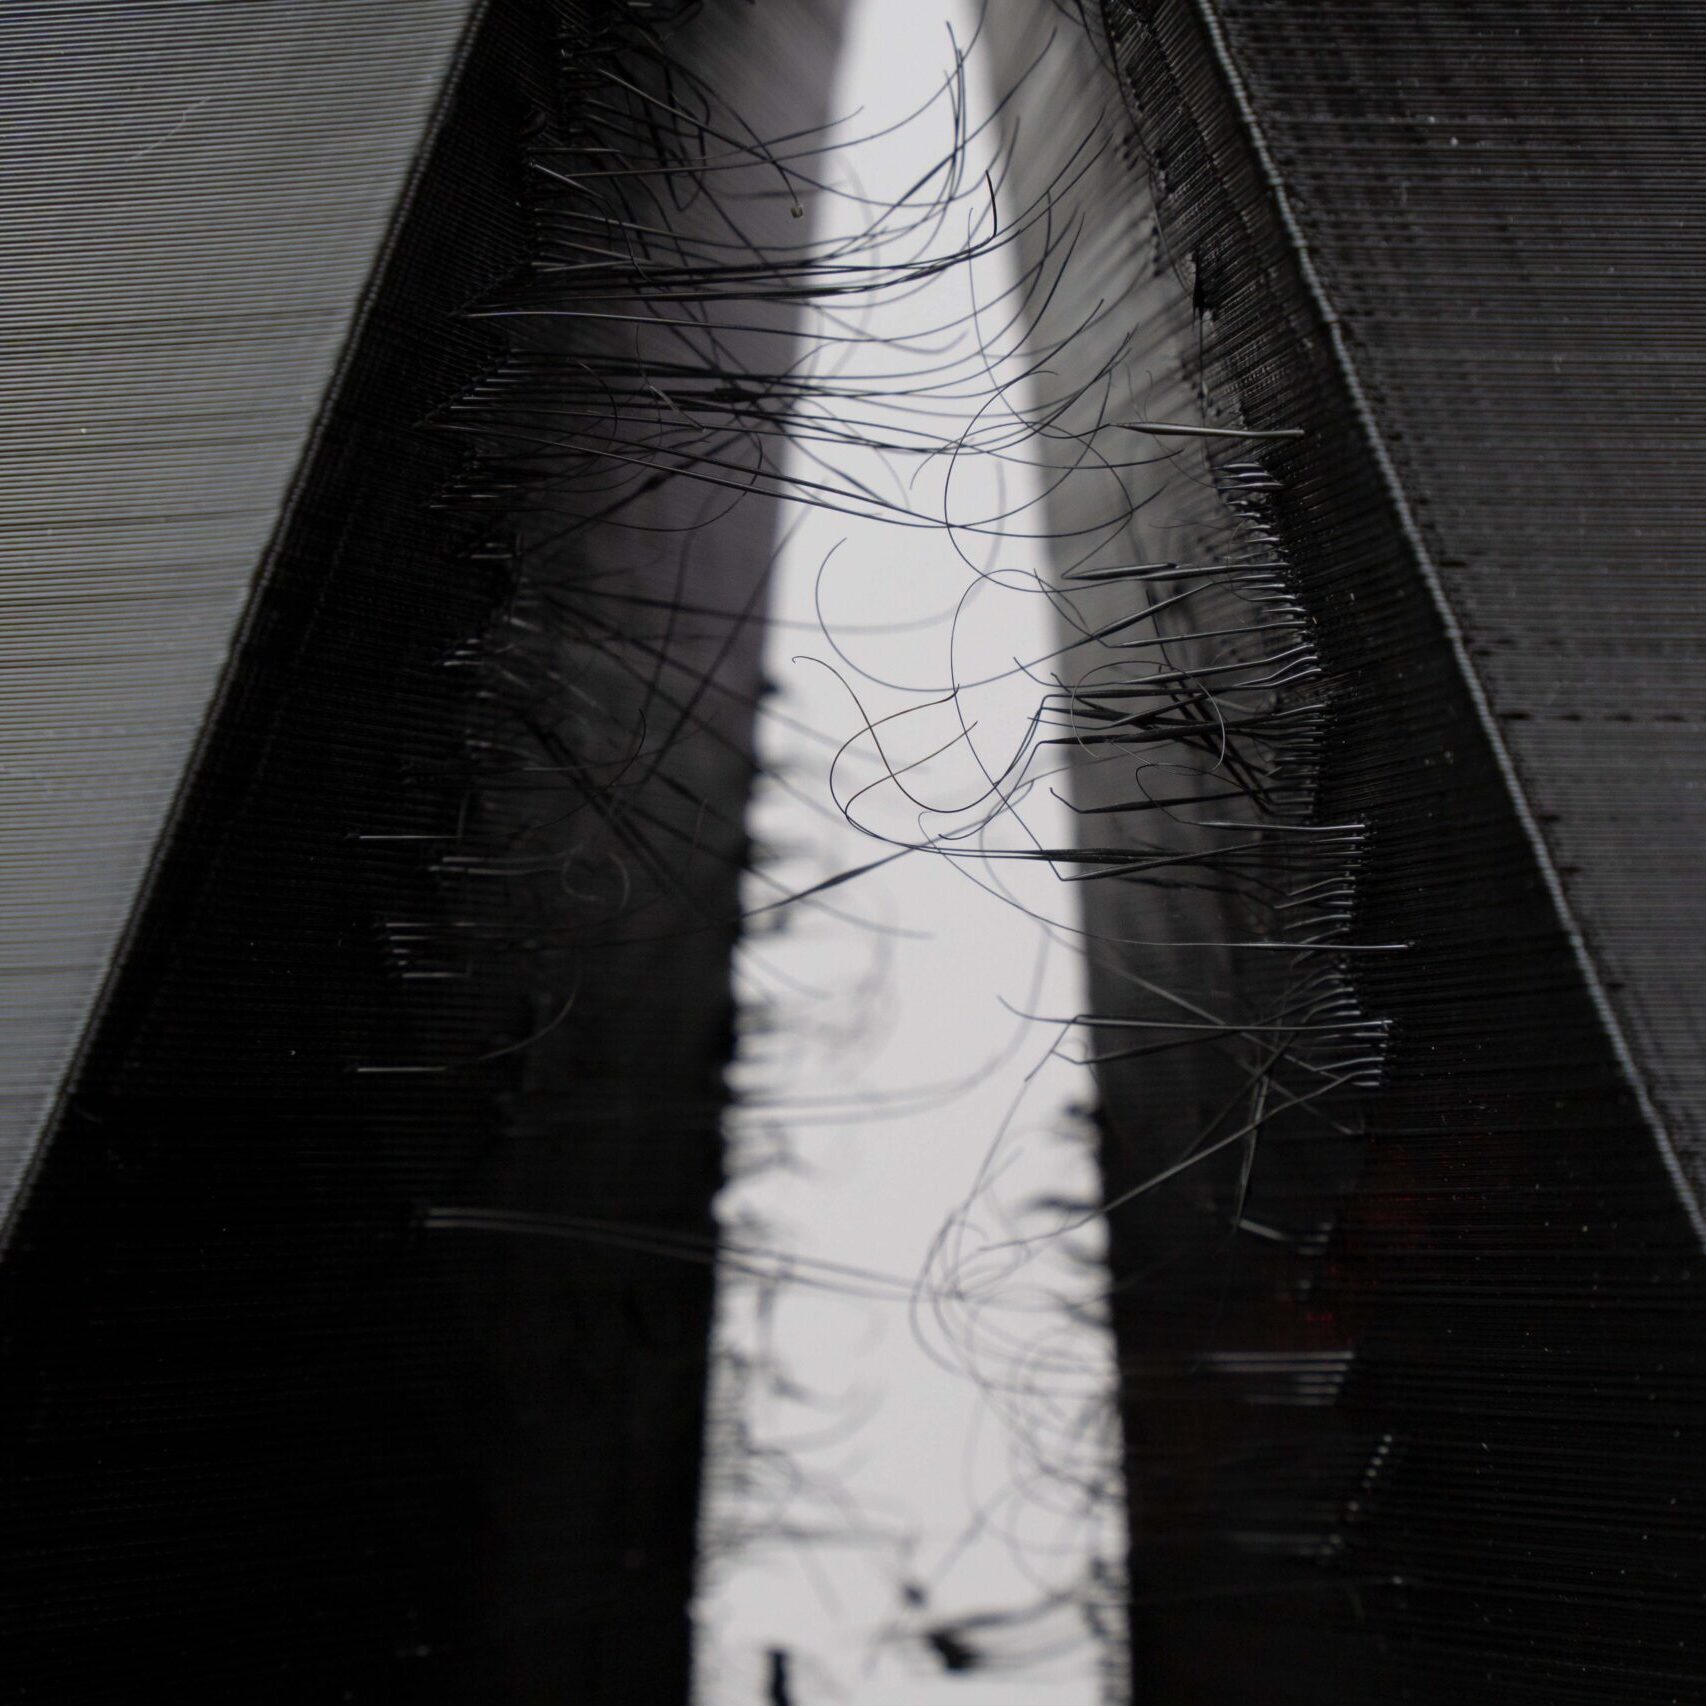
1. Stringing and Oozing
A typical problem with 3D printing is called stringing, which shows up as tiny, undesired plastic threads on your completed model.
It happens when the extruder travels between printing areas and molten plastic seeps out of the nozzle.
This can make your prints appear cluttered and necessitate further post-processing to get rid of the strings, which will take longer to complete.
PETG tends to ooze and create strings due to its viscosity and tendency to remain molten for longer.
Solution
- Increase Retraction: Increase the retraction distance and speed in your slicer settings. Start with small increments until you find the optimal setting.
- Lower Temperature: Reduce the printing temperature slightly. PETG typically prints well at 220-250°C; try lowering the temperature by 5-10°C.
- Retract and Prime: Enable retraction settings such as "Retract on layer change" and "Coasting" in your slicer.
- Dry your PETG Filament for at least 24h at 50-60 degrees.
PLA can also string, though it's less prone compared to PETG.
Solution:
- Adjust Retraction Settings: Similar to PETG, tweaking retraction distance and speed can help. PLA usually requires a lower retraction distance.
- Temperature Control: PLA prints well at 190-220°C. Lowering the temperature within this range can reduce stringing.
- Cooling: Ensure your part cooling fan is working effectively to solidify the filament quickly.
2. Warping and Poor Bed Adhesion
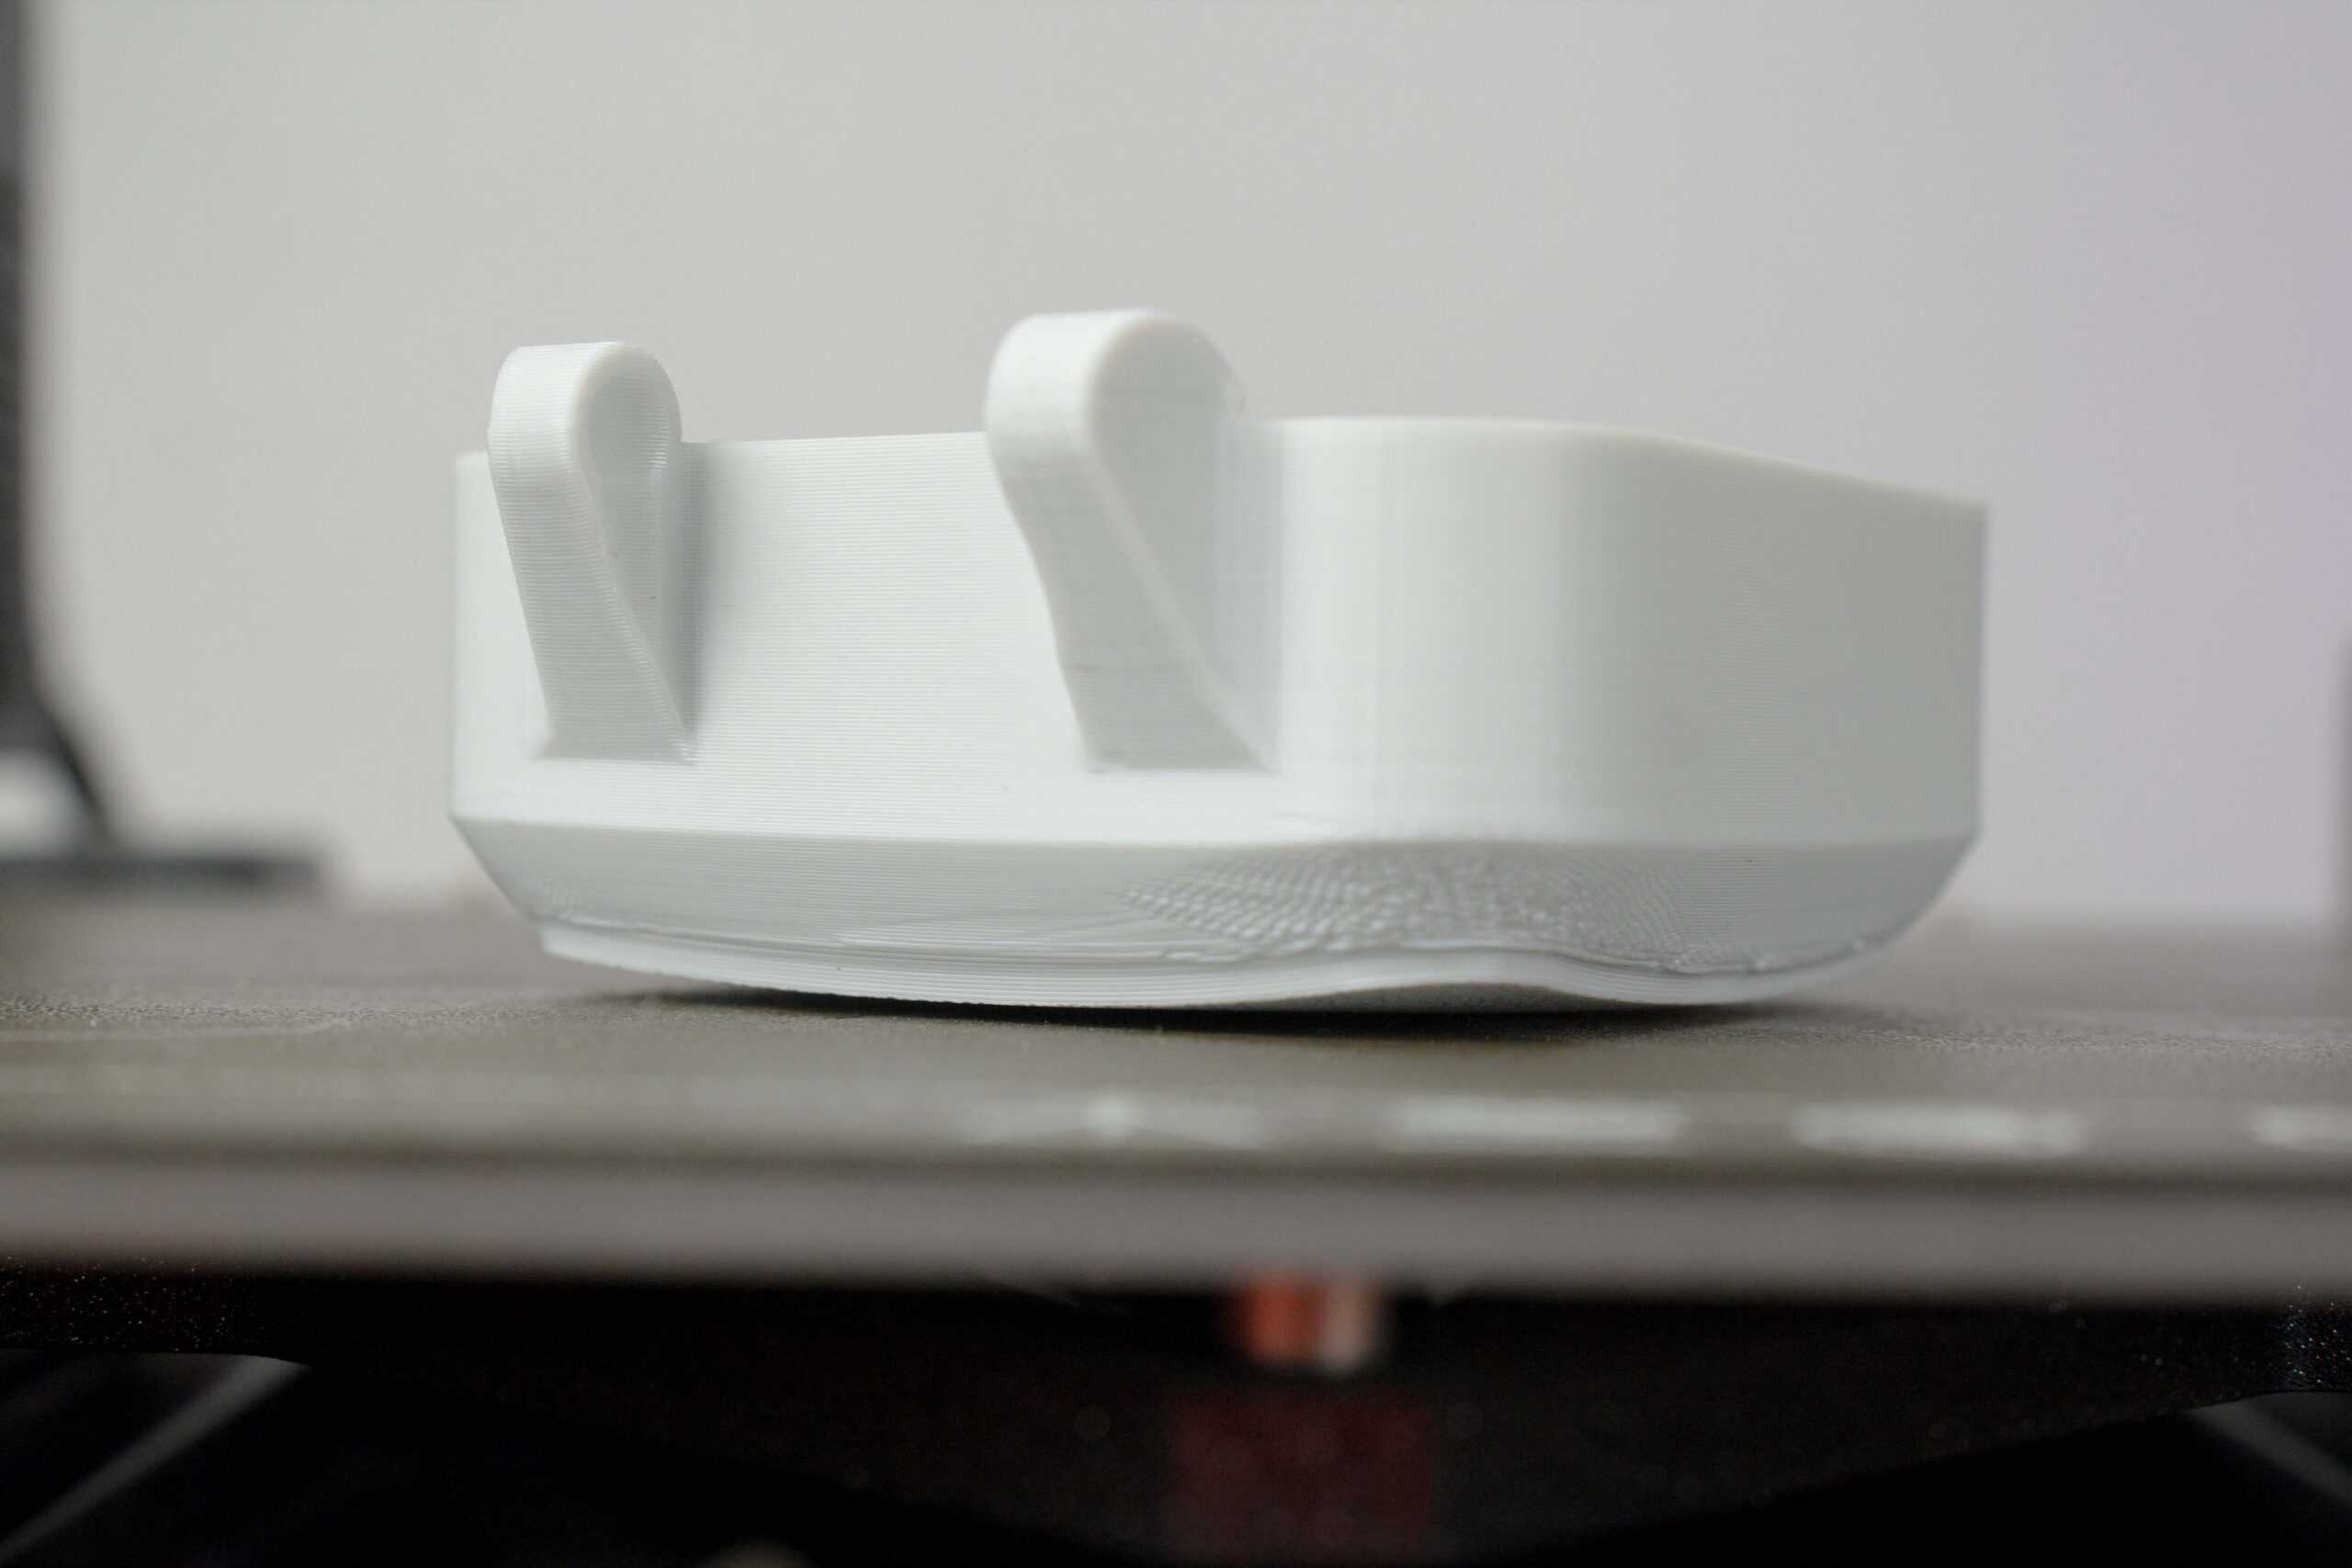
Ever started a 3D print and seen the corners lift or the whole model warp? These frustrating issues are caused by warping and poor bed adhesion.
Warping happens when the plastic cools and contracts unevenly, leading to the model bending or curling.
Poor bed adhesion occurs when the first layer of filament doesn't stick properly to the printing surface. Both problems can ruin your print and require you to start over, wasting valuable time and filament.
PETG can warp, particularly on larger prints, leading to poor bed adhesion.
Solution
- Bed Temperature: Set the bed temperature to 70-90°C. A heated bed helps PETG stick better.
- Set your fan speed between 0-30% for proper cooling
- Use Adhesives: Apply a thin layer of glue stick, blue painter's tape, or a specialized adhesive spray like the EasyFix Atomizer the on the print bed.
- Brims and Rafts: Use brims or rafts to increase the surface area of the print in contact with the bed.
PLA generally has good bed adhesion, but it can still warp if the first layer isn't perfect.
Solution
- Bed Temperature: Set the bed temperature to 50-60°C.
- Clean Bed: Ensure the print bed is clean from oils and dust. Isopropyl alcohol can be used for cleaning.
- First Layer Settings: Ensure the first layer is printed slowly and at a slightly higher extrusion rate for better adhesion.
3. Layer Adhesion Issues
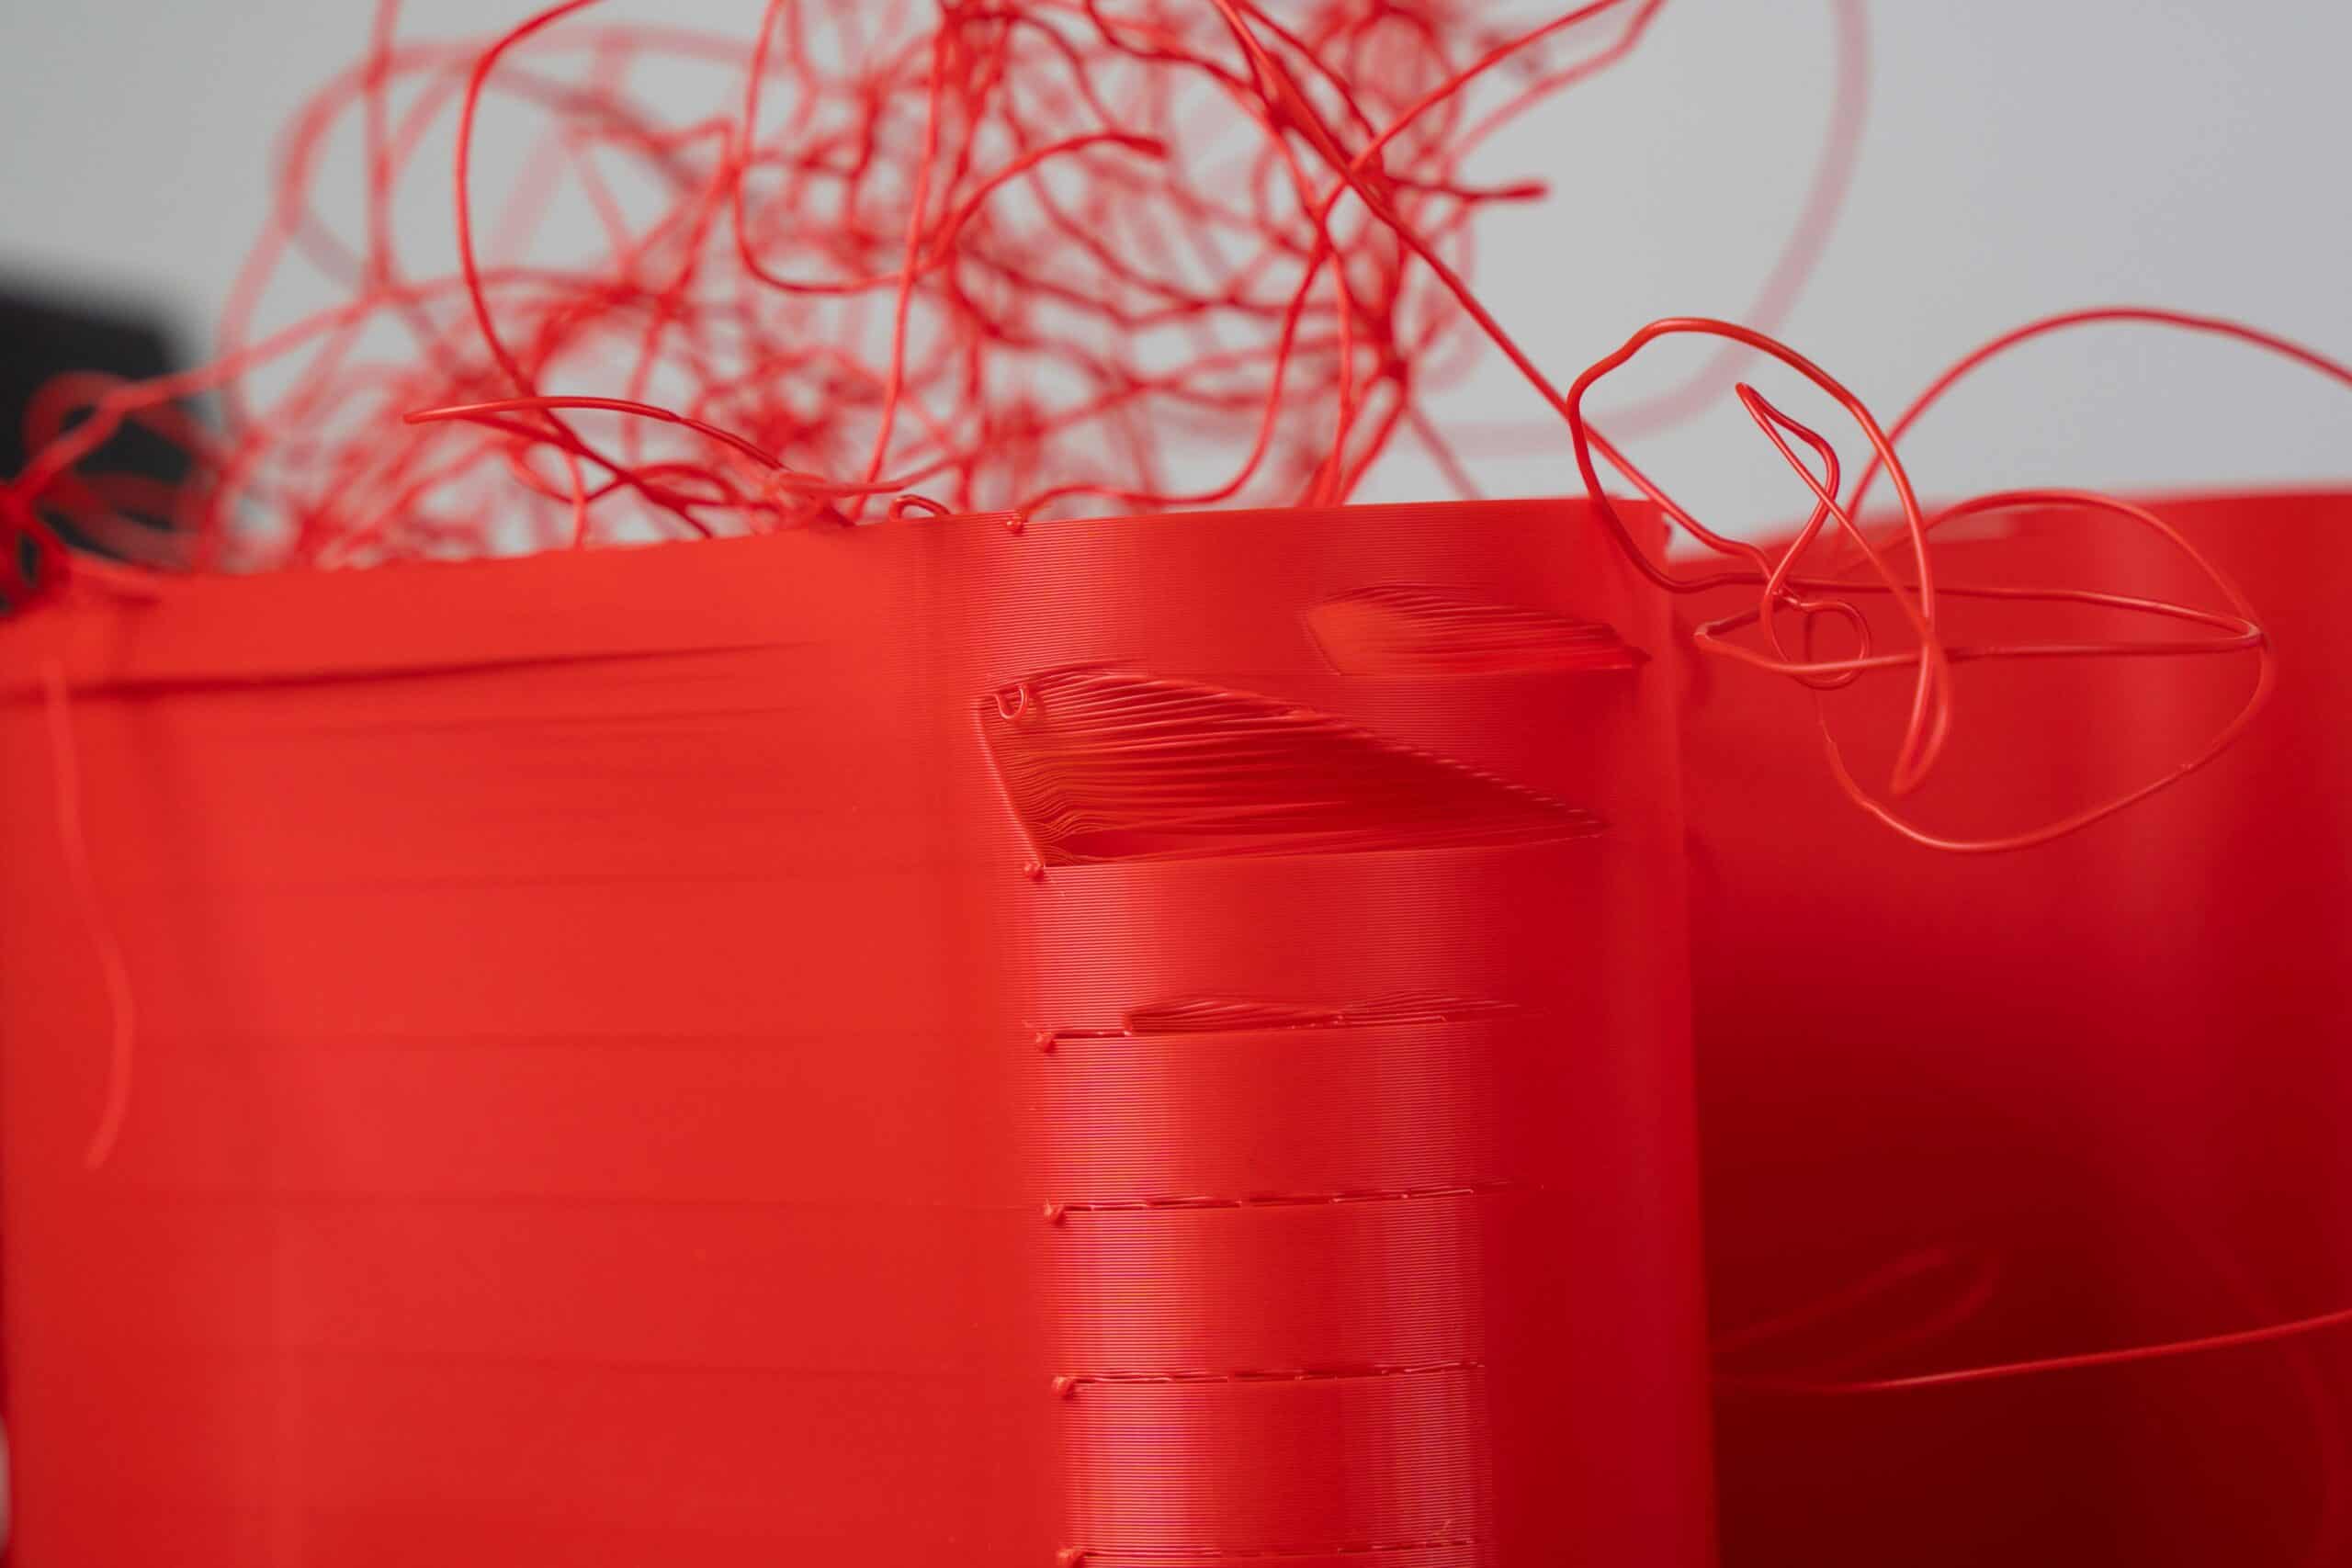
Interlayer adhesion refers to how well each layer of filament bonds to the previous layer in your 3D print.
Strong adhesion creates a sturdy and robust model, while weak adhesion can lead to prints that crack, delaminate (separate between layers), or simply fall apart.
PETG layers may not adhere well, causing prints to be weak.
Solution
- Optimal Temperature: Ensure you are printing at the correct temperature (220-250°C) to promote good layer adhesion.
- Slow Down: Reduce the print speed to allow each layer to bond properly.
- Fan Speed: Lower the cooling fan speed to ensure layers stay warm and bond better.
PLA can suffer from poor layer adhesion if the cooling is too aggressive.
Solution
- Temperature and Speed: Print at the upper end of PLA's temperature range (200-220°C) and consider slowing down the print speed.
- Fan Settings: Adjust the fan speed so it's not at 100% immediately. Gradually increase it after the first few layers.
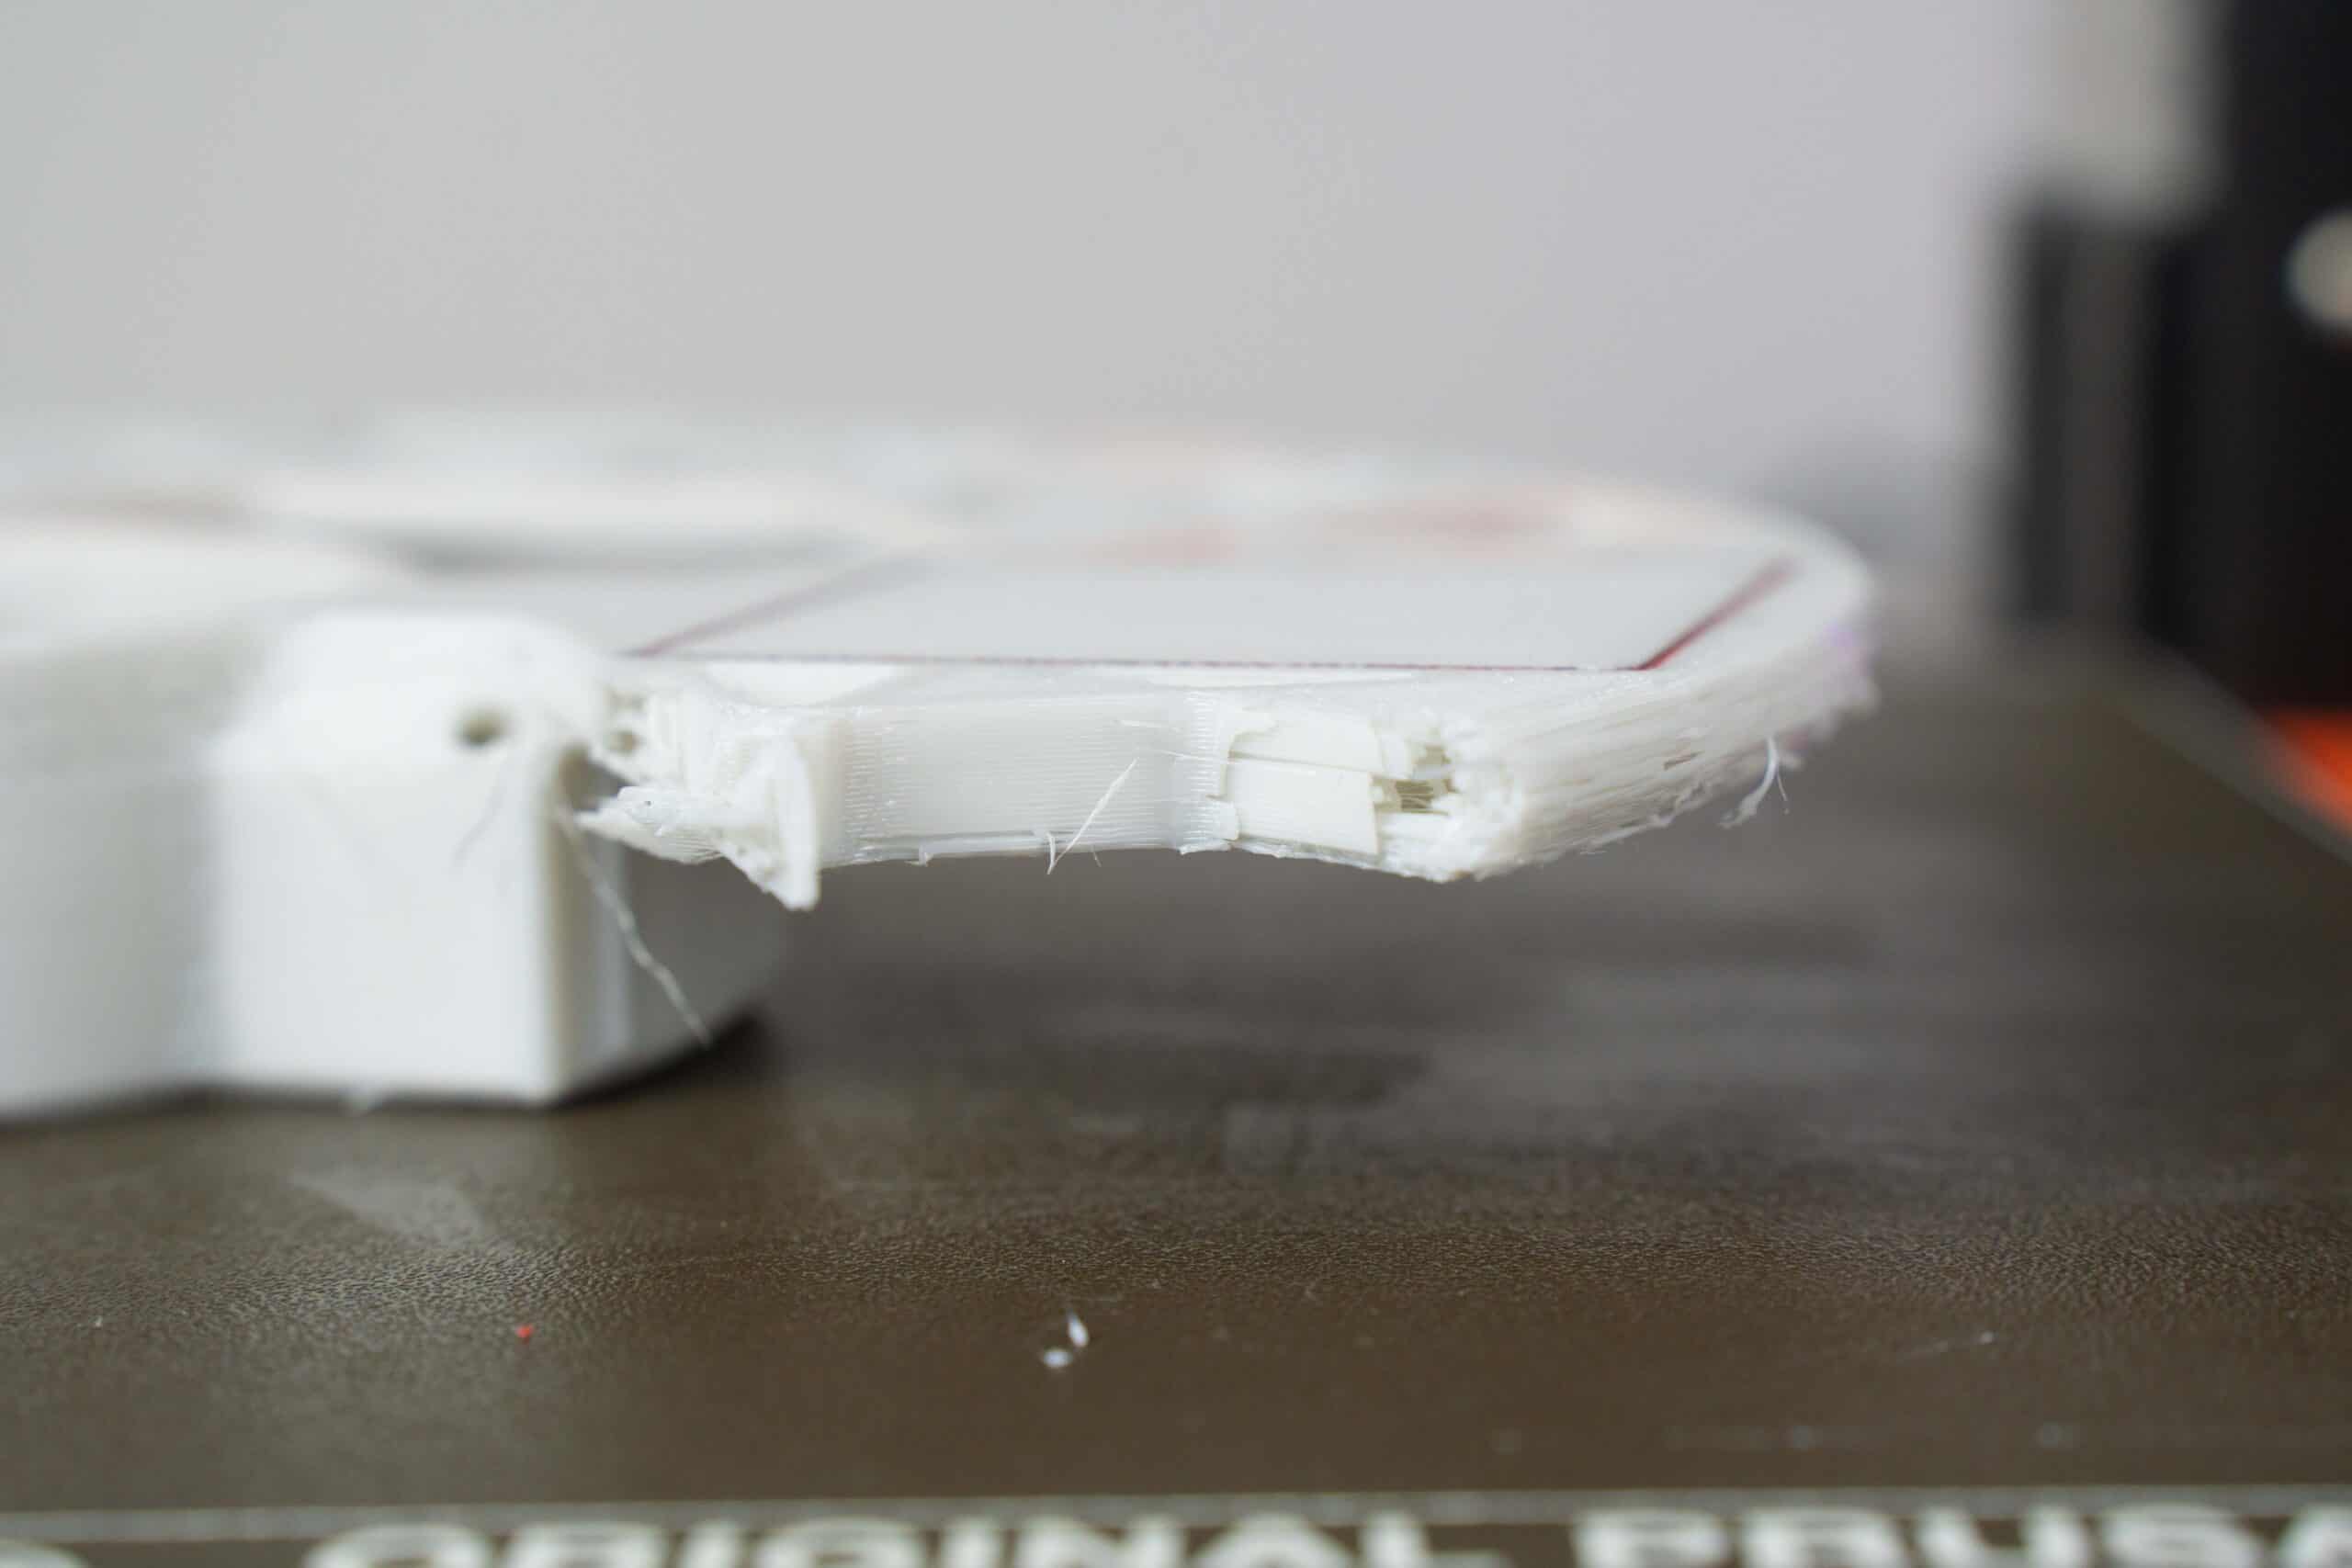
4. Brittle Prints
3D prints can sometimes feel fragile and prone to cracking. This brittleness can be caused by a variety of factors.
Brittle 3D prints can be a frustrating outcome. Common culprits include:
Moisture Monster: Filaments like PLA absorb moisture from the air, weakening the material and making it prone to cracks.
Temperature Trouble: Printing too hot breaks down the filament, while printing too cool prevents proper layer fusion, both leading to brittleness.
Storage Slip-Up: Improper storage exposes filament to moisture and temperature changes, degrading its quality and strength.
PETG prints can sometimes be brittle if printed too cold.
Solution
- Increase Temperature: Ensure you are within the optimal temperature range (220-250°C). Increase the temperature in small increments if prints are brittle.
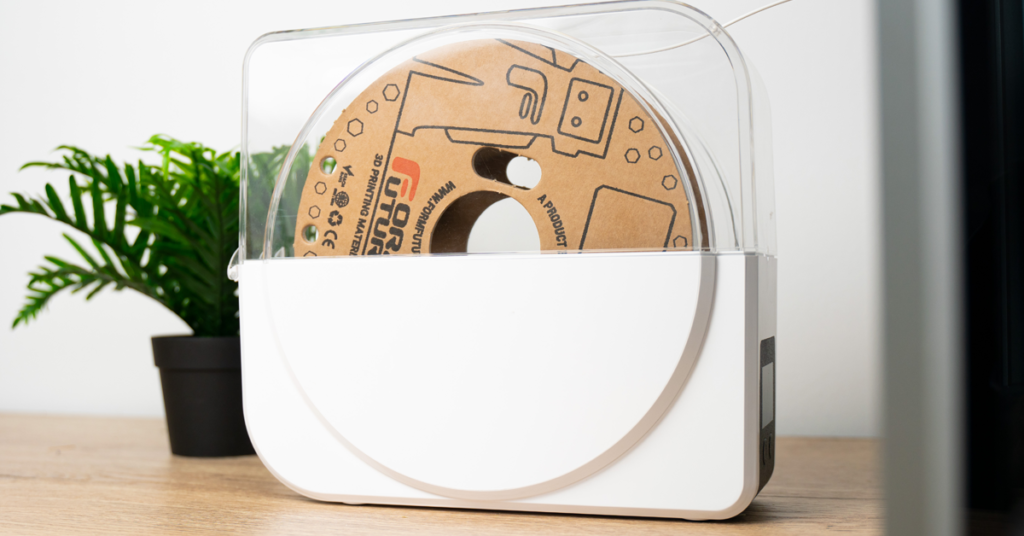
- Dry Filament: Moisture can make PETG brittle. Store filament in a dry box or use a filament dryer before printing.
PLA can become brittle over time or if printed too fast and cool.
Solution
- Optimal Temperature and Speed: Print within 190-220°C and avoid excessive speeds. Balance cooling and extrusion speed.
- Moisture Control: Like PETG, PLA absorbs moisture. Store it properly to maintain its quality.
5. Overheating and Blobs
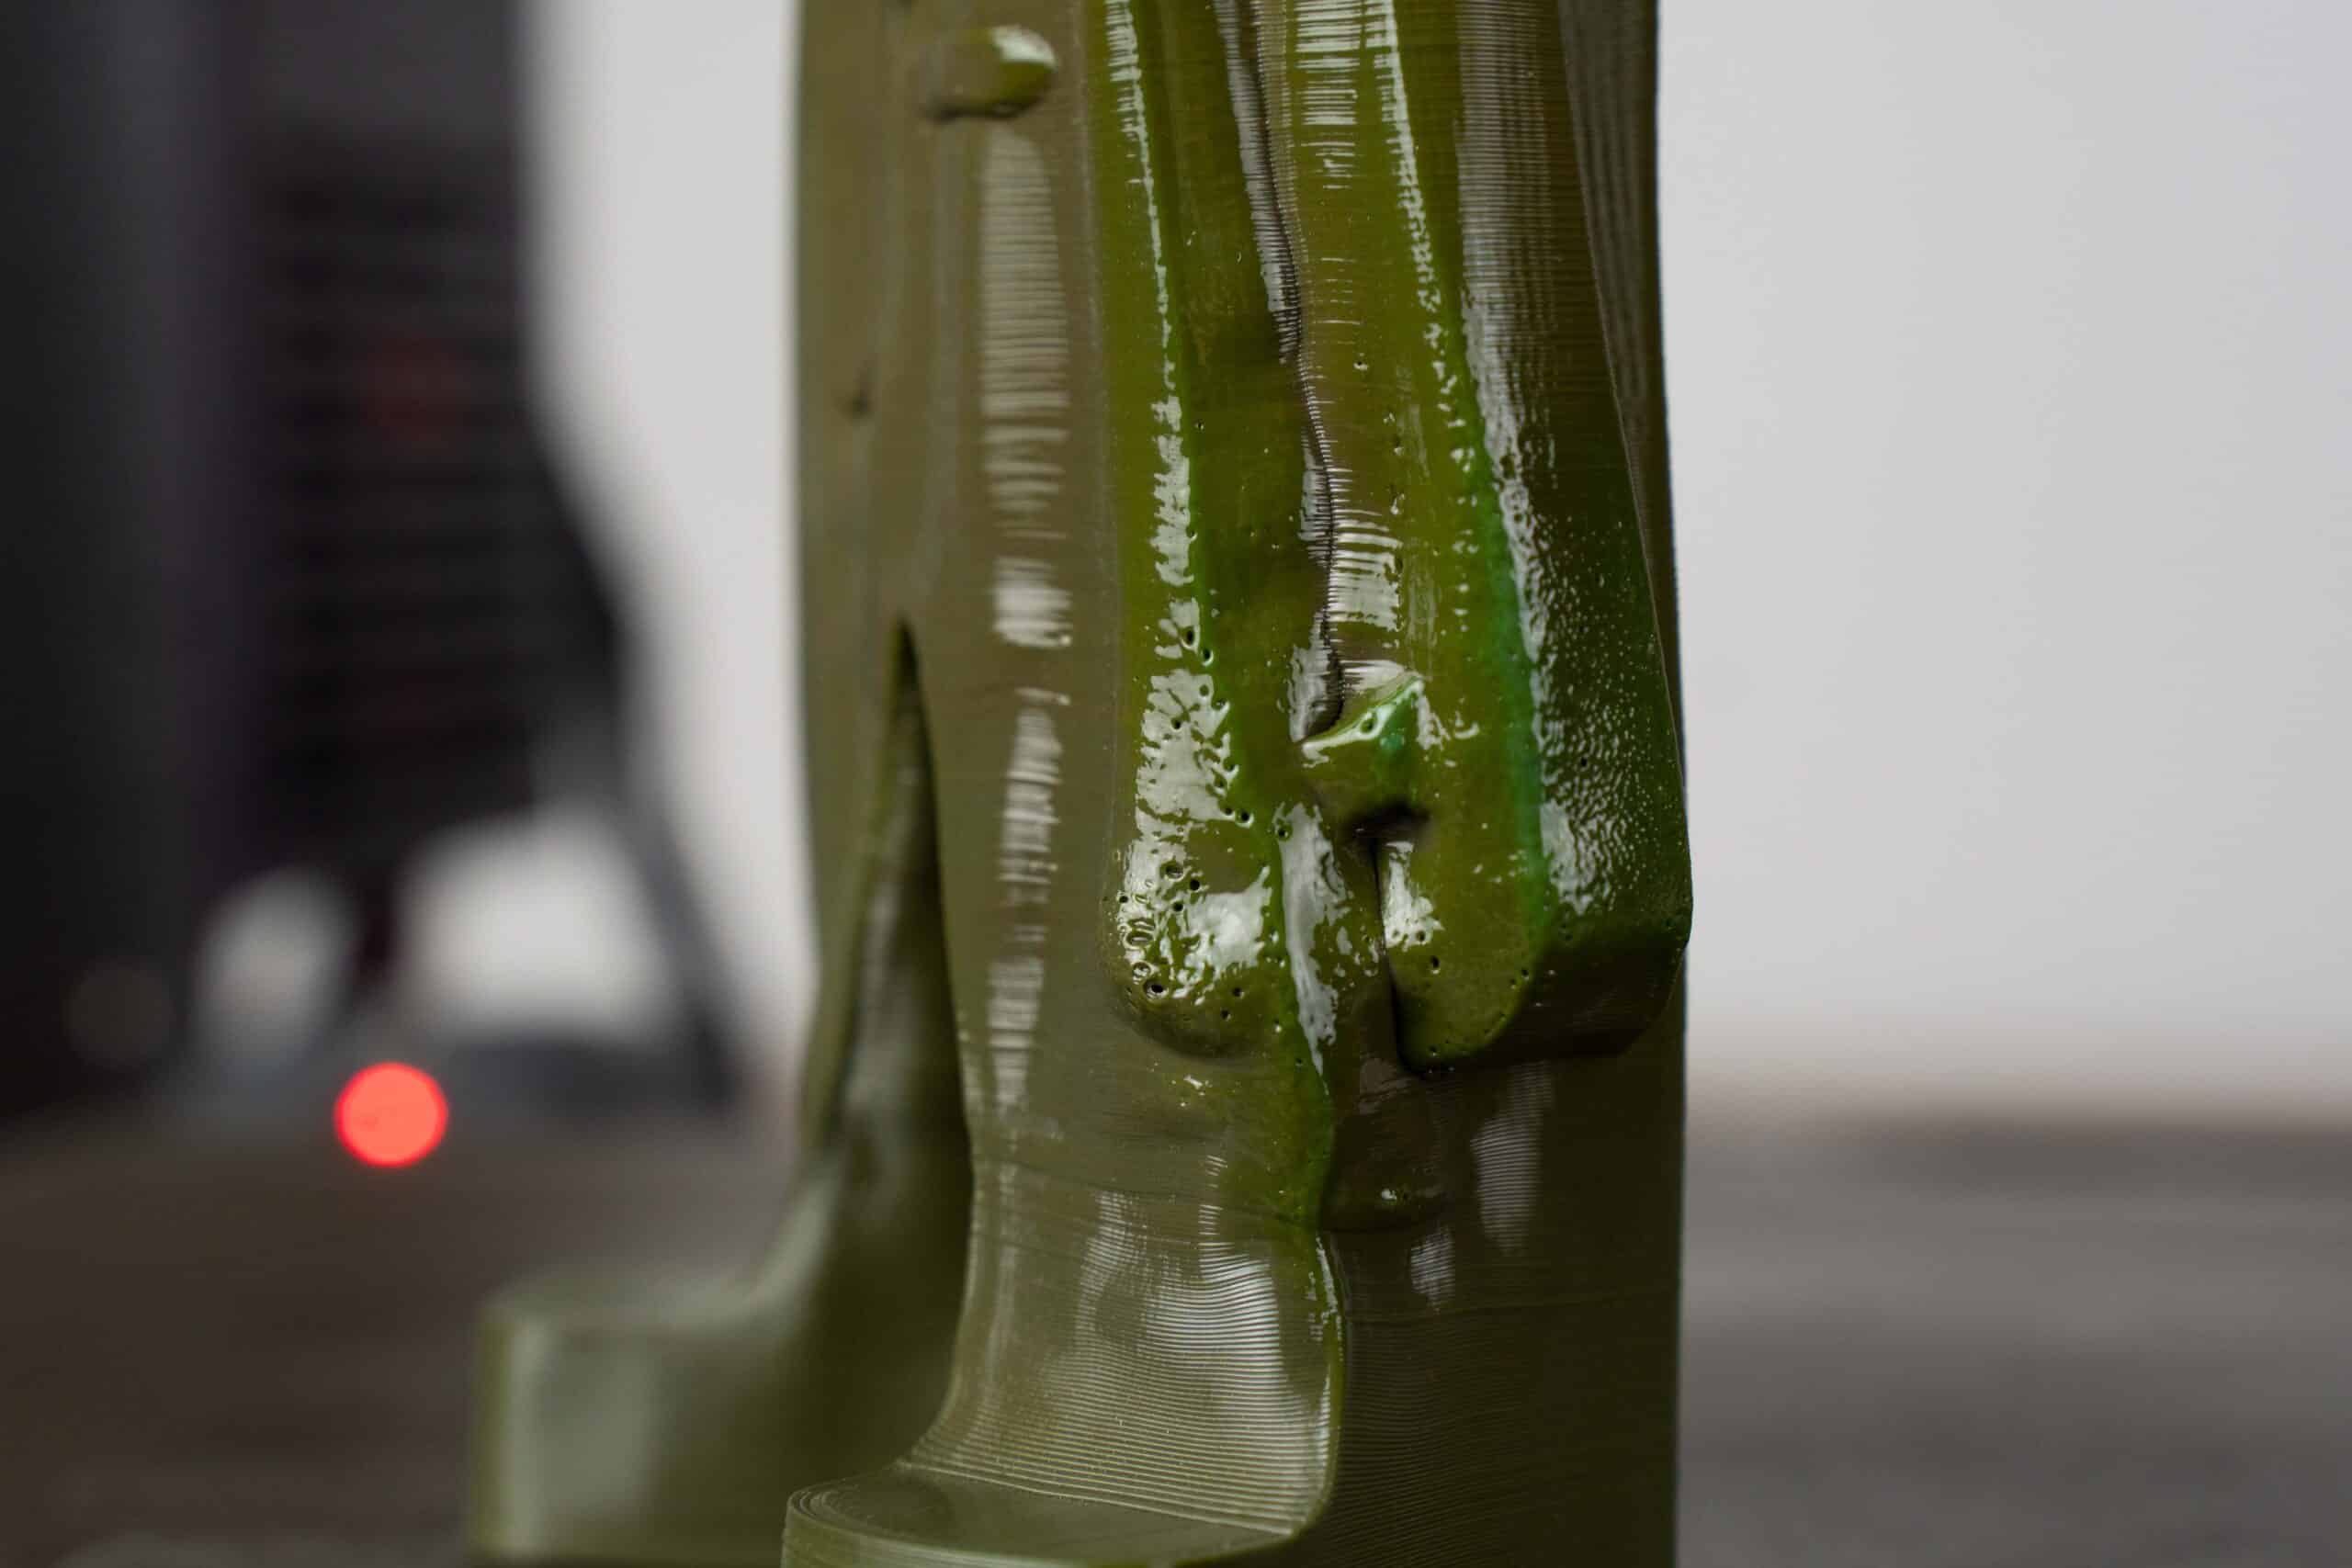
Overheating can lead to unsightly blobs of filament appearing on your 3D prints. Here's why:
Cooling Chaos: Insufficient cooling allows layers to stay hot for too long, causing excess filament to ooze and form blobs. Ensure proper fan settings and consider ambient temperature.
Temperature Tango: Printing at excessively high temperatures melts filament too much, making it more prone to dripping and forming blobs. Stick to the recommended temperature range for your filament.
PETG can overheat, leading to blobs and zits on the print surface.
Solution
- Temperature Control: Reduce the printing temperature incrementally if blobs appear.
- Flow Rate: Decrease the flow rate slightly to prevent excess filament extrusion.
- Cooling: Increase the cooling fan speed to manage heat better, especially for small parts and details.
PLA can overheat, causing similar issues with blobs and inconsistent layers.
Solution
- Lower Temperature: Gradually lower the print temperature within the 190-220°C range.
- Flow Adjustment: Adjust the flow rate in your slicer to ensure precise extrusion.
- Effective Cooling: Use a fan to cool layers quickly, especially for intricate details.
The challenges of 3D printing with PETG and PLA can be daunting, but with the right techniques and adjustments, you can significantly improve your print quality.
By addressing issues such as stringing, bed adhesion, and layer bonding, you’ll be well on your way to creating high-quality prints with both filaments.
Remember, each printer and filament may require slight tweaks, so don’t hesitate to experiment and find what works best for you. We hope this guide has provided valuable insights and practical solutions to enhance your 3D printing projects.
Happy printing!

